16
Step-by-step installation instructions.
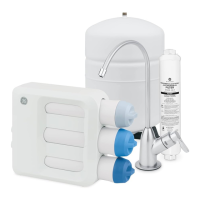
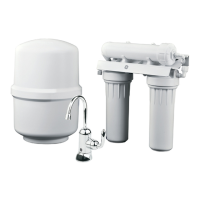
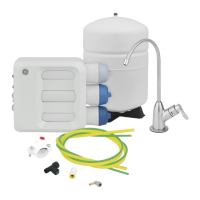
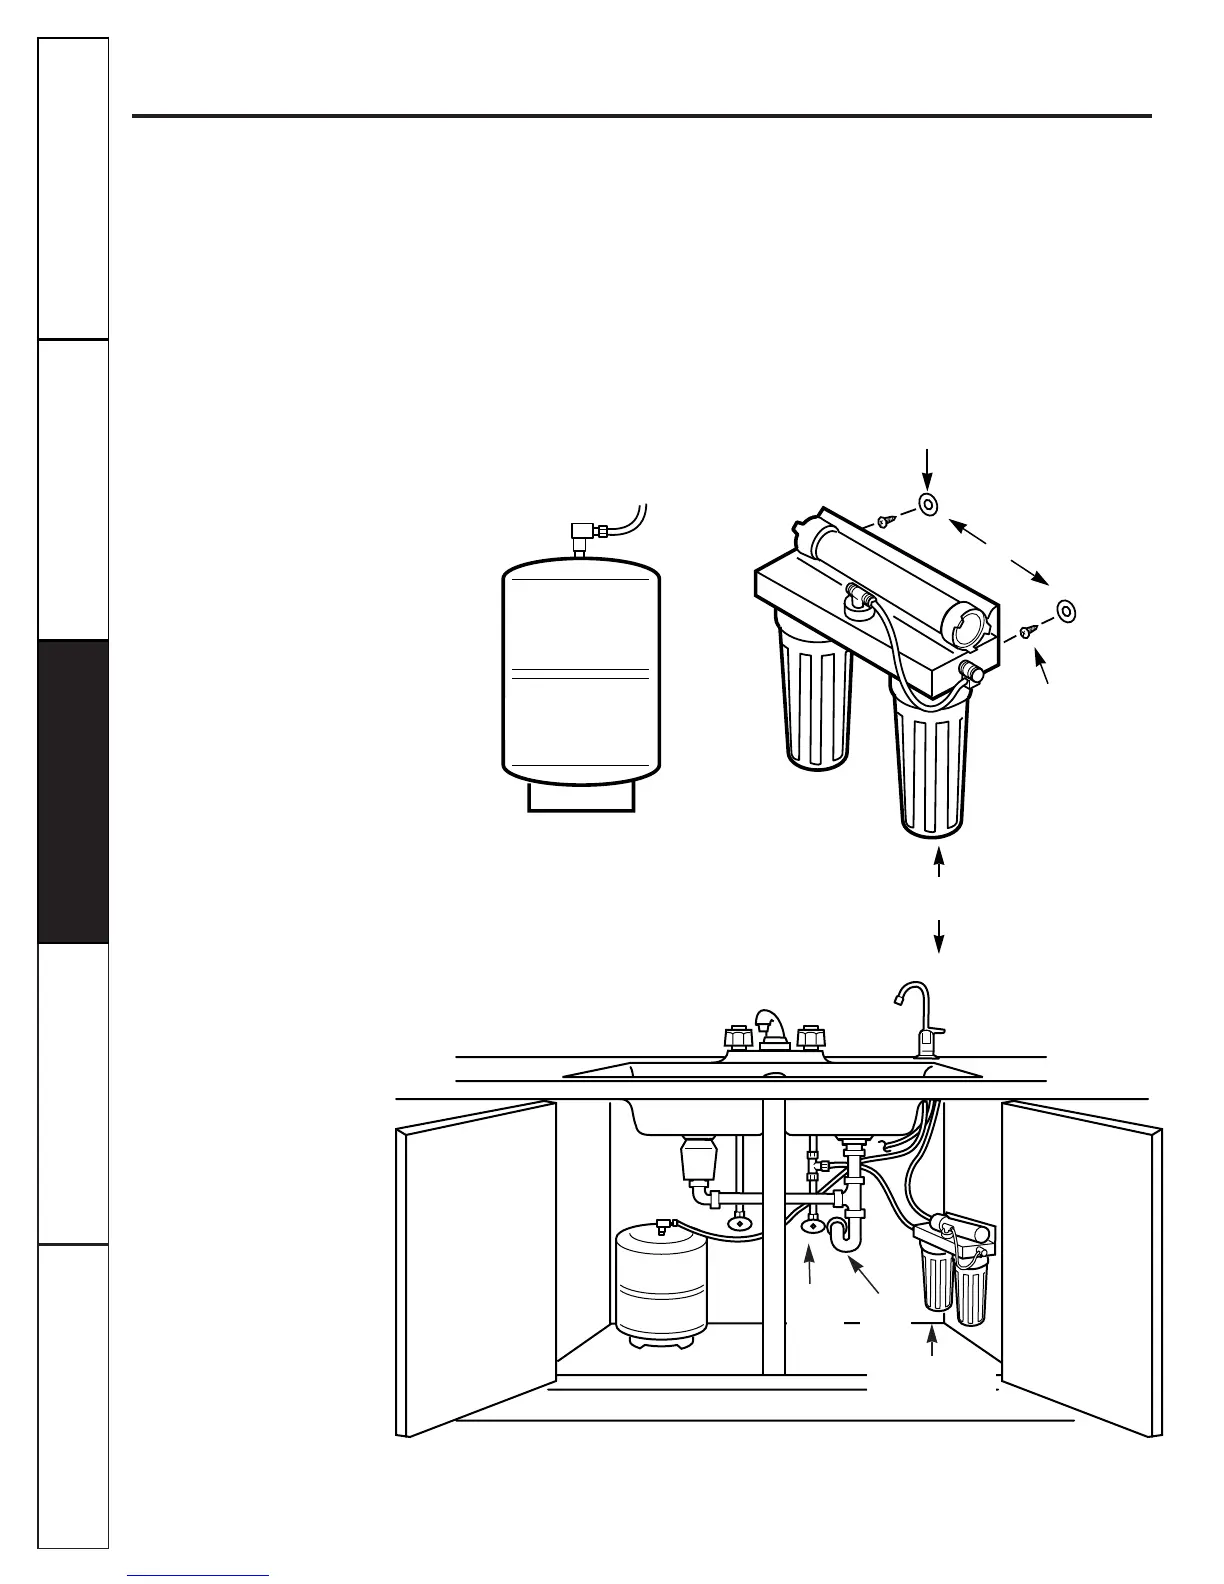
Reverse Osmosis System Assembly and Storage Tank Installation
1. Hold the Reverse Osmosis assembly up to the wall surface where you will install it. Mark
locations for the hanger washers and screws.
2. Fasten the hanger washers to the wall surface. Wood screws are included for fastening to
a wood surface. Provide other screws as needed.
3. Hang the Reverse Osmosis assembly on the hanger washers.
4. Connect the tubing to the storage tank: Run the length of 3 ⁄8 ² tubing (marked
“STORAGE TANK”) from the tee fitting on the Reverse Osmosis module to the tank
shutoff valve. Use Teflon Tape
TM
to prevent leaks.
Customer Service Troubleshooting Tips
Operating Instructions
Safety Instructions
Installation Instructions
Customer Service Troubleshooting Tips
Installation Instructions
Safety Instructions
Operating Instructions
Customer Service Troubleshooting Tips
Installation Instructions
Safety Instructions
Operating Instructions
Fig. 6A.
Storage tank
Hanger
washer
(2)
Screw
(2)
10²
2² minimum clearance
for changing cartridges
Fig. 6B.
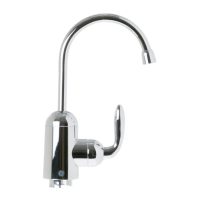
RO faucet
Reverse Osmosis
system
Cold
water
supply
Sink
p-trap
Storage tank
*For drain line options see
Filtration Drain Connection Installations
section.
 Loading...