Repair
311075R 43
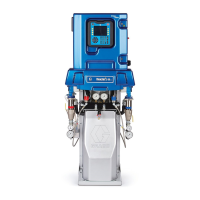
Control Module
Change Display Temperature Units
(°F/°C)
Unit is shipped with temperature displays set
to °F.
2. Remove access cover (39) from back of
control module.
3. See FIG. 11. Locate slide switch (FC) at
right edge of each temperature display
board. Unit is shipped set to °F (down). To
change to °C, move both switches to up
position.
Calibrate Temperature Displays
1. Remove access cover (39) from back of
control module.
2. See FIG. 11. Locate calibration screw (CS)
at upper right corner of each temperature
display board. Turn screw slightly to correct
temperature display.
Replace Temperature Display and
Sensor (Heated Units Only)
2. Remove temperature sensor (424):
a. Remove snap ring (66d) in thermowell
housing (66e). See FIG. 10.
b. Pull sensor (424) and spacer (66g) out
of thermowell housing.
c. Work sensor and wire out of cable
channel between tanks. It may be eas-
ier to remove one tank. See page 39.
3. Remove access cover (39) from back of
control module.
4. Disconnect temperature display power
cable from J14 or J15 at bottom left of con-
trol board (406).
5. Remove four screws from rear panel studs
and remove temperature display (403) from
front plate (401).
6. Remove screw and nut (409) holding dis-
play to plate (403).
7. Pull sensor cable through split in bushing
(411).
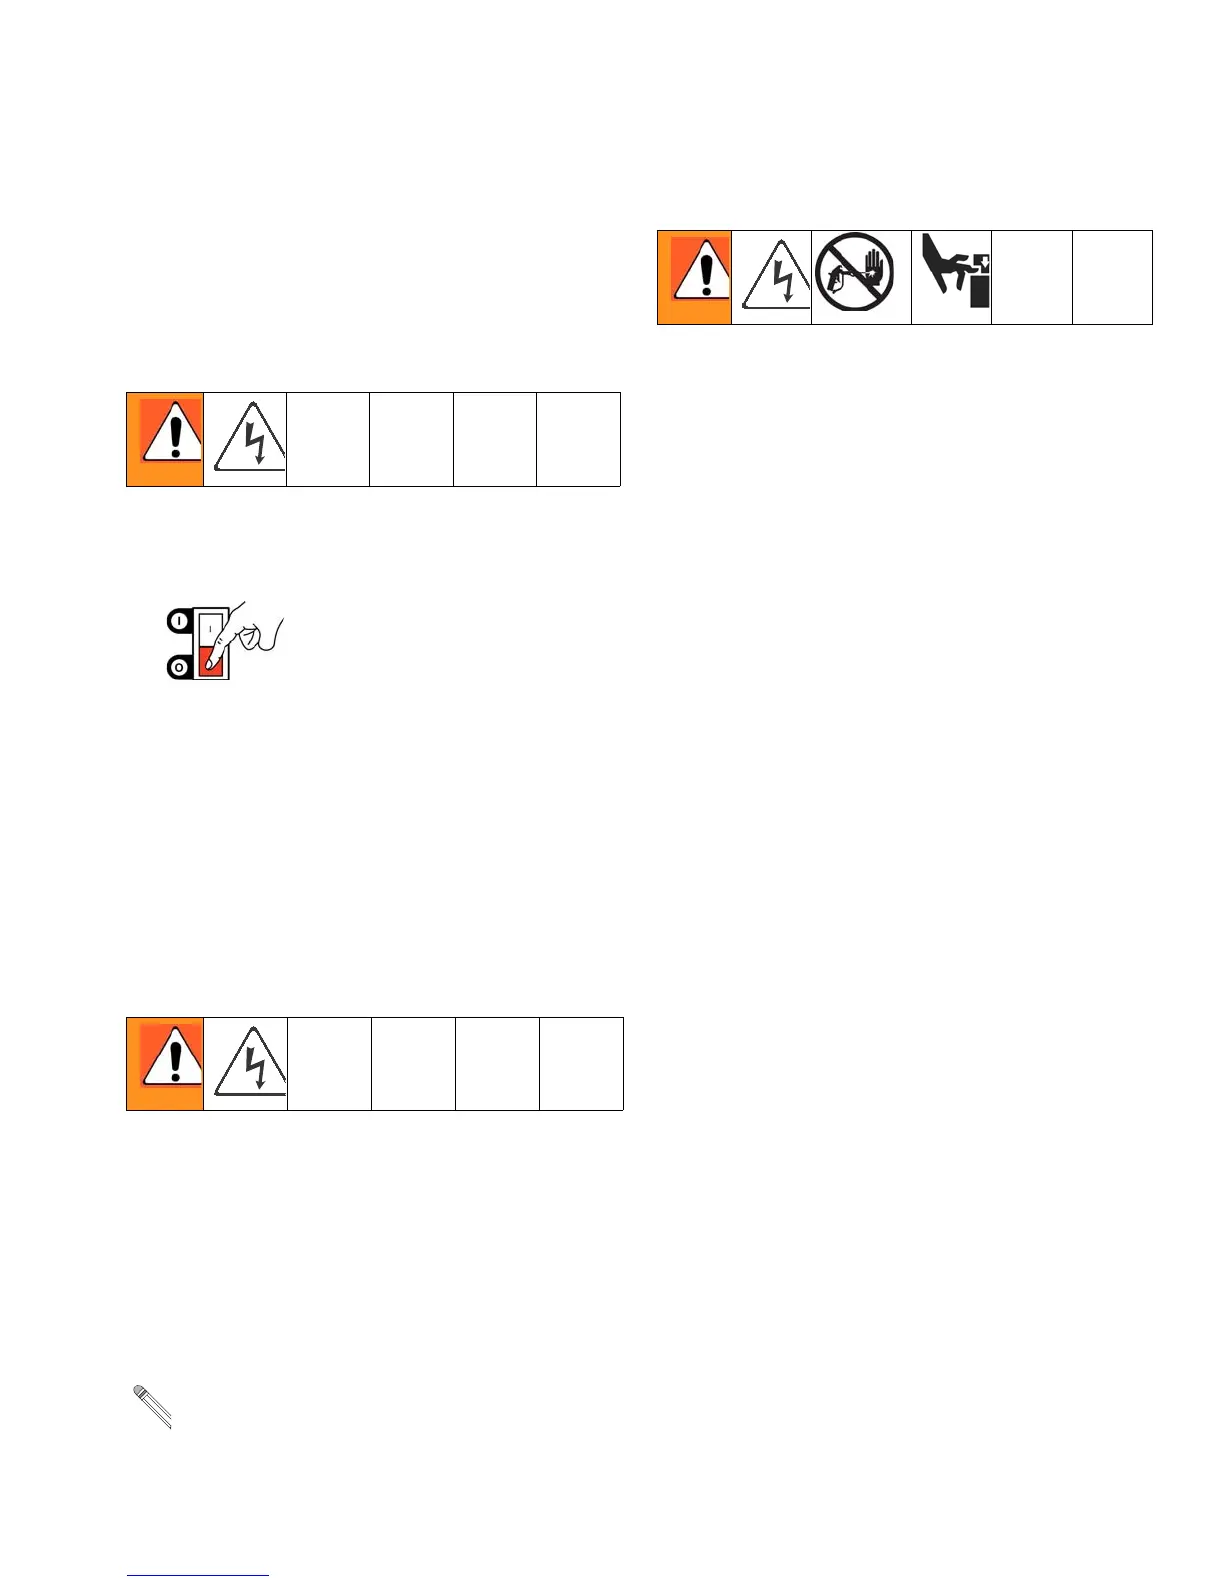
1. Shut off Motor Power. Disconnect power
supply.
Temperature displays do not read lower
than 50°F (10°C).
1. See Before Beginning Repair, page 39.
Relieve pressure, page 27.

 Loading...