OM-CC-G and C/2-G
11
Initial Start-Up
WARNING
ANY POTENTIAL USER OF THE EQUIPMENT SHOULD BE TRAINED IN SAFE AND CORRECT OPERATING
PROCEDURES.
After the Convection Combo™ has been installed,
test it to ensure that it is operating correctly.
1. Remove all literature and packing materials from
the interior and exterior of the unit.
2. Check that the cold water supply line is open and
that the fittings are not leaking.
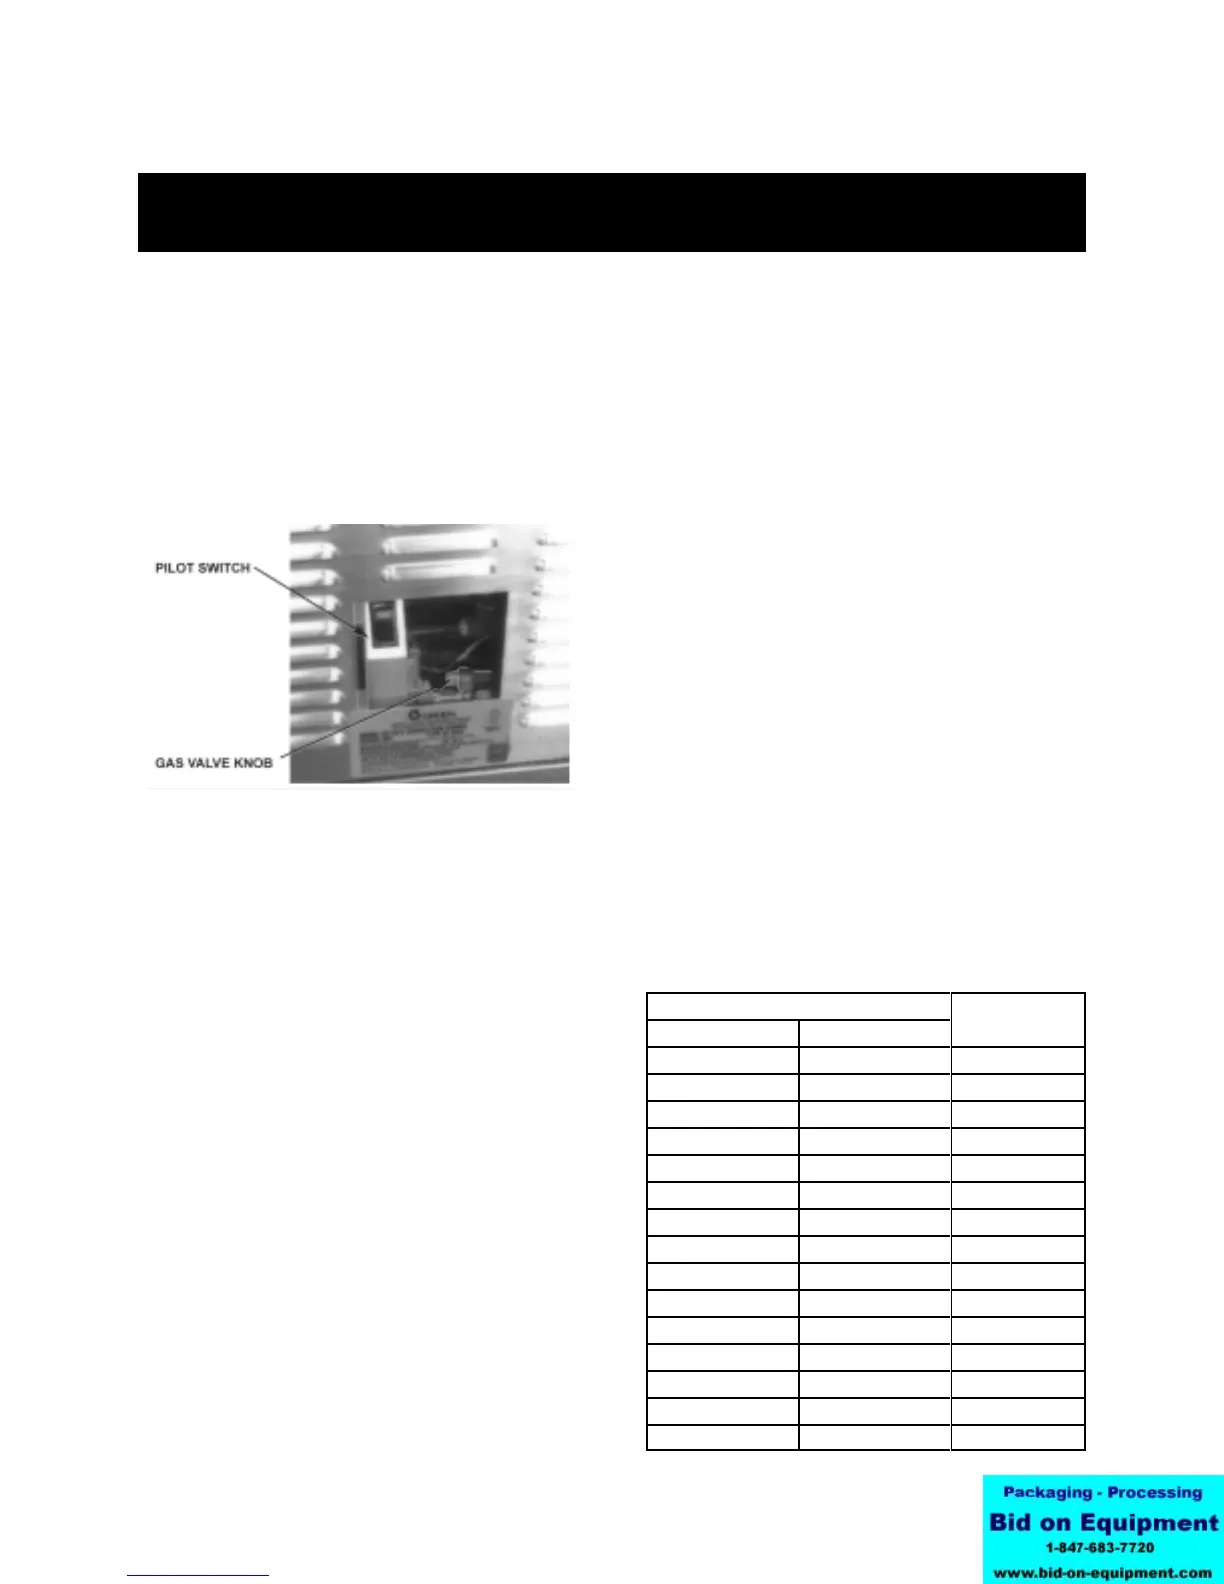
3. Make sure that the gas supply line is open. On
newer units, turn the knob of the main gas valve
so that it is lined up with the pipe.
4. Turn on electrical service to the unit. Because
the unit will not operate without electrical
power, no attempt should be made to operate
the unit in the event of a power failure.
5. The control panel will not operate until the pilot
burner has been ignited. To light the pilot
burner, activate the pilot switch located next to
the main gas valve. Once the pilot ignition
sequence has been successfully completed, a
green light will glow, and power will be supplied
to the front panel.
6. The “trial for ignition” period is roughly 90
seconds. If the pilot burner does not light within
90 seconds of pilot switch activation, the ignition
system automatically stops the gas flow to the
pilot burner and cancels the ignition trial. If the
ignition trial is terminated, turn off the pilot switch
and repeat the trial for ignition. During initial
start-up, the pilot may require several trials in
order to bleed air from the gas piping.
Subsequent start-up should only require about
five seconds to achieve ignition.
NOTE: See Automatic Operation of Pilot at the end
of this section.
7. Once the pilot burner flame has been
established (the green light at the pilot switch is
on), all operator commands are executed via the
front control panel touch pads. See the
Operation section for details.
8. High Altitude Operation. At altitudes above
5,000 feet (1524m), the unit will not operate in
the Steamer or Combo Modes unless the altitude
is set. The Convection Combo™ is delivered
with the altitude set for 1000 feet as default. You
can program the altitude as follows:
a. If the unit is on, turn it off by pressing the ON
touch pad.
b. Press and hold the STEAM touch pad while
turning the unit on by pressing the ON touch
pad. The Time/Status display will show the
letters AL and a number representing the
altitude in thousands of feet. If the altitude
has not been set for your unit, the display
will be 0.
c. Enter an altitude value between 0 and 15,
using the numbered touch pads. For
example, if the unit will be operating at 7,000
feet, enter 7.
d. Press the START touch pad to accept the
change.
Altitude Metric Conversion
Altitude
Setting
Feet Meters
1000 305 1
2000 610 2
3000 914 3
4000 1219 4
5000 1524 5
6000 1830 6
7000 2133 7
8000 2438 8
9000 2745 9
10000 3048 10
11000 3353 11
12000 3658 12
13000 3962 13
14000 4267 14
15000 4572 15
These controls are behind the sliding door on
the right side panel, facing the unit.
 Loading...