3. The liquid bleach in the dispenser is dispensed immediately.
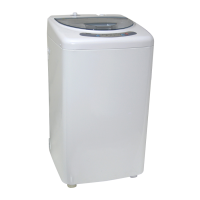
STEP 3 - LOAD THE WASHER
1. Open the washer lid and load clothes evenly and loosely in the wash basket for a
balanced load.
2. Close the washer lid.
NOTE:
•
Do not overload or
stu items into the wash basket.
•
The washer will not pulsate or spin with the lid open.
STEP 4 - START THE WASHER
Follow the operation instructions
specic to your type of installation.
FIXED INSTALLATION
1. Press the Power button to turn on the washer.
2. Press the Wash Cycle button to select a wash cycle.
3. Adjust the default settings and options if desired.
4. Press the Start/Pause button to start the wash cycle.
PORTABLE INSTALLATION
1. Press the Power button to turn on the washer.
2. Press the Wash Cycle button to select a wash cycle.
3. Adjust the default settings and options if desired.
NOTE:
•
The temperature of the water supplied to the washer is determined by
the temperature of the water coming out of the faucet NOT by the
Wash Temp control. Temperature settings can be
modied but will have
no aect on the water temperature.
•
Open the water faucet valve completely and leave it fully open until the
wash cycle has
nished.
IMPORTANT: The washer will not ll to the correct water level unless the
inlet hose is connected to the COLD water inlet valve on the washer.
4. Press the Start/Pause button to start the wash cycle.
WASHER CARE
IMPORTANT: Avoid storing heavy objects such as jars or cans above the
washer lid. Dropping a heavy or hard object onto the washer lid could cause it to
break.
27
ENGLISH
 Loading...