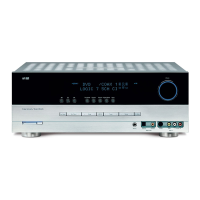
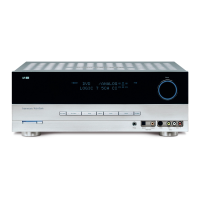
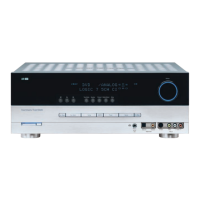
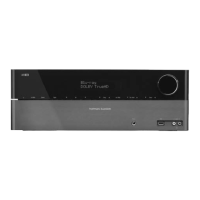
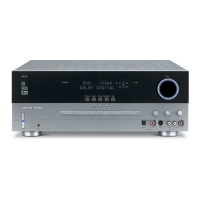
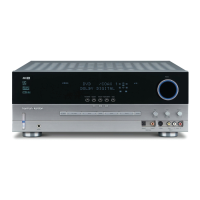
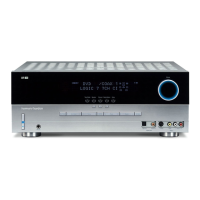
16 SYSTEM CONFIGURATION
SYSTEM CONFIGURATION
16 SYSTEM CONFIGURATION
those indicators will go dark, leaving only the indi-
cations for the active surround mode and input
illuminated. The
Display Lines Ùı will dis-
p
lay the unit’s status, the
P
ower Indicator
2
w
ill turn blue, and the accent light inside the
Volume Control Ò will also light up to remind
you that the unit is turned on.
Using the On-Screen Display
W
hen making the following adjustments, you may find
it easier to use the AVR 140’s on-screen display sys-
tem. These easy-to-read displays give you a clear pic-
ture of the current status of the unit and make it easy
to see which selection you are making
.
To view the on-screen menus, make certain that you
have made a connection from the
Video or S-Video
Monitor Out Jack
°h on the rear panel to the
composite or S-video input of your TV or projector.
In order to view the AVR 140’s displays, the correct
video source must be selected on the video display.
The on-screen menus are not available when a com-
ponent video display is in use.
IMPORTANT NOTE: When viewing the on-screen
menus using a CRT-based projector, plasma display or
any direct-view CRT monitor or television, it is important
that they not be left on the screen for an extended period
of time. The constant display of a static image such as
these menus or other still images may cause the image
to be permanently “burned into” the projection tubes,
plasma screen or CRT. This type of damage is not cov-
ered by the AVR 140 warranty and may not be covered
by the projector/TV set’s warranty.
The AVR 140 has two on-screen display modes,
“Semi-OSD” and “Full-OSD.” When making configura-
tion adjustments, it is recommended that the full-OSD
mode be used. This will place a menu on the screen,
making it easier to view the available options.
Making Configuration Adjustments
The full-OSD system is available by pressing the
OSD Button v.
When this button is pressed, the
MASTER MENU (Figure 1) will appear, and
adjustments are made from the individual menus.
Figure 1
The semi-OSD system is also available, allowing you
to make adjustments directly, by pressing the appro-
priate buttons on the front panel or remote control for
t
he specific parameter to be adjusted. For example, to
c
hange the digital input for any of the sources, press
the
Digital Select Button q and then press the
⁄
/
¤
Buttons n to scroll through the list of
options as they appear in the on-screen display
o
r the
U
pper Display Line
P.
To use the full-OSD menu system, press the
OSD
Button
v. When the menu is on the screen, press
the
⁄
/
¤
Buttons n until the on-screen
›
cursor
is next to the item you wish to adjust, and then press
the
Set Button p to adjust that item. The menus
will remain on the screen for 20 seconds, and then
they will “time-out” and disappear from
the screen. The
time-out may be increased to as much as 50 seconds
by going to the
ADVANCED SELECT menu,
and changing the item titled
FULL OSD TIME
OUT
.
(See page 36.)
When the full-OSD menu system is used,
OSD ON
will appear in the Upper Display Line P to remind
you that a video display must be used. When the
semi-OSD system is used in conjunction with the dis-
crete configuration buttons, the on-screen display will
show the current menu selection. That selection will
also be shown in the
Upper Display Line P or
the
Lower Display Line ı, depending on which
parameter is being adjusted.
Setting the System Configuration Memory
The A
VR 140 features an advanced memory system
that enables you to establish different configurations
depending on the input source or the surround mode.
This flexibility enables you to customize the way in
which you listen to various types of program materials
and have the AVR 140 memorize those settings. This
means, for example, that if you mostly use your DVD
player for watching movies, you may configure your
DVD source to default to a particular digital input and
surround mode each time you select it, optimizing
your home theater for cinematic materials. Once these
settings are made, they will automatically be recalled
whenever you select that input.
In addition to the settings listed above, which always
var
y with the input,
you may also choose to set differ
-
ent
speaker sizer configurations for each input. In most
cases, this is not required, thus the factory default is to
have these settings remain the same for all inputs.
However
,
should you wish to have these settings
change for any one
, or all, inputs, follow the instruc-
tions shown on page 21 to select the Independent
mode for speaker configuration.
In addition, due to the variations in their decoding
algorithms, different surround modes have different
requirements for output levels and delay settings, even
t
hough these variables are dependent on your room’s
a
coustics and the capabilities of your loudspeakers,
which don’t change. The AVR 140 enables you to pro-
gram these settings once for each surround mode,
automatically recalling the correct settings each time
y
ou select that surround mode, no matter which
source device is in use. This ensures consistent per-
formance for all program materials.
The factory default settings for the AVR 140 have all
inputs configured for an analog audio input except for
the DVD input, where the
Coaxial Digital Audio
Input 1
· is the default, and the Video 2 input,
where the
Optical Digital Audio Input 1 d is the
default. The default speaker settings are for “Small” at
all positions, and the subwoofer on.
The default surround mode setting for all sources
using an analog input is the Logic 7 Music mode.
Dolby Digital or DTS will always be automatically
selected anytime a source with digital encoding in that
format is in use. When a Dolby Digital 2.0 source is
detected, the AVR 140 will automatically add Dolby
Pro Logic II or IIx processing. Once a surround mode
is selected for a particular source, the AVR 140 will
default to that surround mode the next time the source
is selected, unless the input signal is in a Dolby Digital
or DTS digital format. For Dolby Digital and DTS mate-
rials, the AVR 140 will default to the surround mode
encoded in the bitstream. As explained on pages
31–32, you may select from a limited number of
other surround modes for these materials. If you wish
to have the AVR 140 default to one of these alternate
surround modes each time a Dolby Digital or DTS
source is encountered, you may use the Default
Surround Mode setting in the
ADVANCED
SELECT
submenu (see page 37).
Before using the unit, you will probably want to pro-
gram the settings for most inputs so that they are
properly configured to reflect the use of digital or ana-
log audio inputs, component video inputs and the sur-
round mode specifics of your home theater system.
Remember that since the
A
VR
140 memorizes these
settings for each input independently, you will need to
make some of these adjustments for each input used.
However
,
once they are made
, further adjustment is
only required when system components are changed.
T
o make this process as quick and easy as possible
,
we suggest that you use the full-OSD system with the
on-screen menus, and step through each input. It is
also a good idea to set the configuration data in the
order these items are listed in the
MASTER
MENU
, as some settings require a specific entry
** MASTER MENU **
INPUT SETUP
AUDIO SETUP
SURROUND SELECT
MANUAL SETUP
ADVANCED
AVR 140 OM 3/29/06 3:45 PM Page 16
 Loading...