Chapter 1 Installation
Before you start:
Check the package contents and make sure that the device in the package is in good condition and
all the assembly parts are included.
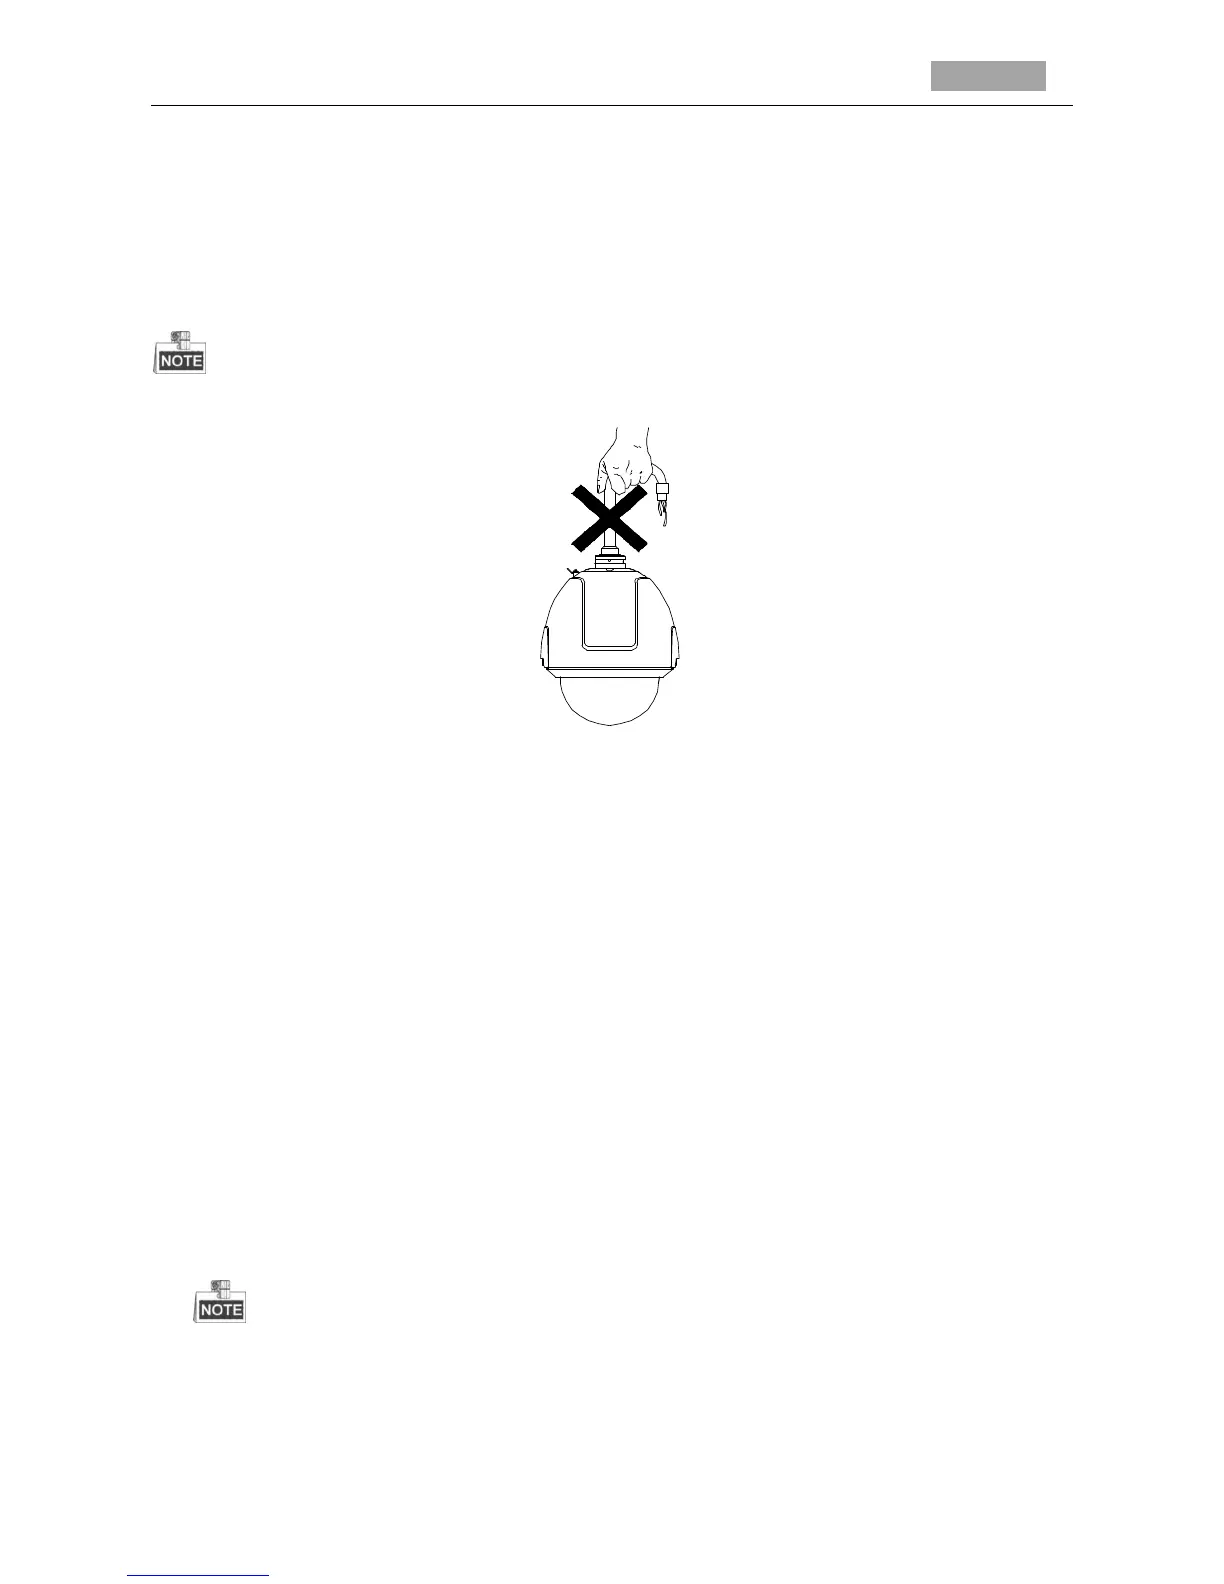
Do not drag the waterproof cables as shown in Figure 1-1, otherwise the waterproof
performance is affected.
Figure 1-1 Do not Drag the Cables
1.1 Installation and Cabling
The wall mounting method for different speed domes can be categorized into four types, refer to
the content below for the detailed instructions.
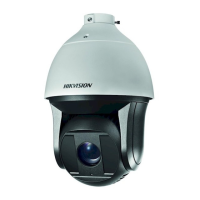
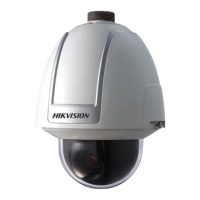
Type I refers to the 5-inch speed dome.
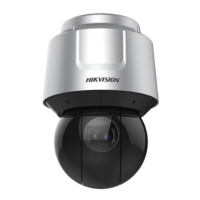
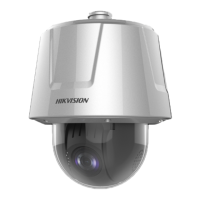
Type II refers to the 6.5-inch speed dome.
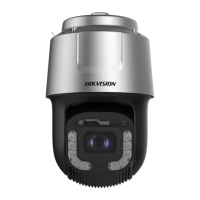
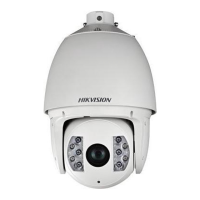
Type III refers to the 7-inch IR speed dome and 7-inch laser speed dome.
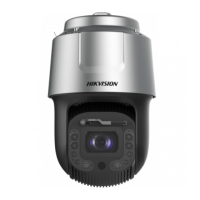
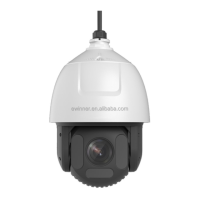
Type IV refers to the 8-inch IR speed dome and 8-inch laser speed dome.
The figures below are for reference only, please refer to the actual product.
1.1.1 Installing the Type I Speed Dome
Steps:
1. Loosen the two lock screws on the both side of the speed dome. Pull the lower dome to
separate it from the back box as shown in Figure 1-2.
Please do not remove the lock screws from the dome.
2. Remove the protective elements.
For Separate 5-inch speed dome: Pull the camera module to separate it from the back box, as
shown in Figure 1-3.
 Loading...