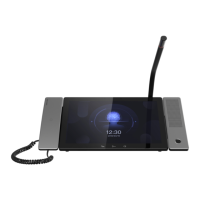
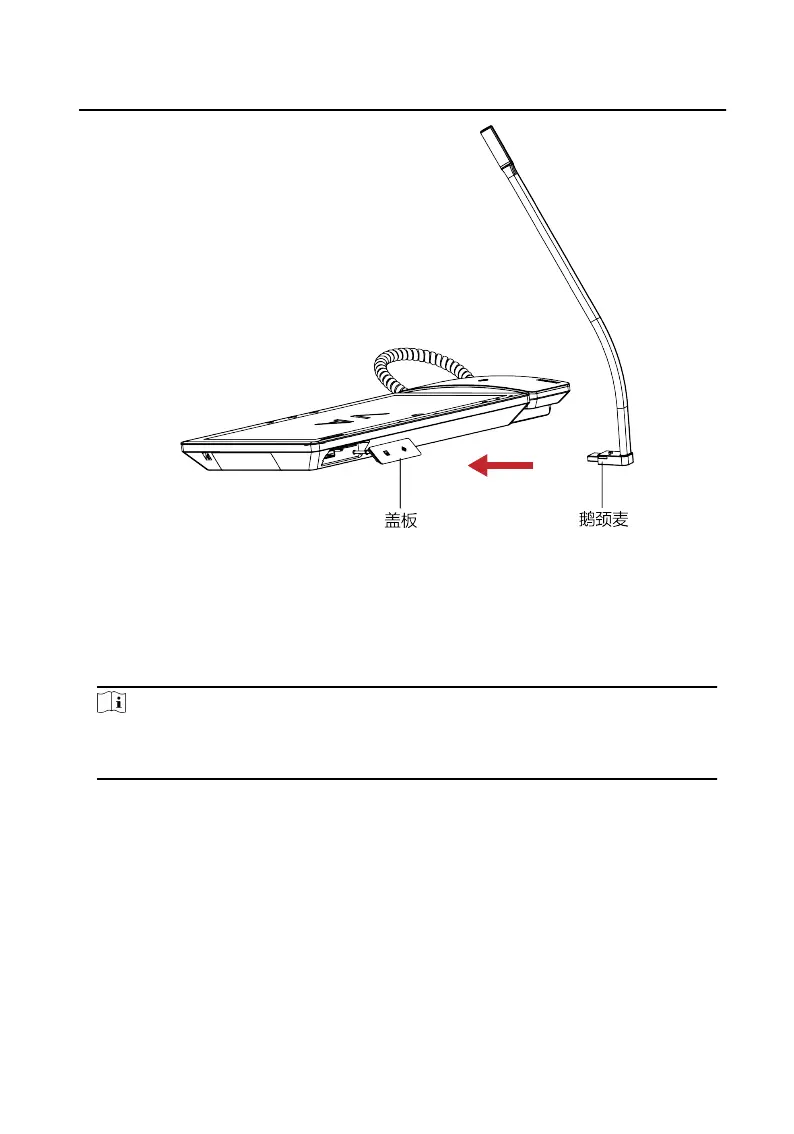
Figure 3-5 Install the Goose Neck Microphone
3.3 Wall
Mounng
Before You Start
Note
•
Tools that you need to prepare for installaon: Drill (6).
•
Make sure all the related equipment is power-o during the installaon.
Steps
1.
Place the table bracket on the wall. Mark the screw holes' posion with a
marker, and take out the the table bracket. Drill 4 holes according to the marks
on the wall, and insert the expansion sleeves into the screw holes.
2.
Secure the table bracket on the wall with 4 screws.
3.
Hook the device to the table bracket ghtly by inserng the hooks into the slots
on the rear panel of the device,during which the lock catch will be locked
automacally.
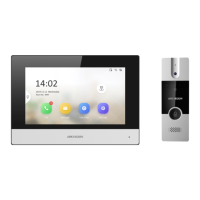
Video Intercom Main
Staon Operaon Guide
9
 Loading...