For any help concerning set up and use of your TV please call the Customer Helpline: 0845 604 0105
Getting Started
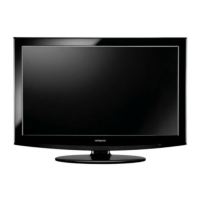
Aerial connection
Connect the “aerial” or “cable TV” plug to AERIAL
INPUT (ANT.) socket located on the back of the
TV (fi g.1).
Switching the TV On and Off
Switching the TV On
With power cord plug connected to the mains power
socket, the TV is in ‘Standby’ mode.
To switch the TV on from standby mode:
Press the “ ” button and the TV will switch to standby
mode. Then the standby LED lights up.
To switch on the TV from standby mode either:
a. Press the “ ” button, P+ / P- or a numeric button on
the remote control.
b. Press the middle of the “ ” button on the TV..
By either method the TV will switch on.
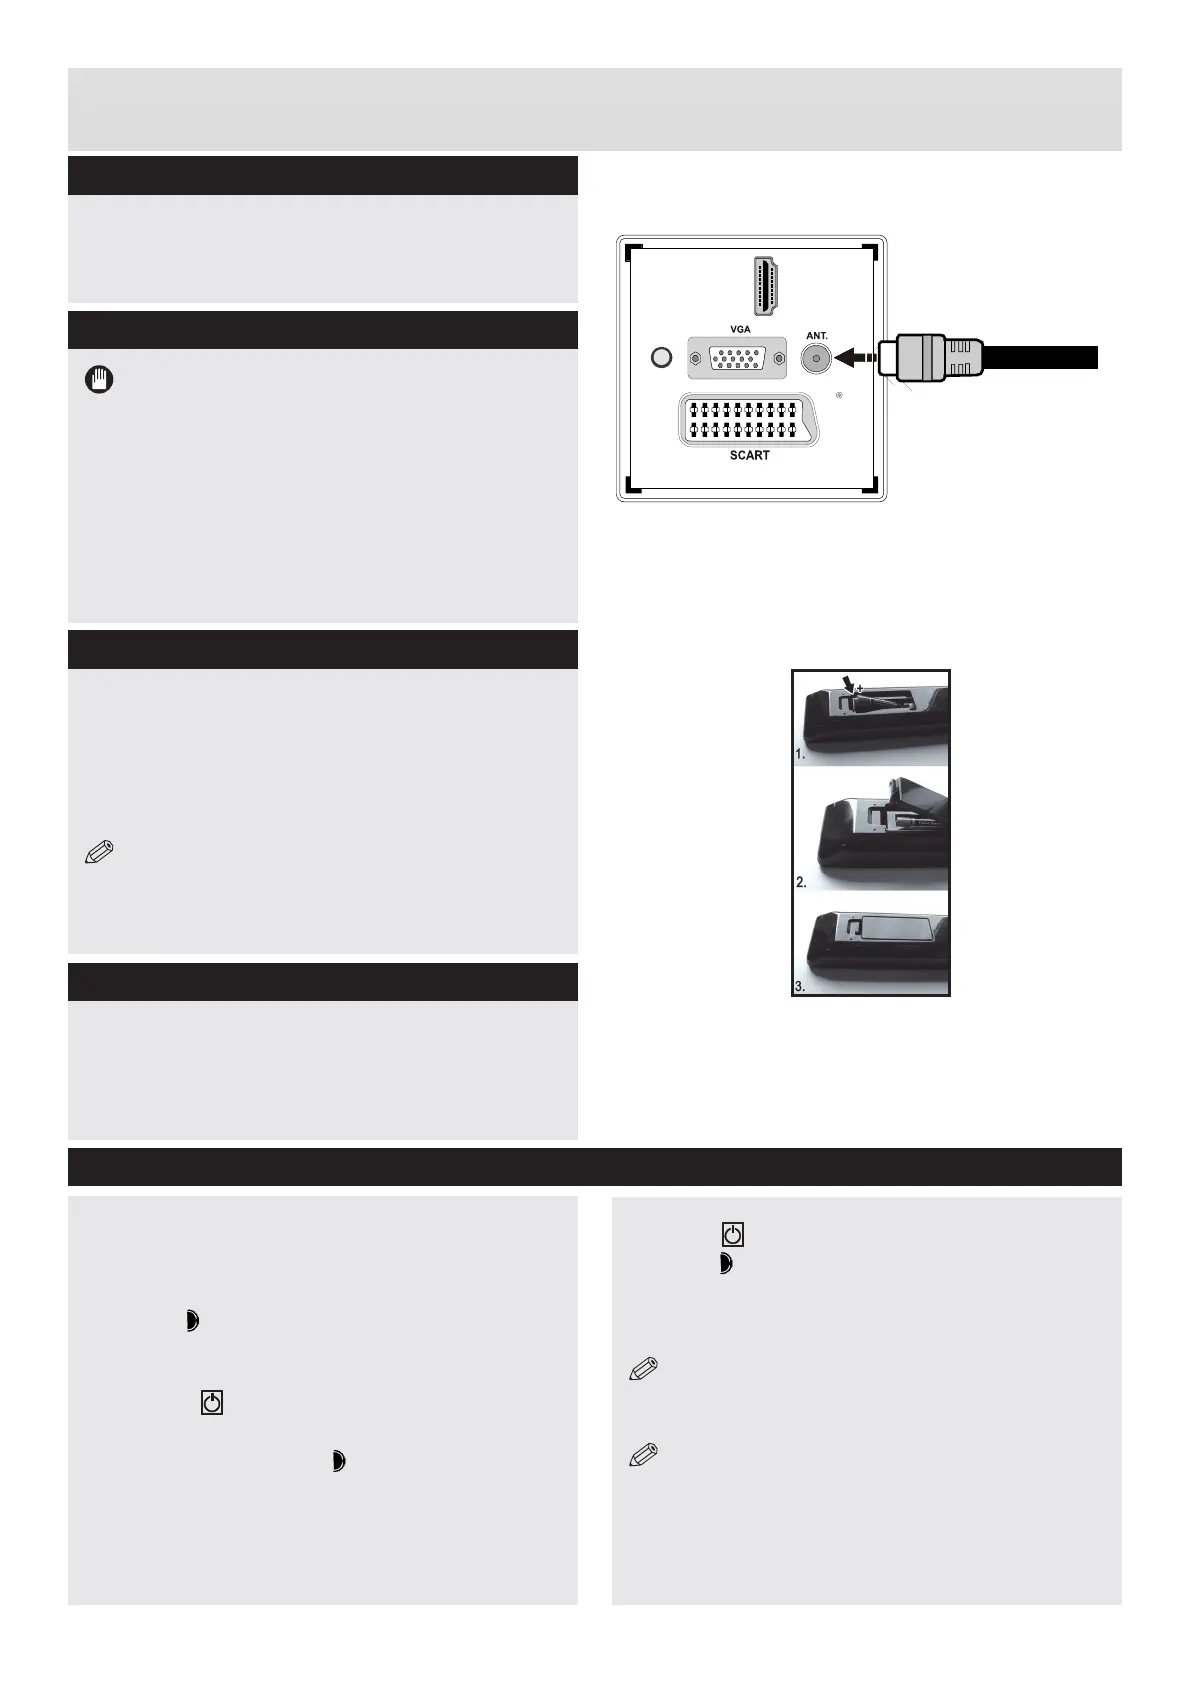
AAA/R3 x 2
Batteries
Switching the TV Off
Press the “ ” button on the remote control or press the
standby “ ” button, so the TV will switch to standby
mode.
To turn off the TV completely, remove the power
cord plug from the mains power socket.
NOTE: When the TV is in standby mode, the standby
LED can blink to indicate that features such as Standby
Search, Over Air Download or Timer are active.
NOTE: If you switch on your TV via P +/- buttons on
the remote control or +/- on the TV set, the programme
that you were watching last will be reselected.
fi g.1
fi g.2
Power connection
IMPORTANT :The TV set is designed to operate on
220-240V AC, 50 Hz.
Please note: After unpacking, allow the TV to reach
ambient room temperature before connecting the TV
to the mains power socket.
Connect the power cord plug to the mains power
socket.
The LED on the front of the TV then lights up, this
indicates that the TV is in ‘Standby’ mode.
Remote control - Inserting batteries
Remove the battery cover on the back of the remote
control, gently push down and pull backwards at the
same time as shown.
Insert two AAA/R3 or equivalent type batteries. Ensure
the batteries are inserted the correct way and replace
the battery cover (fi g.2).
NOTE: When the remote control is not going to
be used for long periods of time, the batteries should
be removed. Otherwise the remote control may be
damaged, caused by battery leakage and corrosion.
H
DMI
1
SPDIF
Coax.OUT
Wall Mounting
When wall mounting please ensure you use a compatible
wall mount (not supplied). This TV conforms to the VESA
mounting specifi cations and is 75 x 75mm.
Screw size is given on the specifi cation page.
10
 Loading...