allow the required space between wall mounted units and must avoid
stacking desktop units on top of each other.
Headset Battery Charger Wall Mount
This unit provides a convenient surface for mounting the headset battery
charger and its associated power supply on a wall.
l Customer assembly required.
l Customer assumes all responsibility for the installation of these units.
l Avoid potential hazards (electrical wires, waterlines, and similar building
components) when drilling into the wall.
l Avoid blocking power outlets and other wall receptacles when installing the
charger.
l Anchoring a wall mount to a wall stud generally results in a more stable
installation. If you drill into a wall stud, do not use a screw anchor in that
hole.
l Anchors must be at least 12 in. (30.48 cm.) from the floor to allow for proper
attachment, seating, and removal of the charger unit.
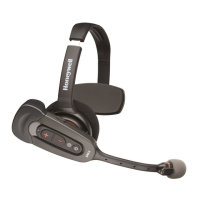
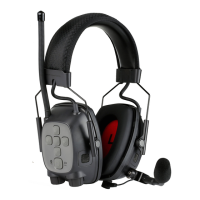
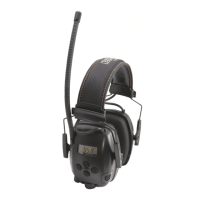
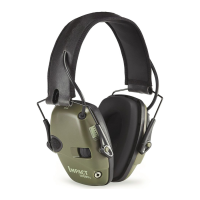
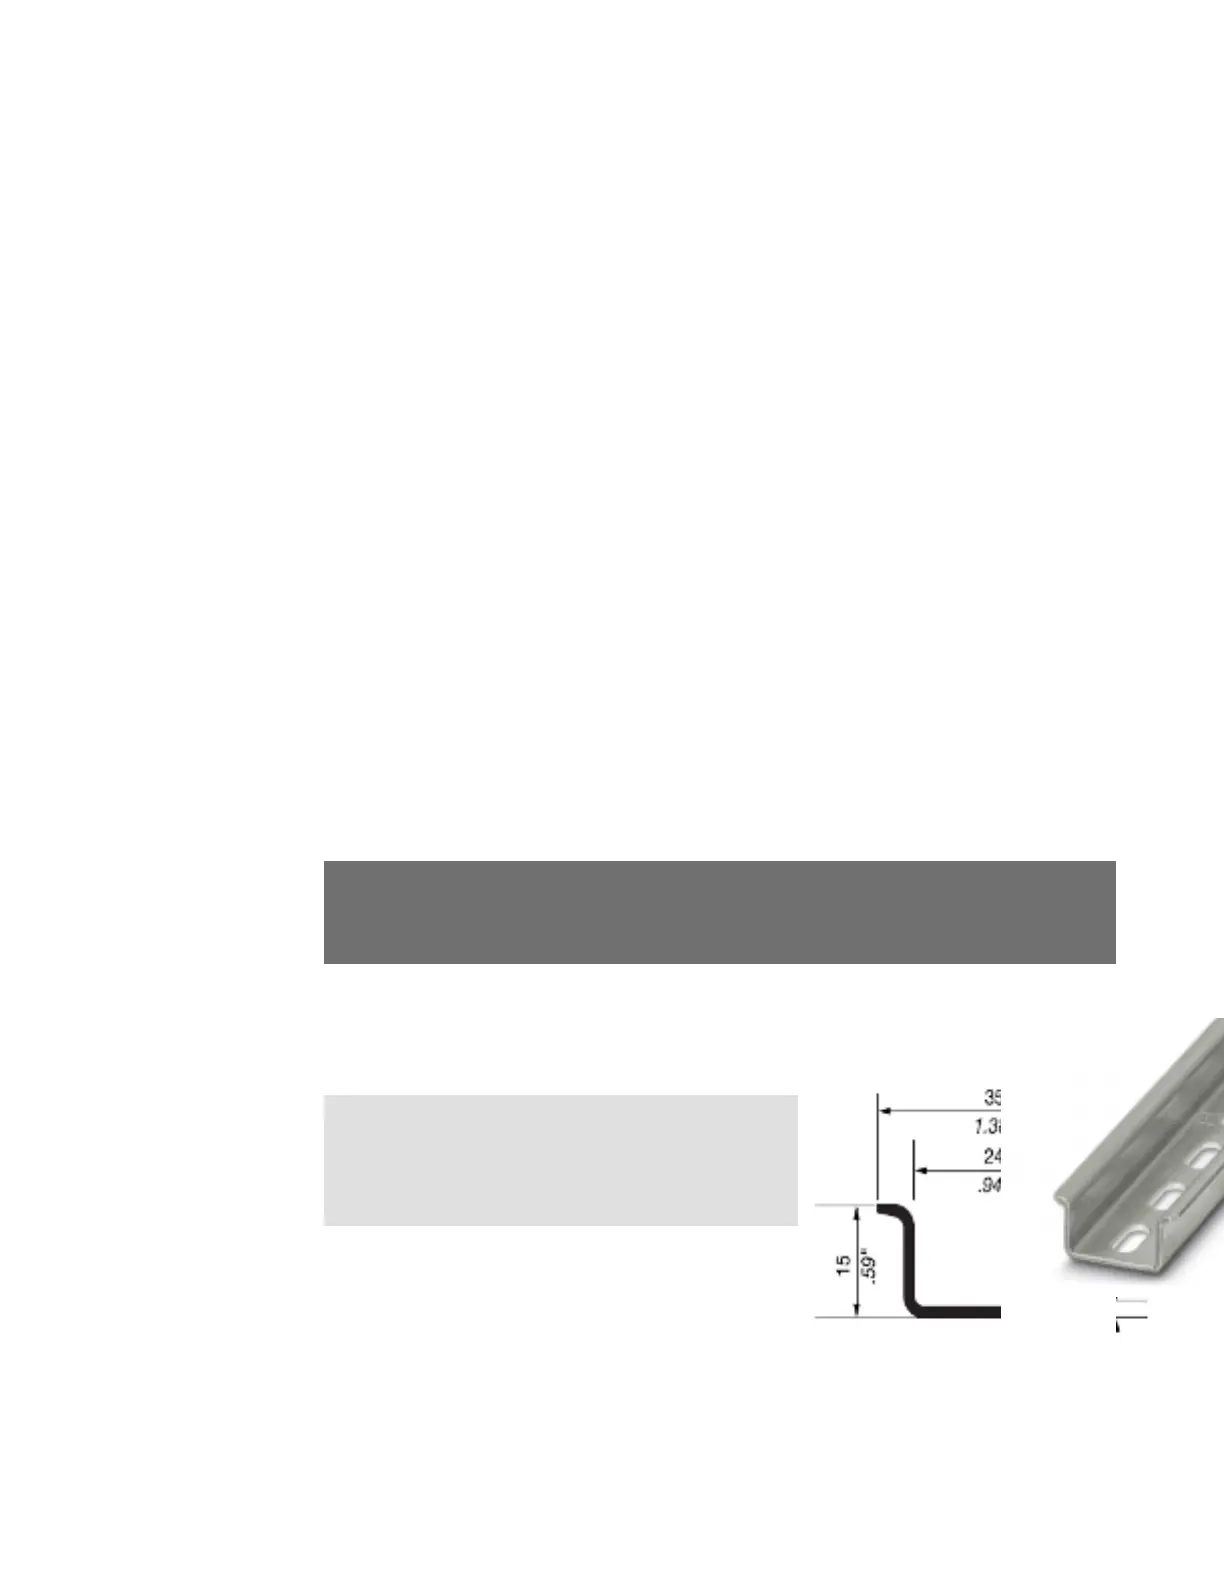
Mounting the SRX2/SRX3 battery chargers
You will need:
l DIN rail, slotted steel 35 mm X 15 mm, Honeywell Part #CM-1000-20-101
or customer-supplied DIN rail meeting the following specifications
Number of
chargers on rail
Minimum cut lengths
for rail
DIN rail specs
Standard
DIN rail
1
550
mm
Single unit length
550 mm; weight
331.5 g (11.6933
oz)
2
1101
mm
3
1652
mm
l Drill
l Fasteners
55 SRX3 User Guide - Preliminary
 Loading...