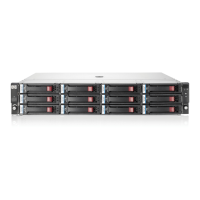
Removal and replacement procedures 32
CAUTION: To avoid data loss, be sure that the drives are labeled and returned to the same bays
they were removed from.
6. Be sure the hard drive drawer is closed completely.
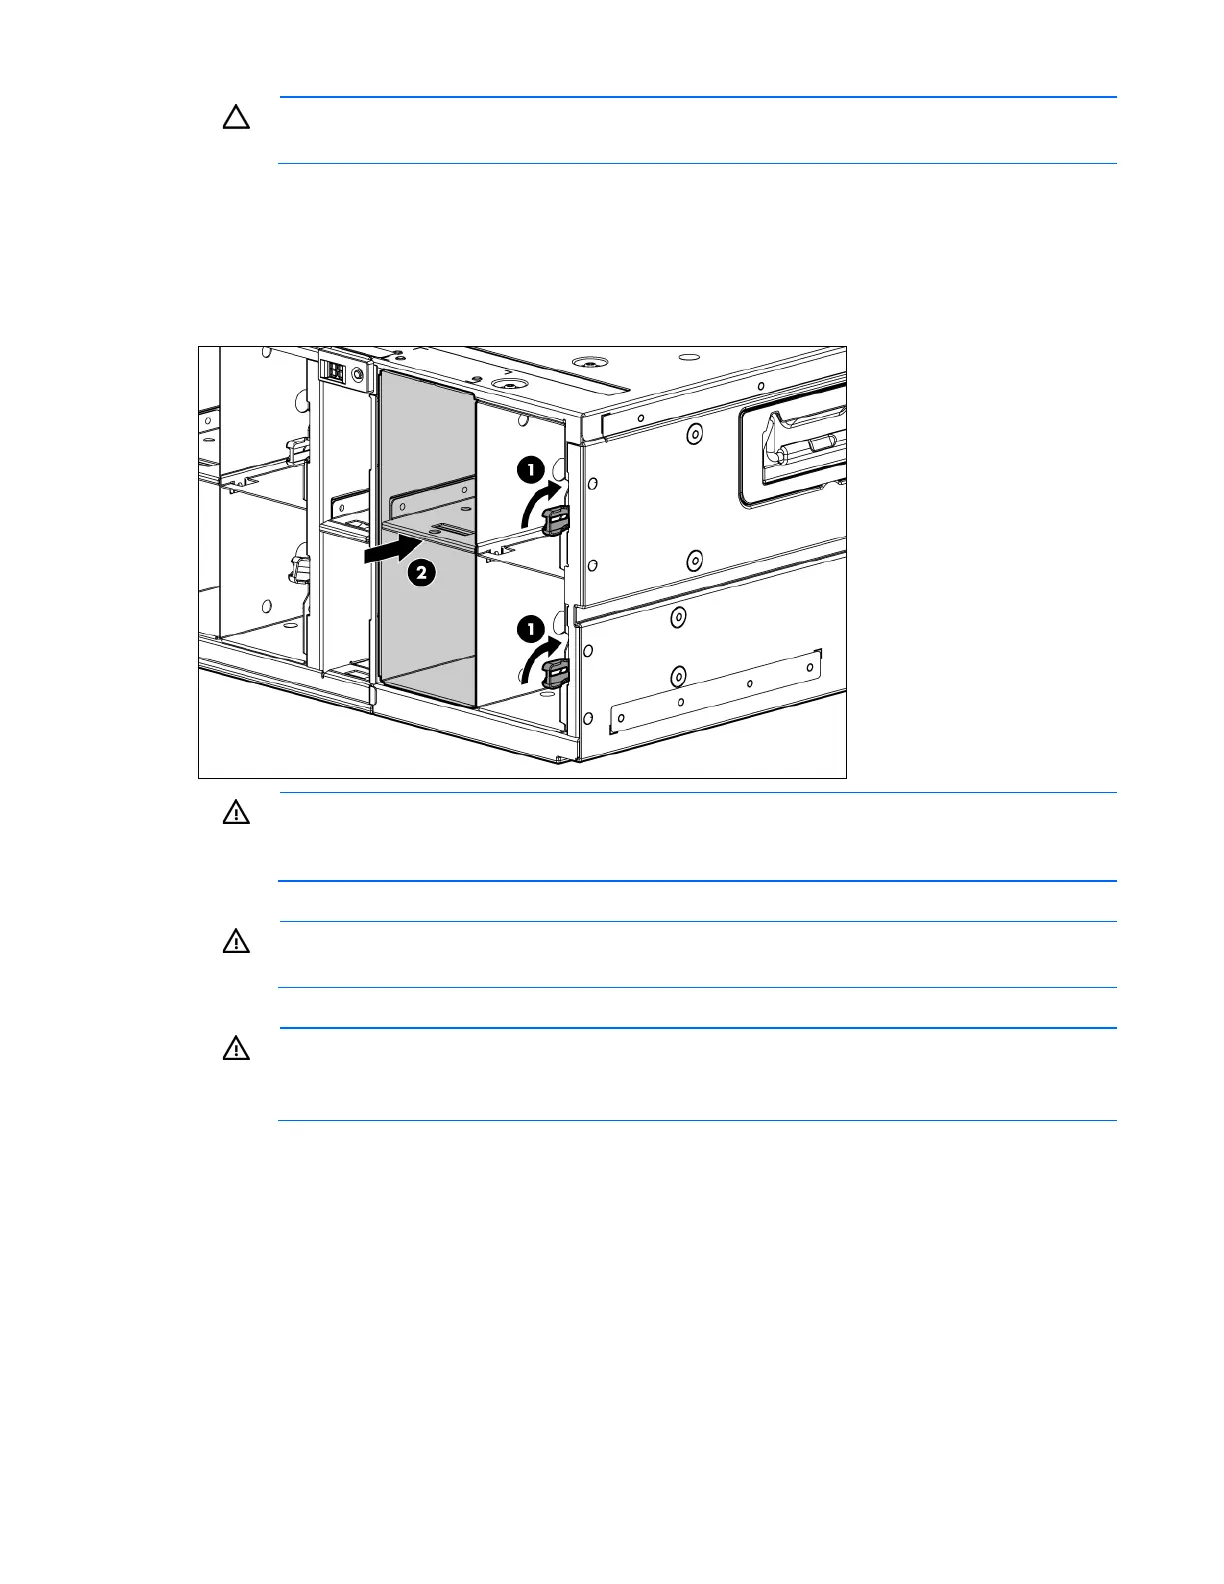
7. Remove all I/O modules ("Hot-plug I/O module" on page 25).
8. Pull down the handle on the front of the drawer, but do not extend the drawer.
9. Push up and hold the two release mechanisms on the I/O bays, and then move the drawer forward
about 15 cm (6 in).
WARNING: TIP HAZARD! To reduce the risk of personal injury or damage to the equipment, do
not extend the hard drive drawers beyond the supporting surface when the unit is not installed in
a rack.
WARNING: To reduce the risk of personal injury or damage to the equipment, ensure that only
one hard drive drawer is extended at a time.
WARNING: To reduce the risk of electric shock or damage to the equipment:
• Never reach inside the chassis while the system is powered up.
• Perform service on system components only as instructed in the user documentation.
10. Remove the power block ("Power block" on page 28).
 Loading...