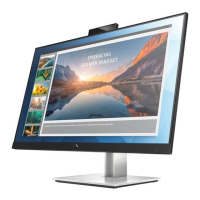
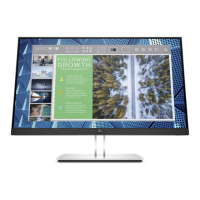
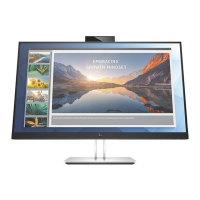
23.8–inch and 27–inch models
Component Function
NOTE: You can recongure the Function buttons in the OSD menu to
quickly select the most commonly used operations. See Assigning the
function buttons on page 20 for more information.
12 Power button Press the button to turn the monitor on or o. When the monitor is on, the
power light above the power button is on.
NOTE: To view an OSD menu simulator, visit the HP Customer Self Repair Services Media Library at
http://www.hp.com/go/sml.
Setting up the monitor
Installing the monitor stand
IMPORTANT: To prevent damage to the monitor, do not touch the surface of the LCD panel. Pressure on the
panel may cause nonuniformity of color or disorientation of the liquid crystals. If this occurs, the screen will
not recover to its normal condition.
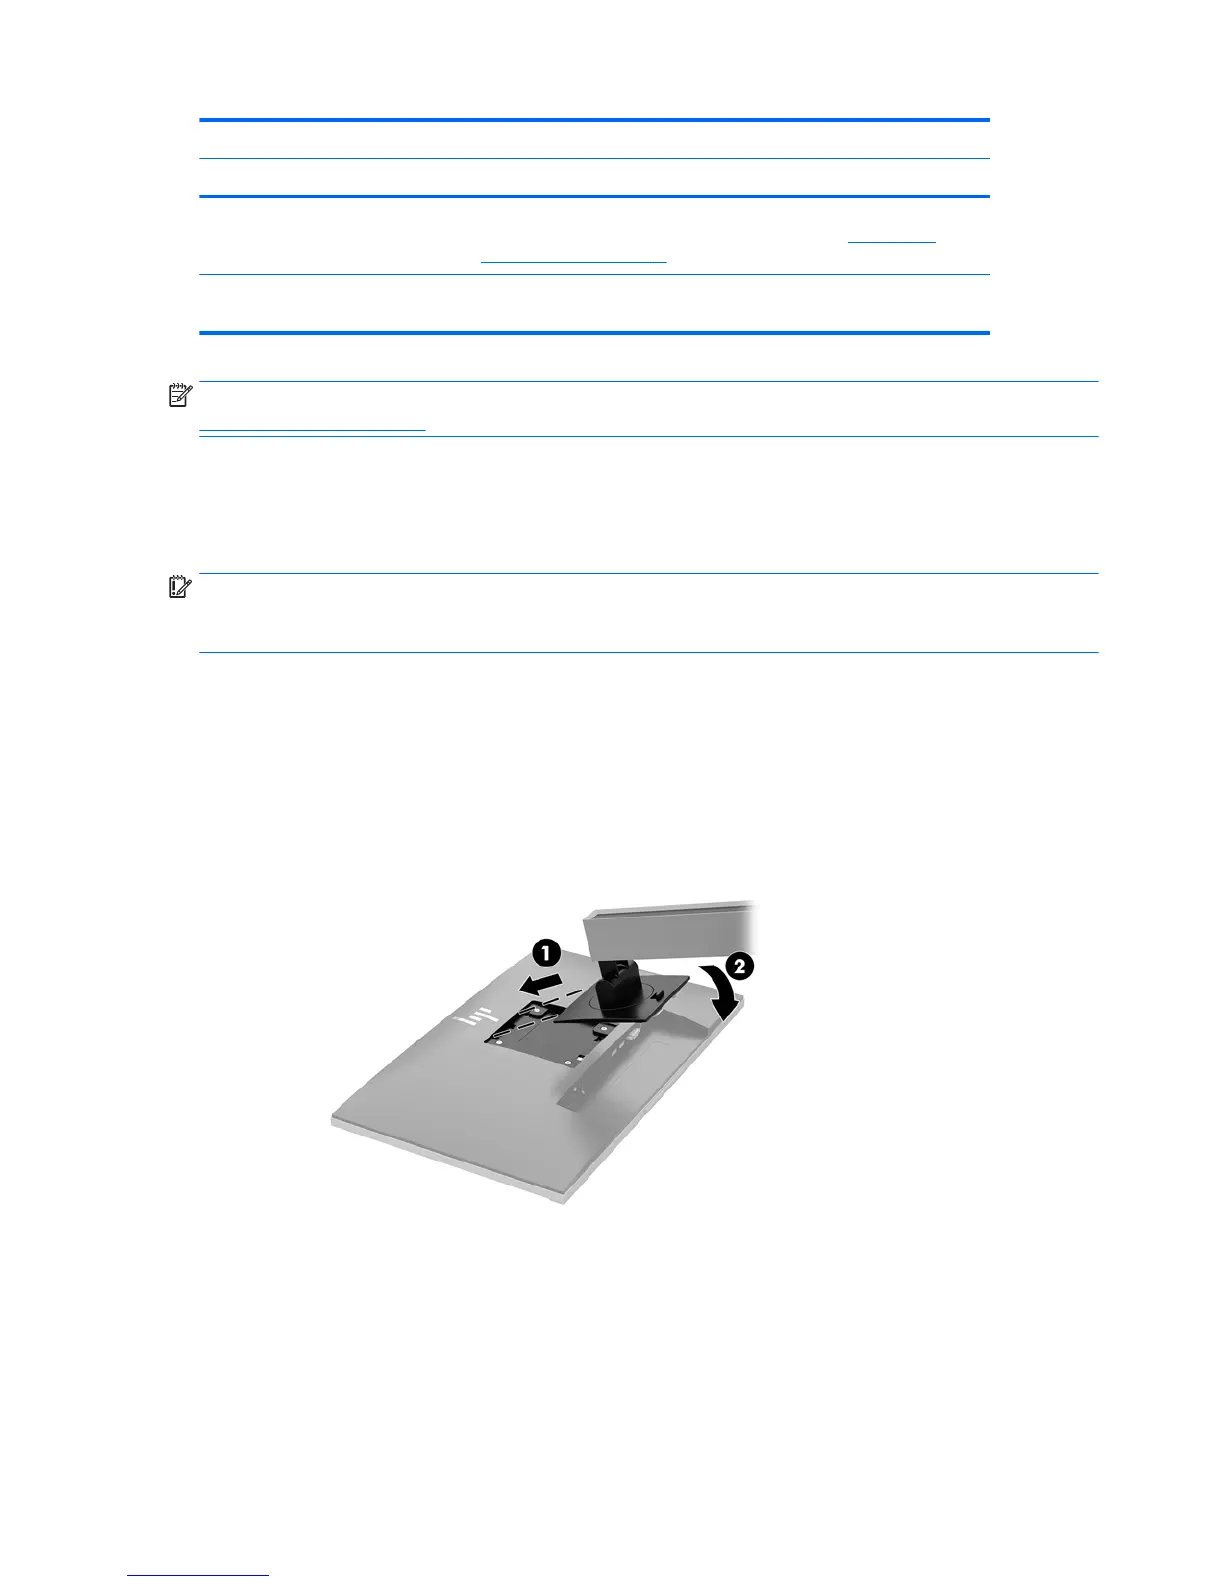
1. Position the monitor facedown on a at surface covered by a clean, dry cloth.
2. Slide the top of the mounting plate on the stand under the upper lip of the recess in the back of the
panel (1).
3. Lower the bottom of the stand's mounting plate into the recess until it snaps into place (2).
4. The latch pops up when the stand is locked in place.
6 Chapter 1 Getting Started
 Loading...