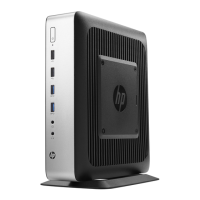
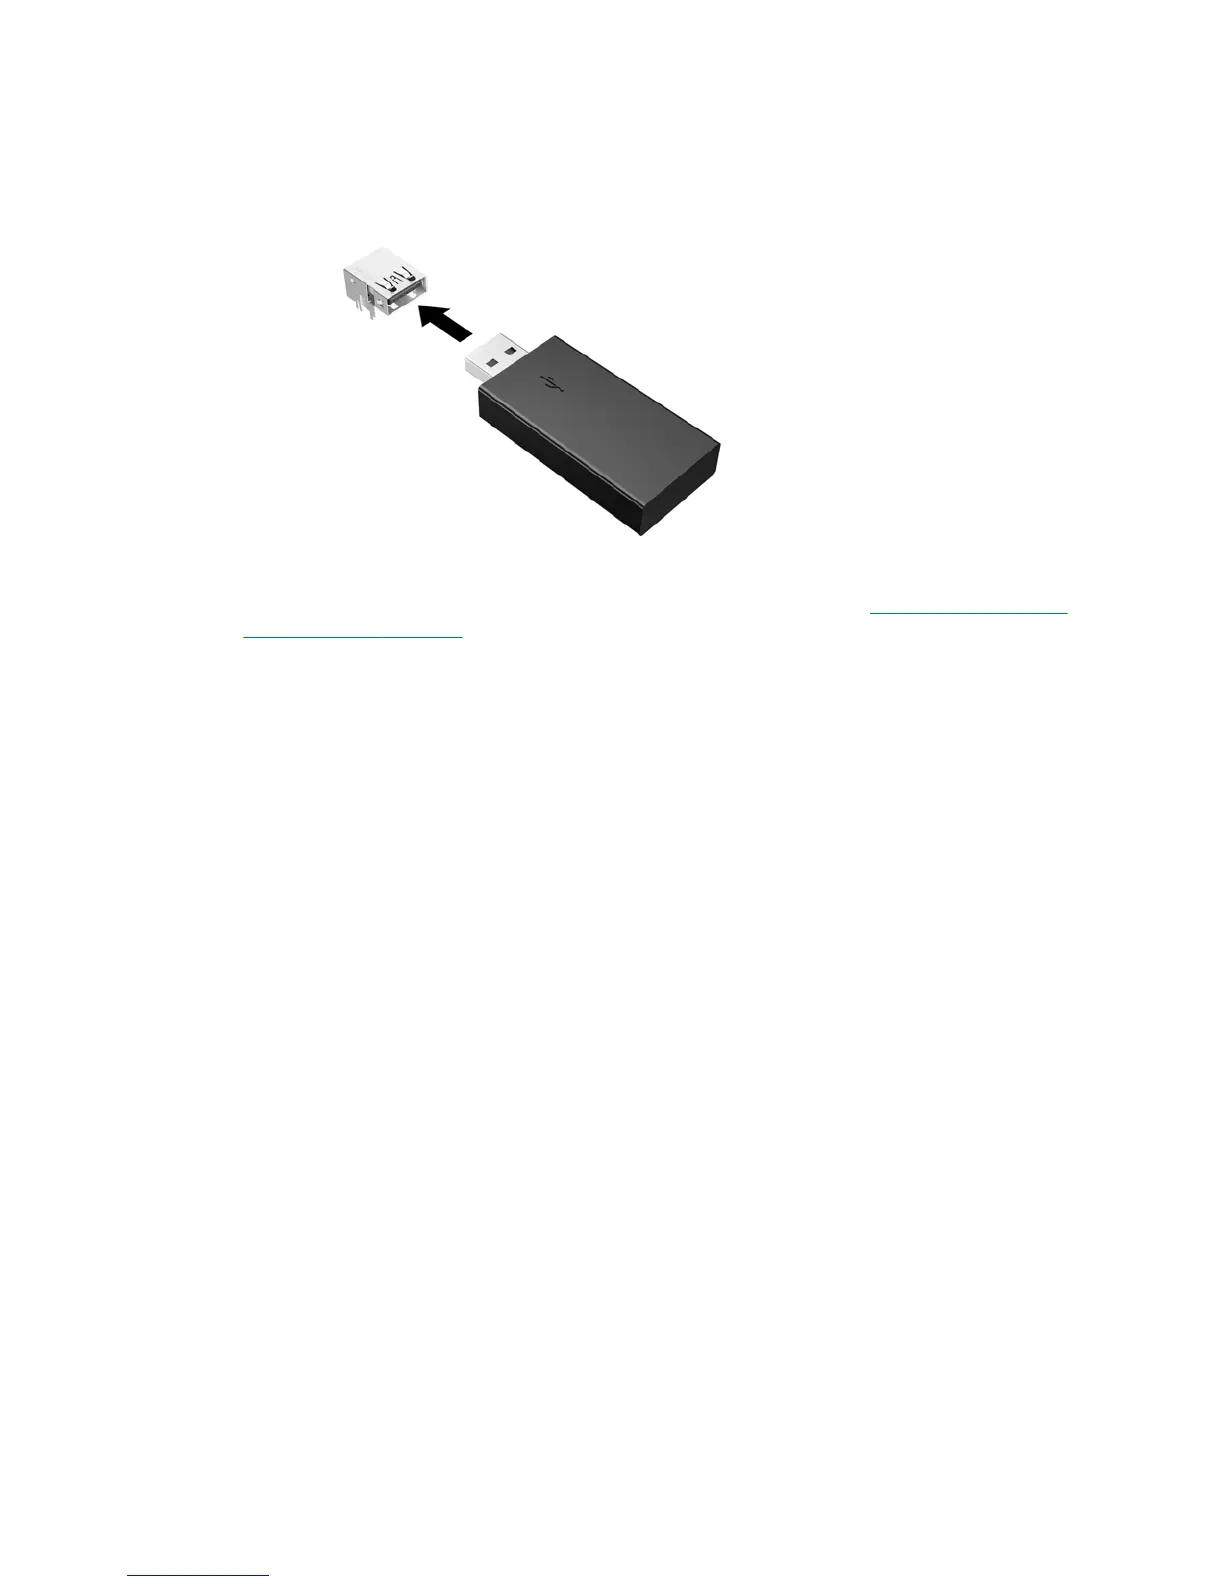
9. Align the USB ash drive with the USB port and press the drive rmly into the port until it is securely
seated.
10. Replace and latch the access panel, and then reinstall the rear I/O panel. See Removing and replacing
the access panel on page 4.
11. Replace the thin client stand.
12. Reconnect the AC power cord and turn on the thin client.
13. Lock any security devices that were disengaged when the thin client access panel was removed.
Installing additional SDRAM system memory
The thin client comes with dual channel, double data rate 3 synchronous dynamic random access memory
(DDR3/DDR3L) small outline dual inline memory modules (SODIMMs).
SODIMMs
The memory sockets on the system board can be populated with up to two industry-standard SODIMMs.
These memory sockets are populated with at least one preinstalled SODIMM. To achieve the maximum
memory support, you can populate the system board with up to 16 GB of memory.
DDR3L-SDRAM SODIMMs
For proper system operation, the SODIMMs must adhere to the following specications:
●
industry-standard 204-pin
●
unbuered non-ECC PC3L-12800 DDR3L-1600 MHz-compliant
●
1.35 volt DDR3L-SDRAM SODIMMs
●
support CAS latency 11 DDR3L 1600 MHz (11-11-11 timing)
●
contain the mandatory Joint Electronic Device Engineering Council (JEDEC) specication
The thin client supports the following:
14 Chapter 2 Hardware changes
 Loading...