AP4030DN Quick Start Guide Contents
Issue 01 (2015-02-06)
华为专有和保密信息
版权所有 © 华为技术有限公司
16
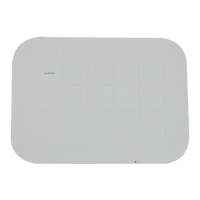
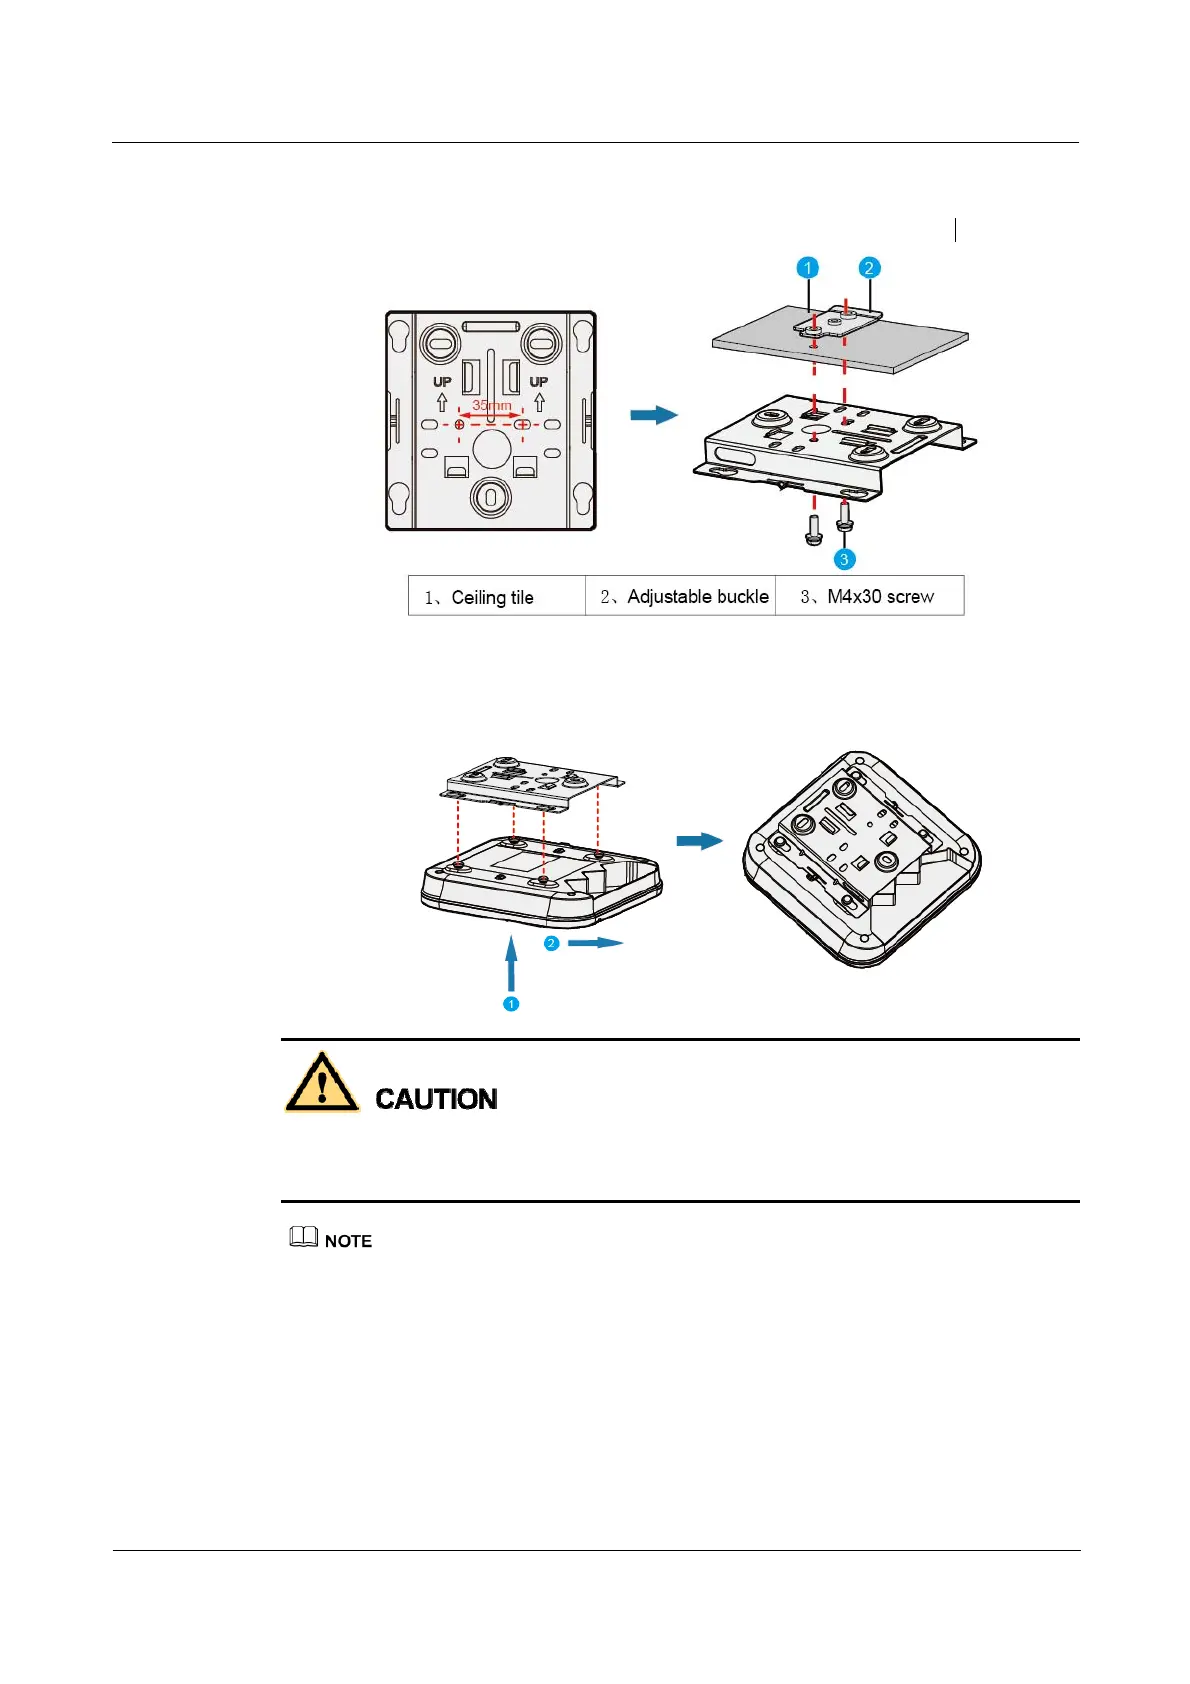
1. Remove a ceiling tile, determine locations of mounting holes based on the distance
between two installation holes on the mounting bracket, use a hammer drill to drill
hole on the ceiling tile, and fix the mounting bracket to the ceiling tile.
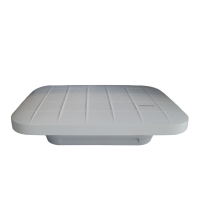
2. Hang the AP on the mounting holes by aligning the mounting screws at the rear of
the AP with the mounting screws on the bracket and push the AP horizontally to
secure the AP.
The screws provided for ceiling-mounting of APs are 30 mm long and can be used to fix an
AP on a ceiling not thicker than 15 mm. To install APs on thicker ceilings, you need to
purchase longer screws.
Ensure that the AP is correctly installed on the mounting bracket and there must be 200 mm
space above and around the AP for maintenance.
2.4.3 T-rail Mounting
1. Remove two ceiling tiles around the T-rail (1), use screws (2) to fix the adjustable buckle
(3) to the mounting bracket (4), hook the adjustable buckle to the T-rail, and secure the
screw on the adjustable buckle to fasten the mounting bracket and T-rail. Remove two
ceiling tiles around the T-rail, use screws to fix the adjustable buckle to the mounting

 Loading...