EN
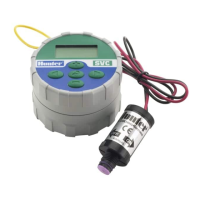
To Install the Battery/Batteries
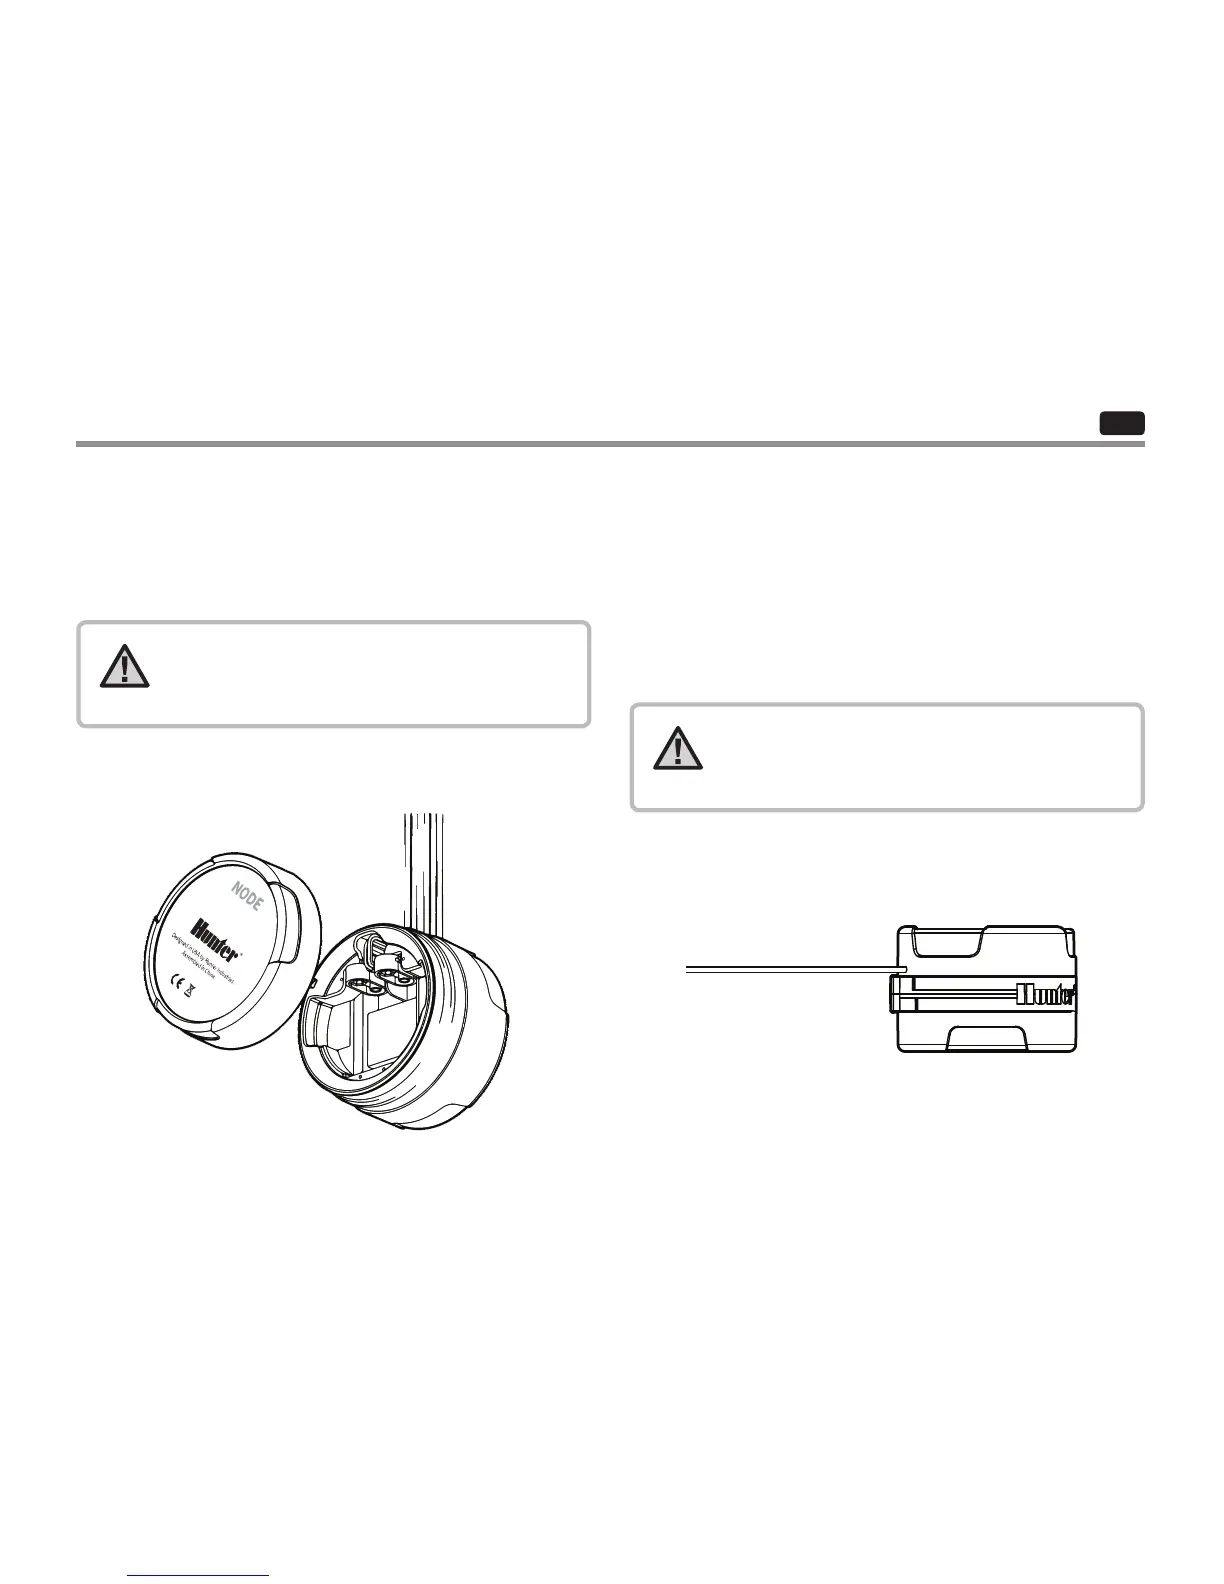
1. Unscrew the rear body of the NODE body to gain access to the
battery compartment.
2. Insert the battery/batteries into the battery tray and connect to
the controller using the battery connector.
3. Make sure that no water is inside the battery compartment.
4. Screw the NODE rear body back onto the front half.
NOTE: Verify that the seal marker on the rear half
of the NODE lines up with the front half, ensuring
that a proper seal is created.
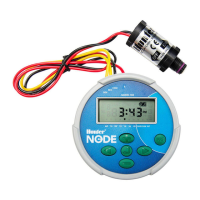
The NODE uses one or two standard nine-volt batteries (not included)
to operate the valves and program the controller. The controller can
operate using either a single nine-volt battery or using two nine-volt
batteries. Under normal conditions, the expected life is one year for a
single battery and two years when using two nine-volt batteries.
NOTE: The NODE has non-volatile memory. This
allows the battery to be removed without losing
program information.
CONNECTING THE BATTERY/BATTERIES
4
 Loading...