62 Duramax/Duramax Hyamp Robotic Torches Service Manual 807460
4 – Component Replacement
Replacing the torch lead
1. Complete the following procedures:
a. See Disconnect the power, gas supply, and torch on page 55.
b. Remove all components from the torch. See Remove the positioning barrel on page 56.
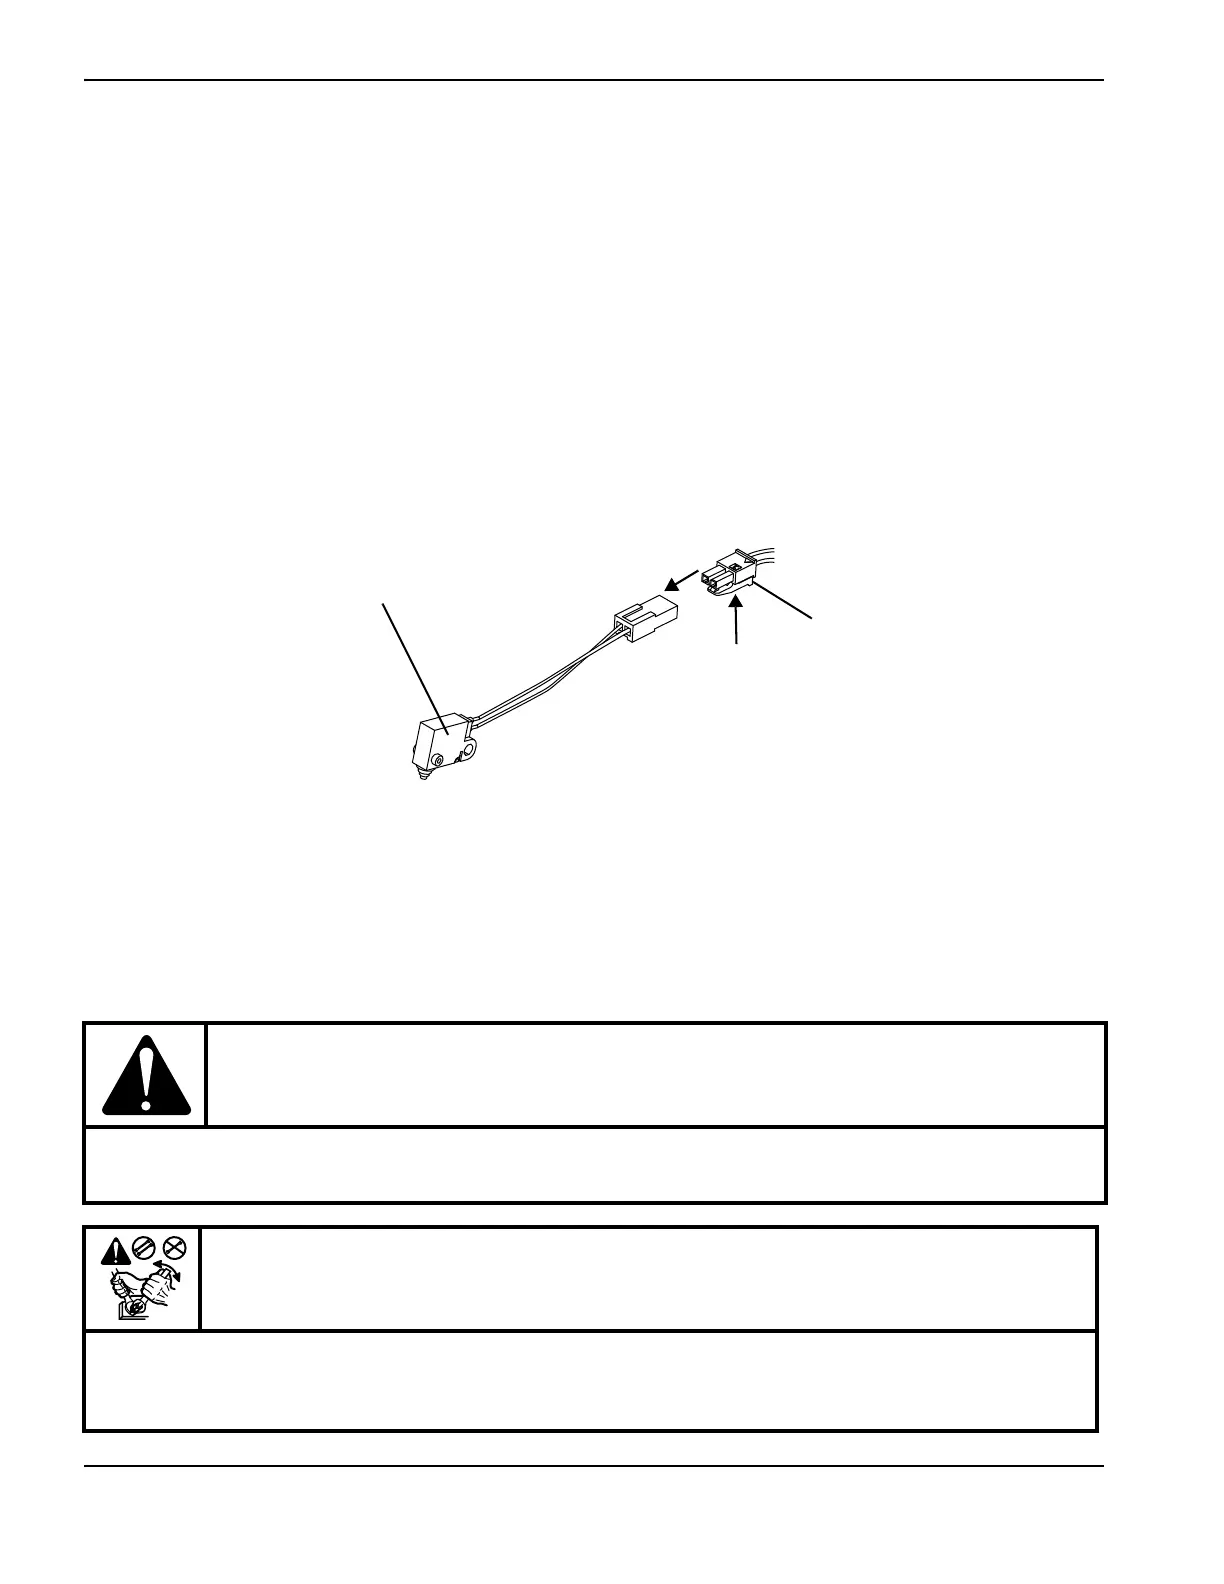
2. Disconnect the cap-sensor switch.
Figure 29
3. Remove the pilot terminal screw.
4. Use 2 wrenches to loosen the gas fitting that secures the torch body to the torch lead.
Heating the gas fitting can help loosen the threadlocker and make removing the torch
body easier. Slowly heat only the fitting with a heat gun until you can easily loosen the
fitting.
Kit Description
228852 Kit: Robotic torch lead replacement, 7.6 m (25 feet)
428292 Kit: Duramax Hyamp robotic torch lead replacement, 7.6 m (25 feet)
CAUTION!
Do not apply heat to the wires. Heating the wires could cause damage to the connections in the torch
lead.
CAUTION!
Always use 2 wrenches to properly loosen and tighten the hex nuts and bolts mentioned in these
procedures. A strong threadlocker is used to assemble the torch, and loosening the nuts incorrectly
can damage the threads.

 Loading...