230V CE INSTALLATION
2-6
230V CE Installation Manual
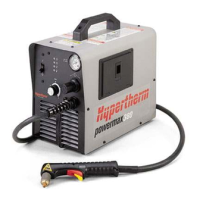
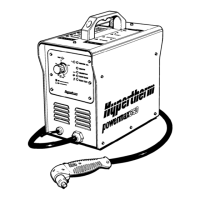
ATTACHING POWER SUPPLY BRACKET TO POWERMAX900 CE
CHASSIS.
1. If torch is connected to power supply, disconnect it.
WARNING
INSTALLATION MUST BE PERFORMED ONLY BY HYPERTHERM DISTRIBUTORS OR
QUALIFIED ELECTRONICS TECHNICIANS!!
SHOCK HAZARD: Always turn off power, unplug cord from wall and wait 5 minutes before
removing any cover of the power supply! If power unit is directly connected to a line
disconnect box, place line disconnect switch to OFF position and remove power cord from
line disconnect box.
Figure 2-4 Removal of Power Cord from Powermax900 CE Power Supply - 1 of 2
Remove screws to remove
line cord rear panel and
expose filter board and TB1.
2. Remove power cord from line disconnect box or from receptacle.
3. Remove power cord from power supply. See Figure 2-4.
3.1.Loosen the power cord strain relief.
3.2.Remove the screws securing the line cord rear panel.
3.3.Slide rear panel down on power cord to expose filter board and TB1.
3.4.Disconnect power cord from TB1 and ground stud. See Figure 2-5.
Loosen power cord
strain relief.

 Loading...


