Installing or replacing an expansion canister: 2077-92F
You can reinstall an expansion canister in a 2077-92F expansion enclosure or
replace a faulty expansion canister with one from FRU stock.
Before you begin
Important: You can replace an expansion canister without powering off the
expansion enclosure. However, to maintain operating temperature, replace the
expansion canister within 10 minutes of its removal. When an expansion canister is
removed, the reduction in airflow through the enclosure might cause the enclosure
or its components to shut down to protect from overheating.
About this task
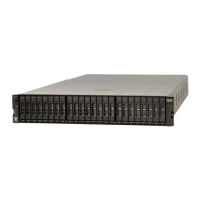
An expansion canister provides SAS connectivity between the 2077-92F expansion
enclosure and Storwize V5000 Gen2 system. The expansion enclosure contains two
expansion canisters. Figure 40 shows an example of an expansion canister. If either
of the two expansion canisters has a failure, the other expansion canister assumes
the full I/O load.
▌1▐ Canister fault indicator
▌2▐ Canister status
▌3▐ Canister power indicator
▌4▐ and ▌6▐ SAS link fault indicators
▌5▐ and ▌7▐ SAS link operational indicators
▌8▐ Canister release handles
Procedure
1. Disconnect the elbow of the lower cable management arm to swing it out of the
way, as shown in Figure 41 on page 61.
Follow the procedure that is described in “Moving the cable management
arms” on page 64.
2. Carefully align the expansion canister with the expansion enclosure.
3. Rotate both the handles outward and insert the expansion canister into the
expansion enclosure.
4. When the expansion canister is fully inserted, rotate each handle inward to lock
it into position, as shown in Figure 41 on page 61.
2
1
S
A
S
2 31 4 5 6 7
svc01070
Figure 40. Expansion canister
60 Storwize V5000 Gen2: Quick Installation Guide
 Loading...