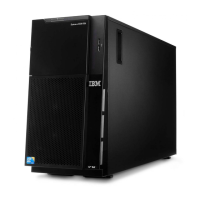
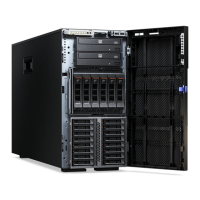
Removing a simple-swap Serial ATA (SATA) hard disk drive
To remove a simple-swap SATA drive, complete the following steps.
Hard disk drive
assembly
Filler panel
1. Read the safety information that begins on page vii and “Installation guidelines”
on page 39.
2. Make sure that the server cover is in place and fully closed.
3. Turn off the server and peripheral devices and disconnect all power cords.
4. Remove the filler panel from the bay.
Note: To make sure that there is adequate system cooling, do not operate the
server for more than 2 minutes without either a hard disk drive or a filler panel
installed in each bay.
5. Pull the loops of the drive tray toward each other and pull the tray out of the
bay.
Attention: To avoid damage to the hard disk drive connectors, make sure that
the server cover is in place and fully closed whenever you install or remove a
hard disk drive.
Removing a hot-swap hard disk drive
The server hot-swap models support two 3.5-inch or four 2.5-inch SAS hard disk
drives. The removal and installation procedures are the same for either type of
drive.
To remove a hot-swap hard disk drive, complete the following steps.
Hard disk drive assembly
Drive handle
Filler panel
Attention: To avoid damage to the hard disk drive connectors, make sure that the
server cover is in place and fully closed whenever you install or remove a hard disk
drive.
1. Read the safety information that begins on page vii and “Installation guidelines”
on page 39.
2. Move the handle on the drive to the open position (perpendicular to the drive).
3. Pull the hot-swap drive assembly from the bay.
48 IBM System x3550 Type 7978 and 1913: Problem Determination and Service Guide
 Loading...
