2
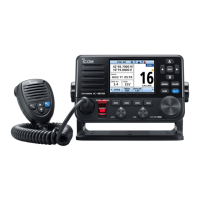
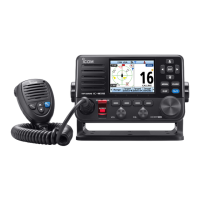
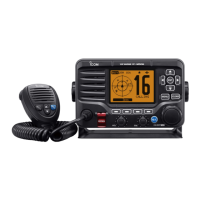
PANEL DESCRIPTION
3
• Push and hold for 1 sec. to activate tri-watch for checking
channel 16 and the call channel.
➏ CALL CHANNEL SWITCH [9•ALL/IND]
• Selects the call channel—the call channel is programma-
ble, channel 9 being the default. (p. 11)
• Push and hold for 1 sec. to enter the standby condition of
a DSC call. (When an optional UX-120 is installed).
(pgs. 14, 15)
➠ Both “All ships call” and “Individual call” are selectable.
➐ CHANNEL 16 SWITCH [16•EMER]
• Selects channel 16. (p. 6)
• Push and hold to enter the standby condition for a dis-
tress call transmission using the DSC function (when an
optional UX-120 is installed). (p. 13)
➑ SQUELCH CONTROL [SQUELCH]
• Rotate clockwise to eliminate audio noise. (p. 8)
• Activates the built-in attenuator when rotated deep clock-
wise. (p. 8)
➒ POWER/VOLUME CONTROL [PWR/VOL]
Turns power ON and OFF and adjusts the audio output
level. (p. 6)
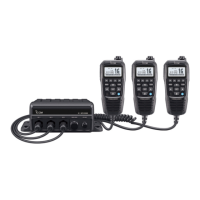
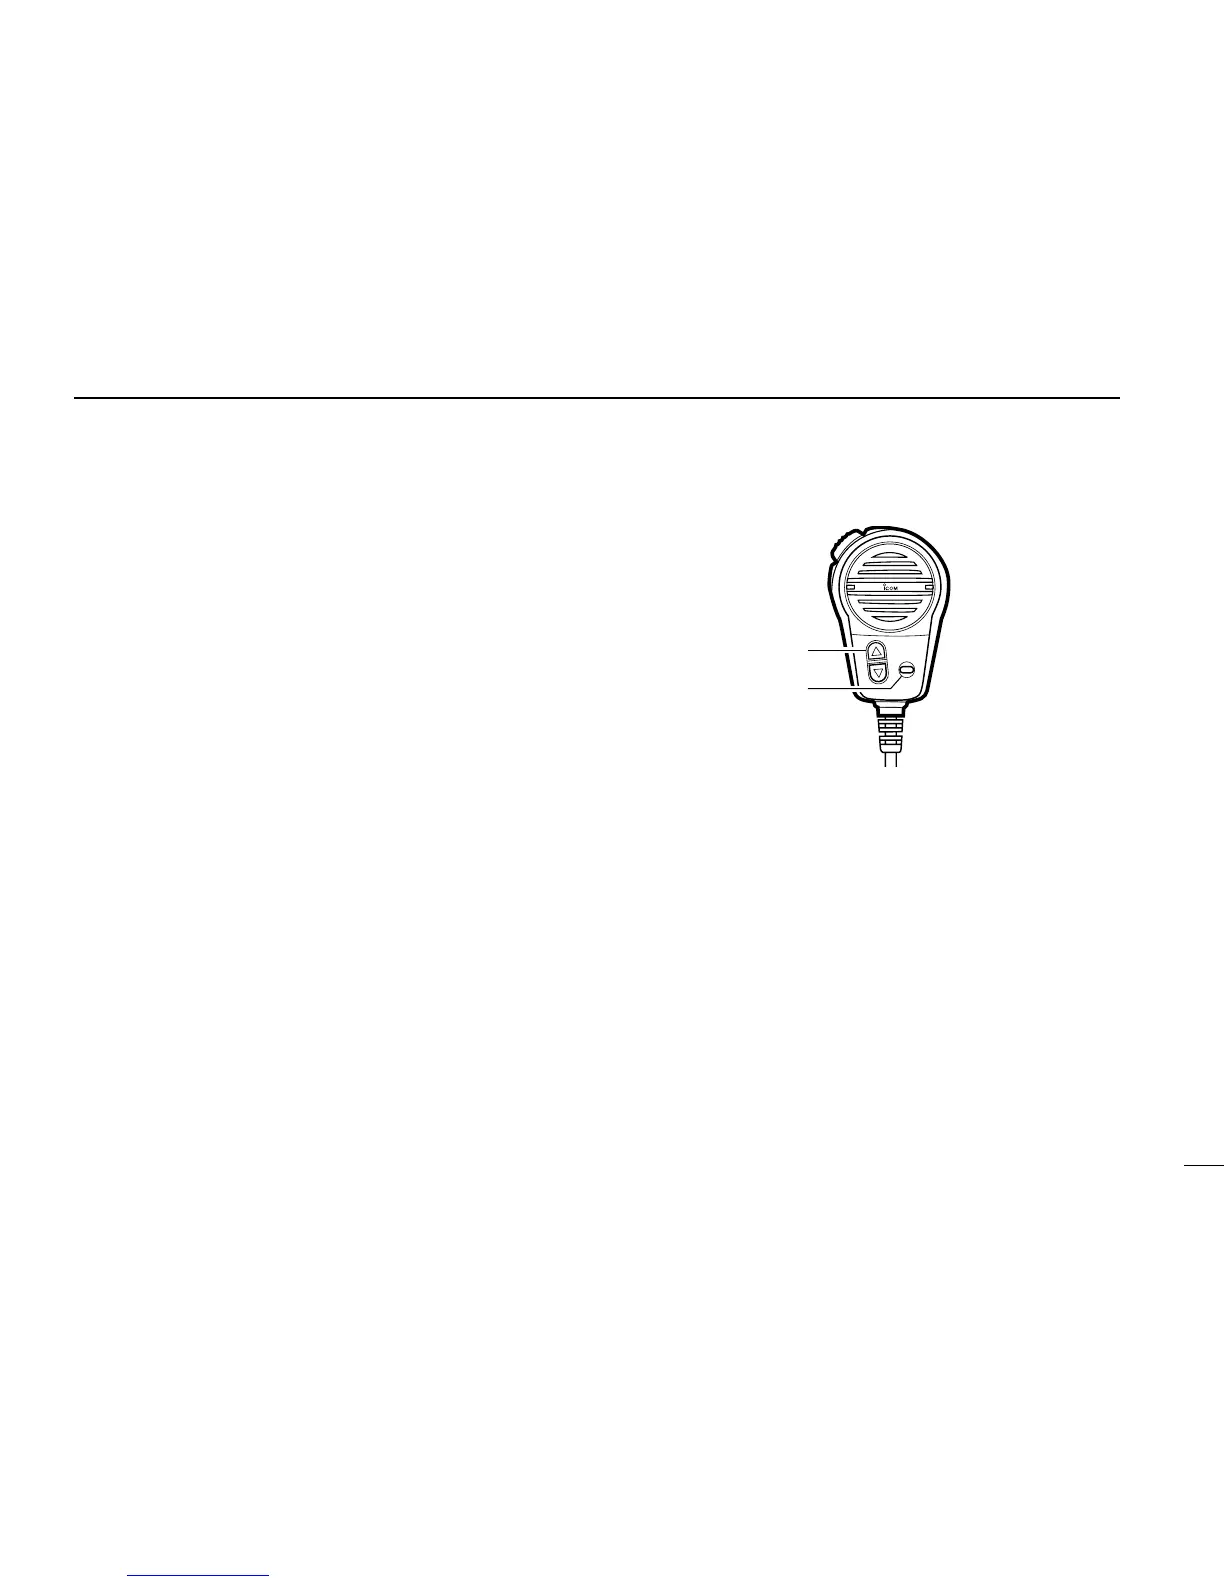
➊ CHANNEL UP/DOWN SWITCHES [▼]/[▲]
• Select an operating channel in the selected channel
group.
➠ These switches can be used instead of the transceiver’s
channel selector.
➋ HIGH/LOW POWER SWITCH [HI/LO]
The same function as the transceiver’s front panel.
• Toggles between high and low output powers. (p. 9)
• While pushing, push the [▼]/[▲]
switches to adjust the display
and control/switch backlighting intensity. (p. 11)
 Loading...