Put the test paper
into water for about
1 sec. Do not put the
test paper under
running water.
Shake the test paper
to remove the excess
of water.
After 1 min, check
water hardness with
the table below.
Set the water hardness
level: Menu / Settings /
Setup / Water hard‐
ness.
The colours of the test paper continue to change. Do not check water hardness later
than 1 min after test.
You can change the water hardness level in the menu: Settings / Setup / Water hardness.
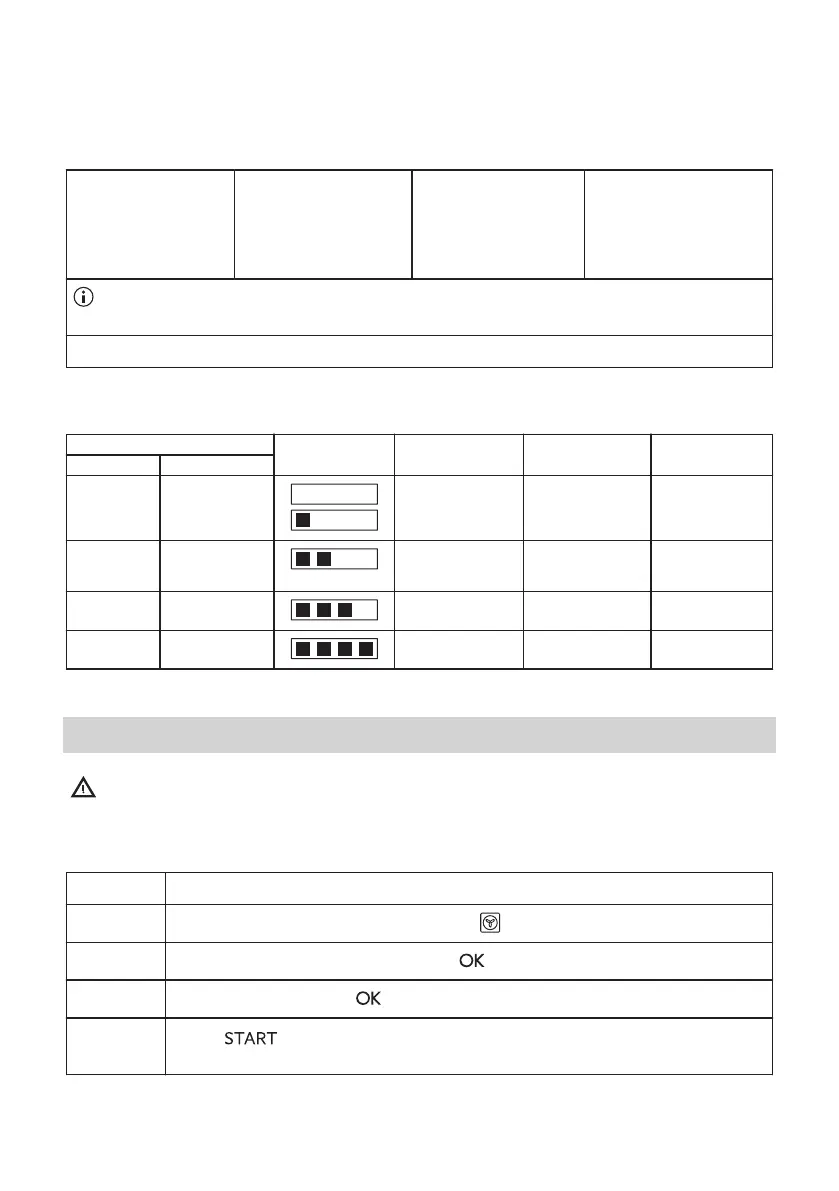
The table shows water hardness range (dH) with the corresponding level of Calcium deposit
and the water classication. Adjust the water hardness level according to the table.
Water hardness Test paper Calcium deposit
(mmol/l)
Calcium depos‐
it (mg/l)
Water classi‐
cation
Level dH
1 0 - 7 0 - 1.3 0 - 50 soft
2 8 - 14 1.4 - 2.5 51 - 100 moderately
hard
3 15 - 21 2.6 - 3.8 101 - 150 hard
4 ≥22 ≥ 3.9 ≥151 very hard
When the tap water hardness level is 4, ll the water drawer with still bottled water.
Daily use
Warning! Refer to Safety
chapters.
How to set: Heating functions
Step 1 Turn on the oven. The display shows the default heating function.
Step 2
Press the symbol of the heating function to enter the submenu.
Step 3
Select the heating function and press: . The display shows: temperature.
Step 4
Set: temperature. Press: .
Step 5
Press: .
Food Sensor - you can plug the sensor at any time before or during cooking.
ENGLISH 13

 Loading...