RDC-7
4
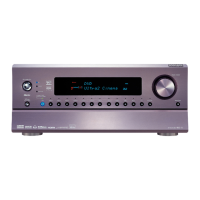
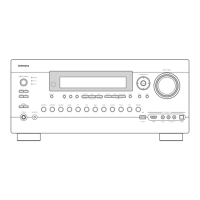
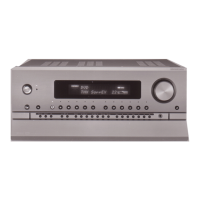
Front panel facilities
Display
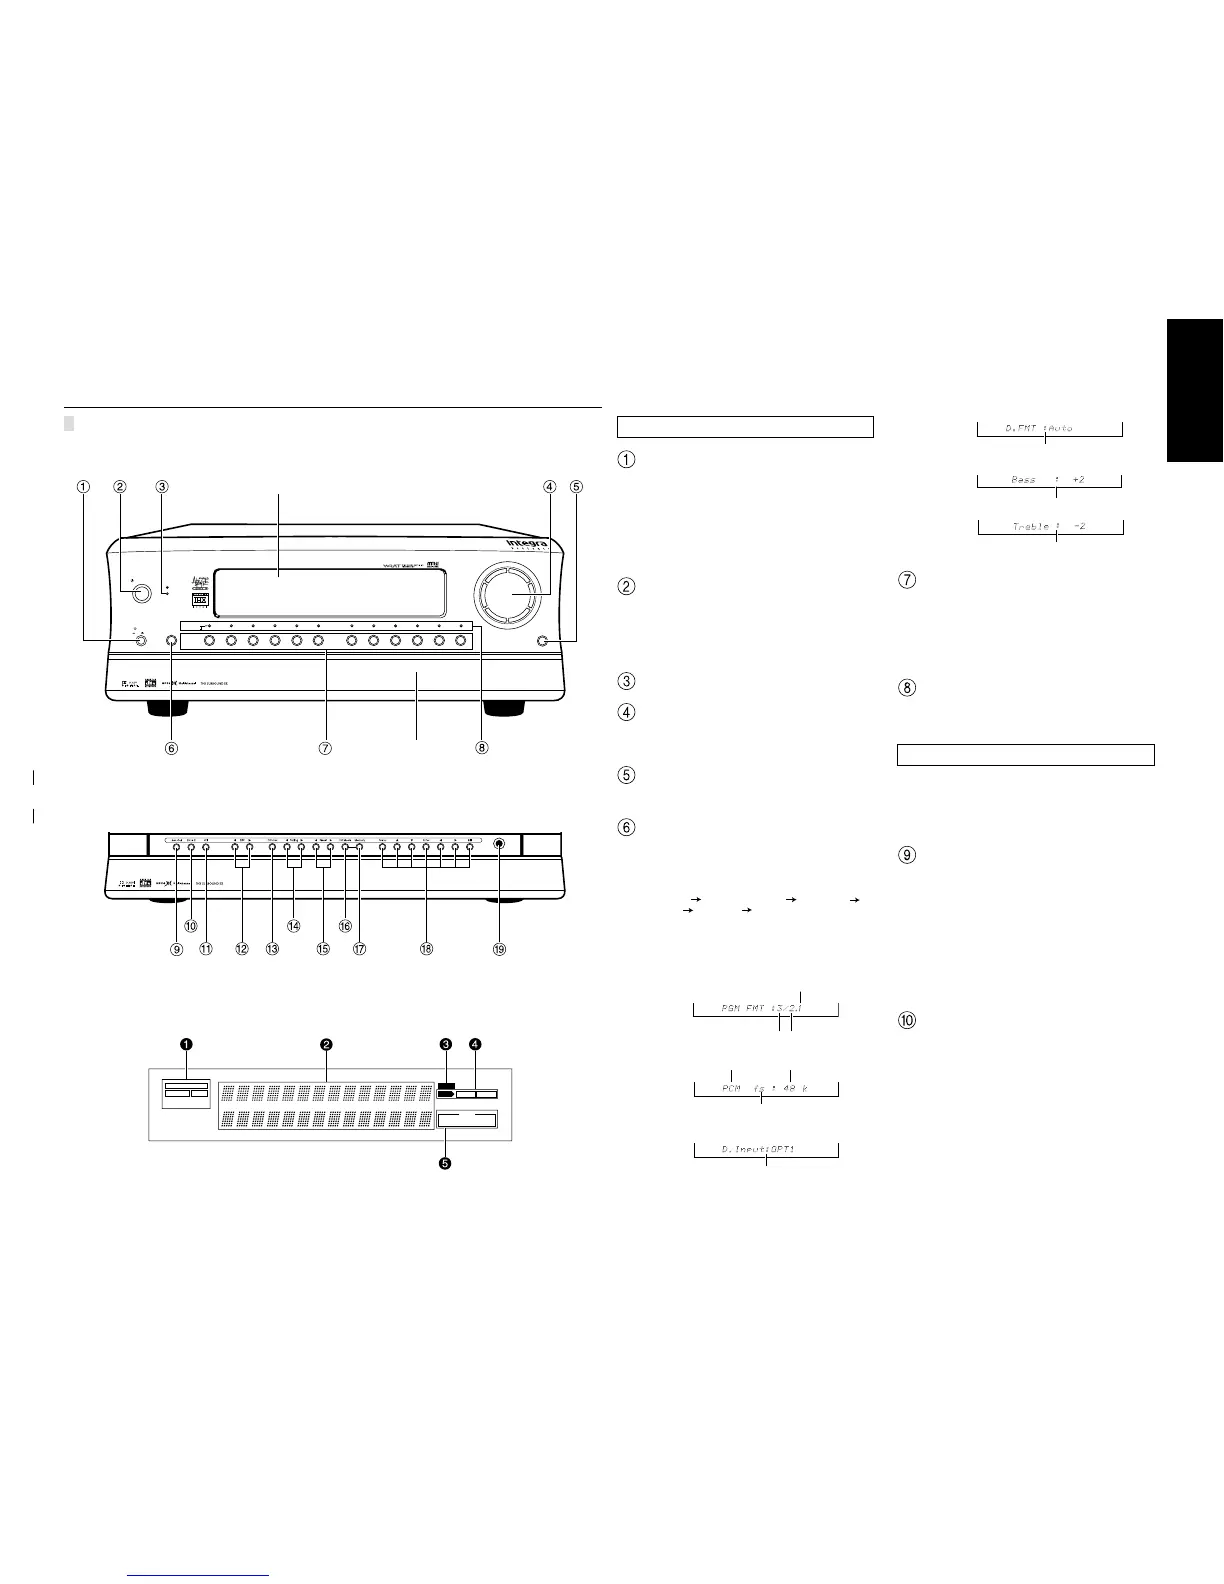
Here is an explanation of the controls and displays on the front panel of the RDC-7.
Front door
Front panel
Front panel door
Front panel display
ALDOLBY DIGIT
MPEG DTS
DOLBY
PRO LOGIC
VIDEO
213
DVD
4 5 COMPONENT
ANALO
G
DIGITAL
213
SLEEP
INPUT
Standby/On
Display DVD
Video
1
Video
2
Video
3
Video
4
Video
5
Tape
1
Tape
2
AM
FM
Phono
C D
Open/Close
Zone
2
()
GRN
Rec
()
RED
Off
On
Standby
Master Volume
On
Power
AV Controller RDC-7
Phones
Clear
AV Controller
RDC-7
Digital format:
The current input source is set for
a digital format of ÒAuto.Ó
Bass level:
The current bass level is +2.
Treble level:
The current treble level is -2.
Front panel
Power
After plugging in the power cord into the rear panel and
wall outlet, pressing this button connects the RDC-7 to the
AC mains and turns it on.
¥
Before turning on the power, make sure all cables are
properly connected.
¥
Turning on the RDC-7 may cause a momentary power
surge that might interfere with other electrical equip-
ment on the same circuit. If this is a problem, plug the
RDC-7 into a different electrical circuit.
Standby/On
Pressing this button while the main power is turned on the
STANDBY indicator lights up and the front display turns off.
Pressing it again returns it to the standby state. This state
turns off the display, disables control functions, and turns
off all outputs to the main zone (those for the remote zone
remain available).
On and Standby indicator
Master Volume
The MASTER VOLUME knob is used to control the volume
for the main zone. The volume for the remote zone (Zone
2) is independent.
Open/Close
Press this button to open and close the front door that
covers the lower buttons.
Display
The DISPLAY button is used to display information about
the current input source signal. Each time you press the
display button, the screen changes to show you different
information concerning the input signal.
The screen changes as follows:
Program format Sampling frequency Digital input
Digital format Bass level Treble level.
If the input source signal does not have any information
for a particular screen, then that screen will be skipped.
¥
Displaying the data of the current input source
Each display is explained below.
Program
format:
Front channel Surround channel
Sampling
frequency:
Source signal 48 kHz
Sampling frequency
Digital input:
The current input source is set for
digital input at OPT1.
LFE(Low Frequency Effect)
Input Source Buttons (DVD, VIDEO 1Ð
5, TAPE 1
Ð
2, AM, FM, PHONO, and CD) and Indicators
These buttons are used to select the input source for the
main zone. When an input source is selected, the indica-
tor will light in blue. To select the input source for the re-
mote zone (Zone 2) or recording out (Rec Out), first press
the Zone 2 or Rec Out button, and then the desired input
source button.
Zone 2/Rec Indicator
For Zone 2, the indicator above the selected input
source button will light green. For recording, it will light
red.
Lower buttons in the front door
Caution
:
The front door of the AV Controller is motorized. Use the
open/close button to open or close the door. Manually
opening or closing the door, or moving the AV Controller
while holding the door, will cause the door to malfunction
or break.
Rec Out
Press the Rec Out button to output to a recording compo-
nent for recording purposes. After pressing the Rec Out
button, press one of the input source selector buttons
within 8 seconds to select the component to record to.
When one is selected, the indicator above that button will
light in red. To record from the same input source that you
are using (that is selected for the main zone), press the
Rec Out button twice in succession.
Note:
The Rec Out and Zone 2 buttons use the same circuit and
therefore cannot be used at the same time.
When Rec Out is selected, nothing is output from Zone 2.
Zone 2
The RDC-7 includes a second signal path separate from
the main one that can be used for a remote zone (Zone 2)
or for making recordings. By connecting an additional
amplifier or other video equipment to the Zone 2 outputs,
you can output to a separate room an input source that is
different from that being used in the main room. This al-
lows you to watch one program in one room while some-
body else is watching a different program in another.
Press the Zone 2 button to enable output to the ZONE 2
outputs. After pressing the Zone 2 button, press one of the
input source selector buttons within 8 seconds to select
the input source for the remote zone. When one is se-
lected, the indicator above that button will light in green.
 Loading...