– 5 –
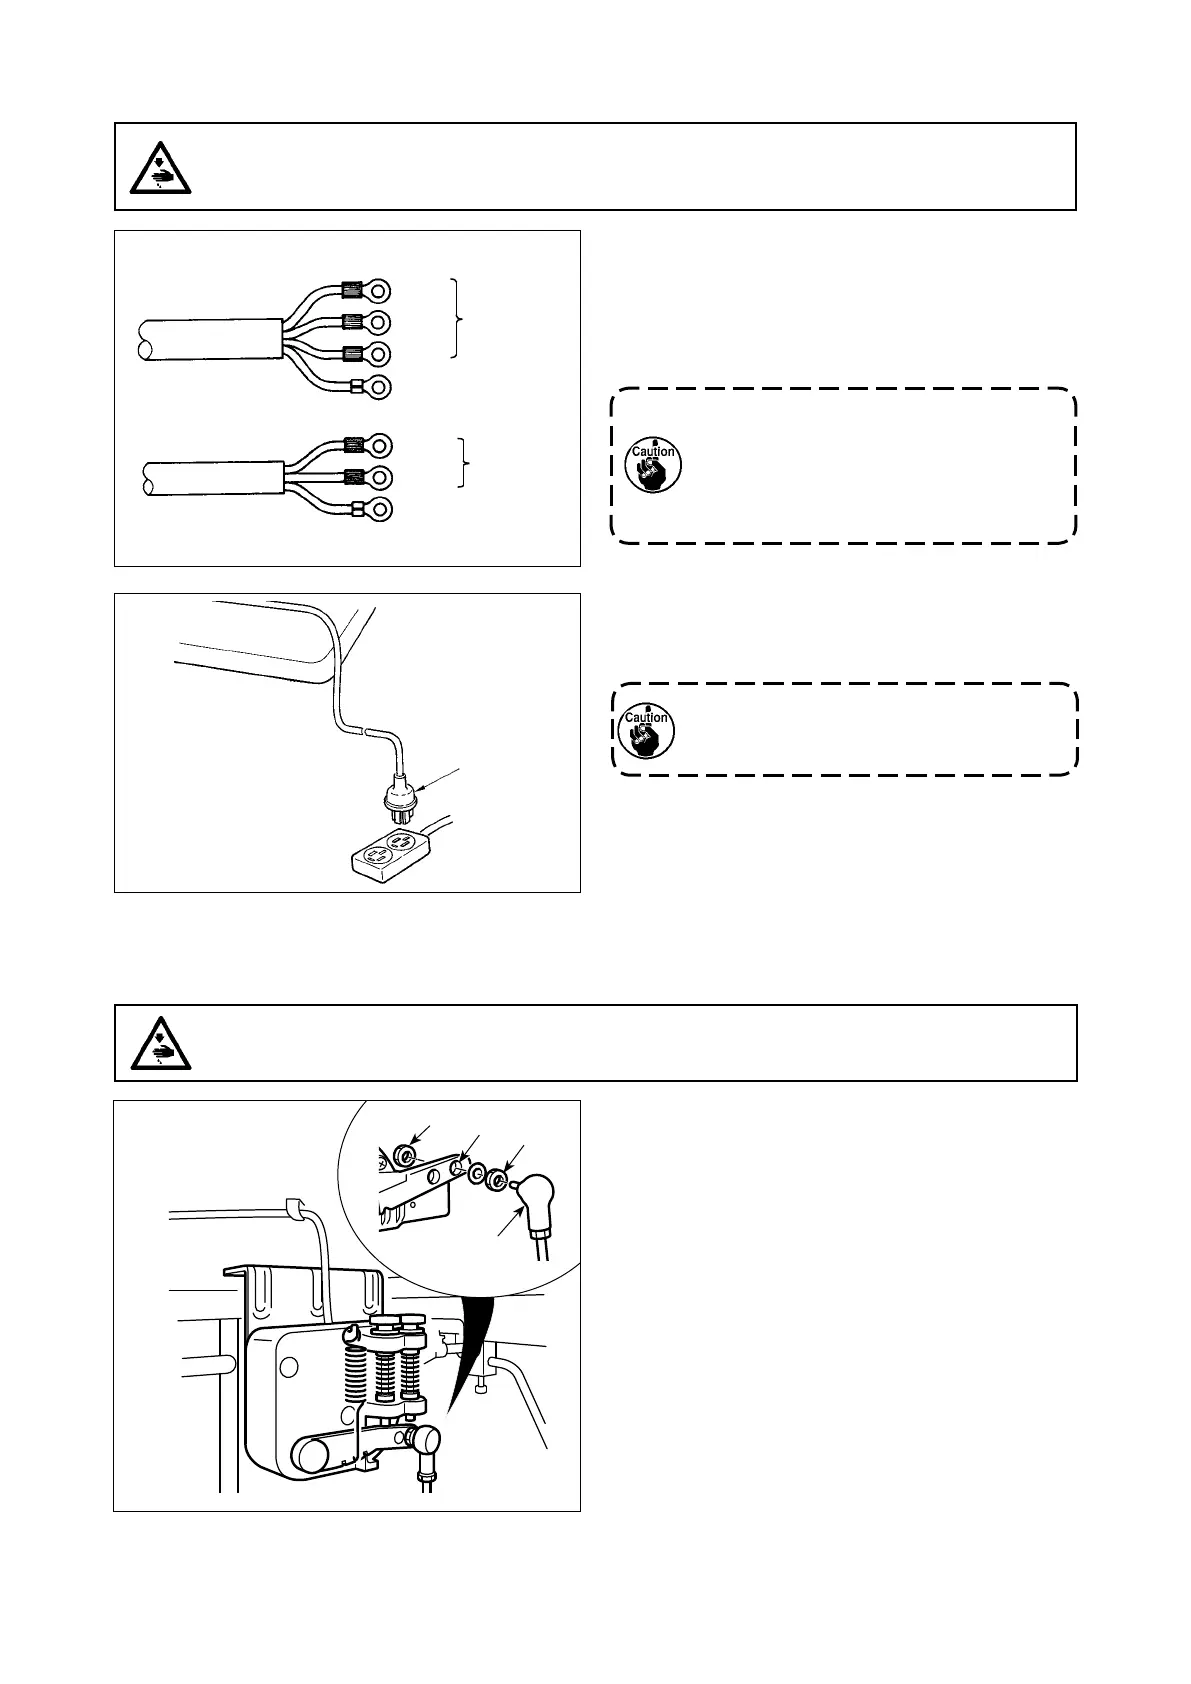
5. Attaching the connecting rod
Fix connecting rod ❶ to installing hole of pedal lever
❷ with nut ❸.
❶
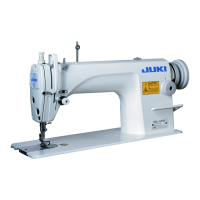
Blue
Brown
Green / Yellow
(ground wire)
4. How to install the power plug
WARNING :
1. Be sure to attach the ground wire (green/yellow) to the specied location (on the ground side).
2. Take care not to allow terminals to come in contact with each other.
1) Connect the power cord to power plug ❶. Con-
nect the black, red and while wires (3 ø) and the
blue and brown wires (1 ø) to the power supply
side and the green/yellow wire to the earth side
as illustrated in the gure.
1. Be sure to prepare the power plug ❶
which conforms to the safety stan-
dard.
2. Be sure to connect the ground lead
(green/yellow) to the grounding side.
WARNING :
To protect against possible personal injury due to abrupt start of the machine, be sure to start the
following work after turning the power off and a lapse of 5 minutes or more.
3ø 200-240V
Black
Red
White
Green / Yellow
(ground wire)
AC
200-240V
AC
220-240V
1ø 220-240V
(For CE)
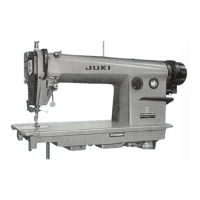
2) Check that the power switch is in the OFF state.
Then, insert the power plug ❶ coming from the
power switch into the plug receptacle.
In prior to the connection of the power
plug ❶, re-check the supply voltage spec-
ication indicated on the control box.
* The power plug ❶ is different in shape ac-
cording to the destination of the sewing
machine.
❶
❷
❸
❸

 Loading...