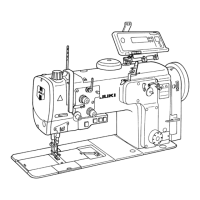
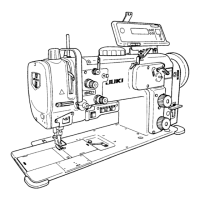
24. ADJUSTING THE PRESSURE OF THE PRESSER FOOT
Increase
A
WARNING:
Turn
OFF
the
power
before
starting
the
work
soasto
prevent
accidents
causedby
abrupt
startofthe
sewing
machine.
1)
Turn
presser
spring
regulating
dial
O
clockwise
to
increase
the pressure ofthe presser
foot,
or
counterclockwise
to de
crease
it.
(Be
sureto
operate
the
sewing
machine
with
the
pressure
of
thepresser
foot
minimized
as
long
as thepresser
foot
securely
holds
the
material.)
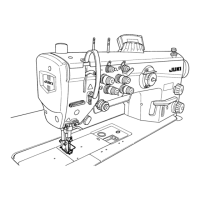
25.
NEEDLE-TO-HOOK
RELATION
4)
5)
WARNING:
Turn
OFF
the
power
before
starting
the
work
soasto
prevent
accidents
caused
by
abrupt
start
of
the
sewing
nwchine.
t
e
o
VAt
V
0.02
~
0.1
mm
n
Set
the
stitch dial to 0 [zero].
Loosen
hook
driving
shaft
set
collar
clamping
screw
O,
and
turn
the
handwheel
counterclockwise
to
make
the
needle
bar
ascend
by2.0 mm
from
the lowestposition of its stroke.
In
the
state
described
in
2),
align
blade
point
O
of
the
hook
with
the
center
of
needle
O,
and
tighten
hook
driving
shaft
set
collar
clamping
screw
©.
At
this
time,
a
clearance
of
1.4
mm
is
provided
between
the
blade
point
of
the
hook
and
the
top
end
of
the
needle
eyelet.
(As
reference,
the
handwheel
pointer
meets
the
marker
line
of
the
scale
L
on
the
handwheel.)
Loosen
screw
O
in
the
top
face
of
the
bed
and
screw
©
in
the
hook
driving
shaft
saddle,
and
adjust
so
that
a
clearance
of
0.02
to
0.1
mm
is
provided
between
the
blade
point
of
hook
and
the
needle
by
moving
the
hook
driving
shaft
saddle
to
the
right
or
left.
Once
the
specified
clearance
Is
obtained,
securely
tighten
screws
O
and
©.
sj!
Set
the
feed
adjusting
dial
to
maximum
value,
and
check
that
the
blade
point
of
the
hook
does
not
come
in
contact
with
the
needle.
(Caution)
Tlie
operation
panel
could
come
in
contact
witfi
the
thread
stand
when
tilting
the
machine
head.
To
protect
the
relevant
parts
from
contact,
shift
the
thread
stand
toa
position
at
which
the
thread
stand
does
not
Interfere
with
the
control
panel.
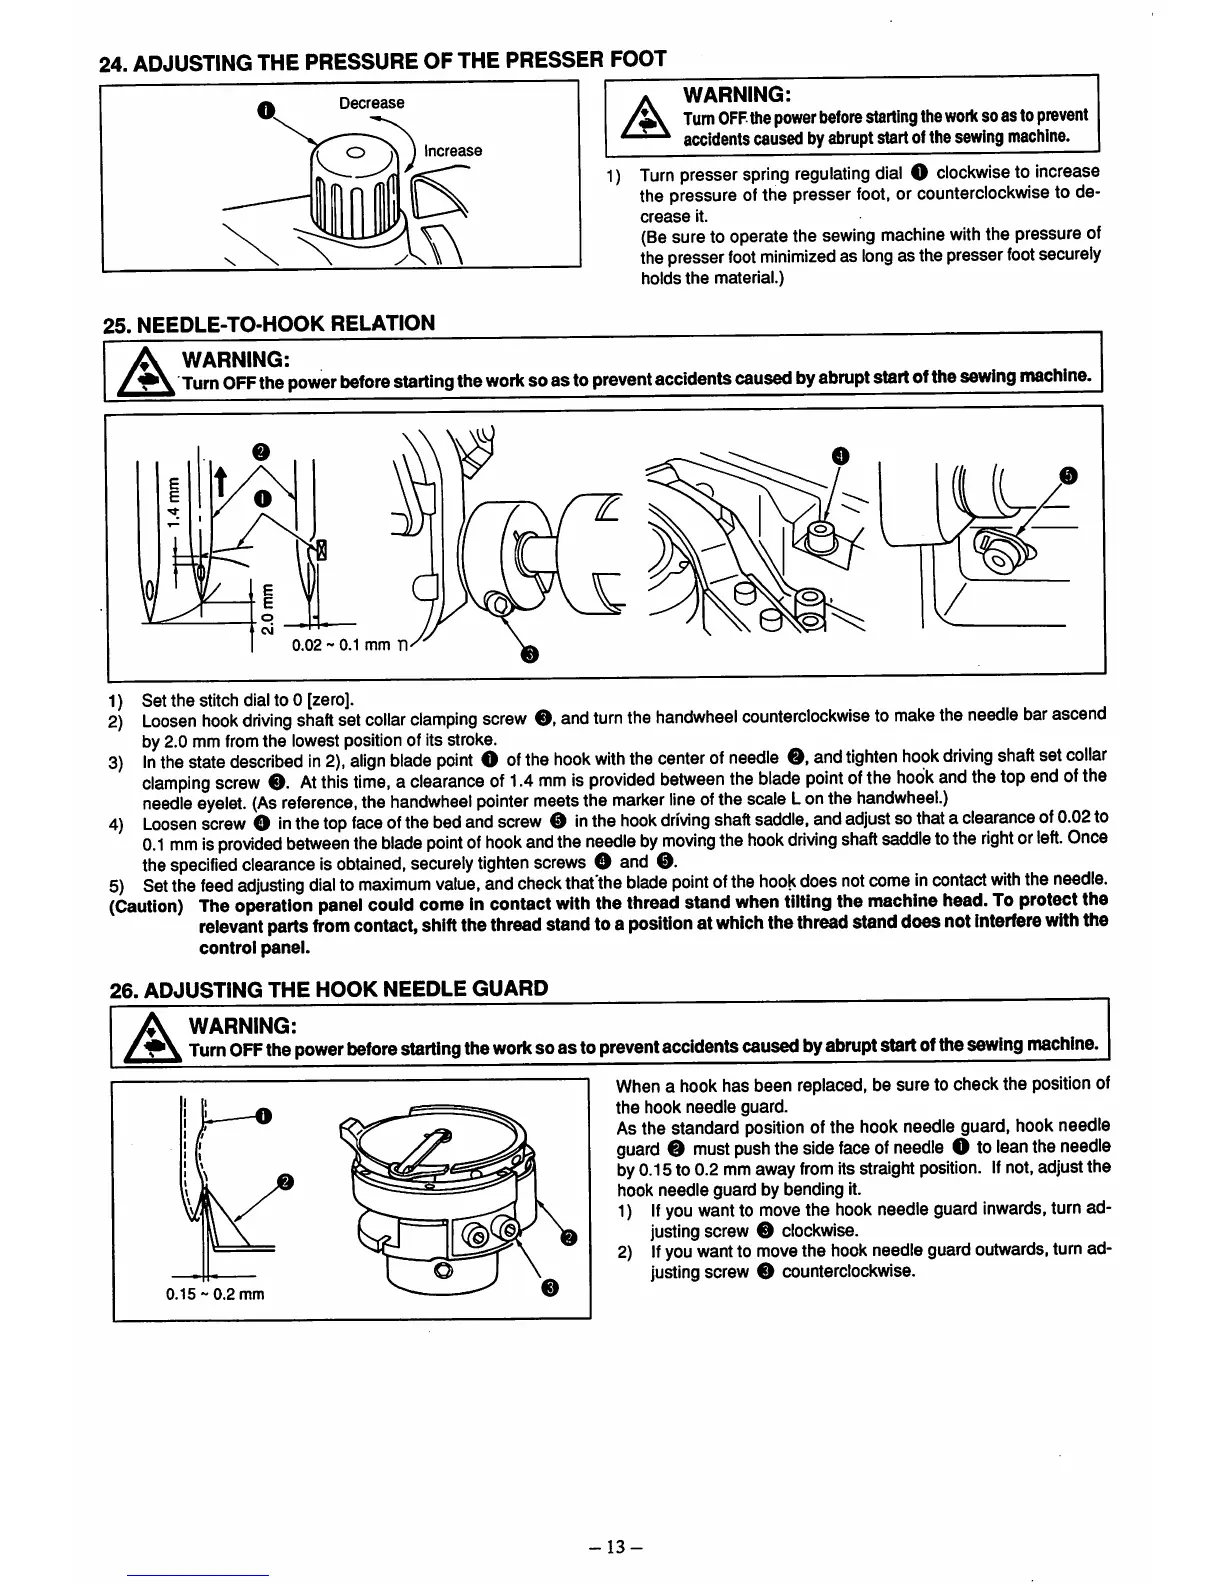
26.
ADJUSTING
THE
HOOK
NEEDLE
GUARD
A
WARNING:
Turn
OFF
the
power
before
starting
the
work
soasto
prevent
accidents
caused
by
abrupt
startofthe
sewing
machine.
When
a hookhas been replaced, be sure tocheckthe
position
of
the
hook
needle
guard.
Asthe standard
position
ofthe hookneedle guard, hookneedle
guard
©
must
push
theside
face
of
needle
O to
lean
the
needle
by0.15to 0.2
mm
away
from
itsstraight
position.
If
not,adjustthe
hook needle guard by bending it.
1)
If
you
want
to
move
the
hook
needle
guard
inwards,
turn
ad
justing
screw ©
clockwise.
2)
If
you
wantto
move
the
hook
needleguardoutwards, turnad
justing
screw © counterclockwise.
0.15
~
0.2
mm
-13-
 Loading...