Threading
Thread the machine carefully and in the correct sequence. This is important for marking beautiful seams.
Preparation
1. Retractable support rod with thread guide must be fully raised.
2. Open the looper cover and cloth plate.
3. Turn the handwheel toward you until the needles are fully raised.
4. Raise the upper knife.
Threading sequence
Colored threading illustrations affixed clearly show the threading sequence.
Thread the machine in the following sequence:
1. Upper looper thread (Blue)
2. Lower looper thread (Red)
3. Right hand needle thread (Green)
4. Left hand needle thread (Yellow)
Threading aids such as tweezers, needle threader, and looper threader which are provided as accessories will be very
useful in threading work.
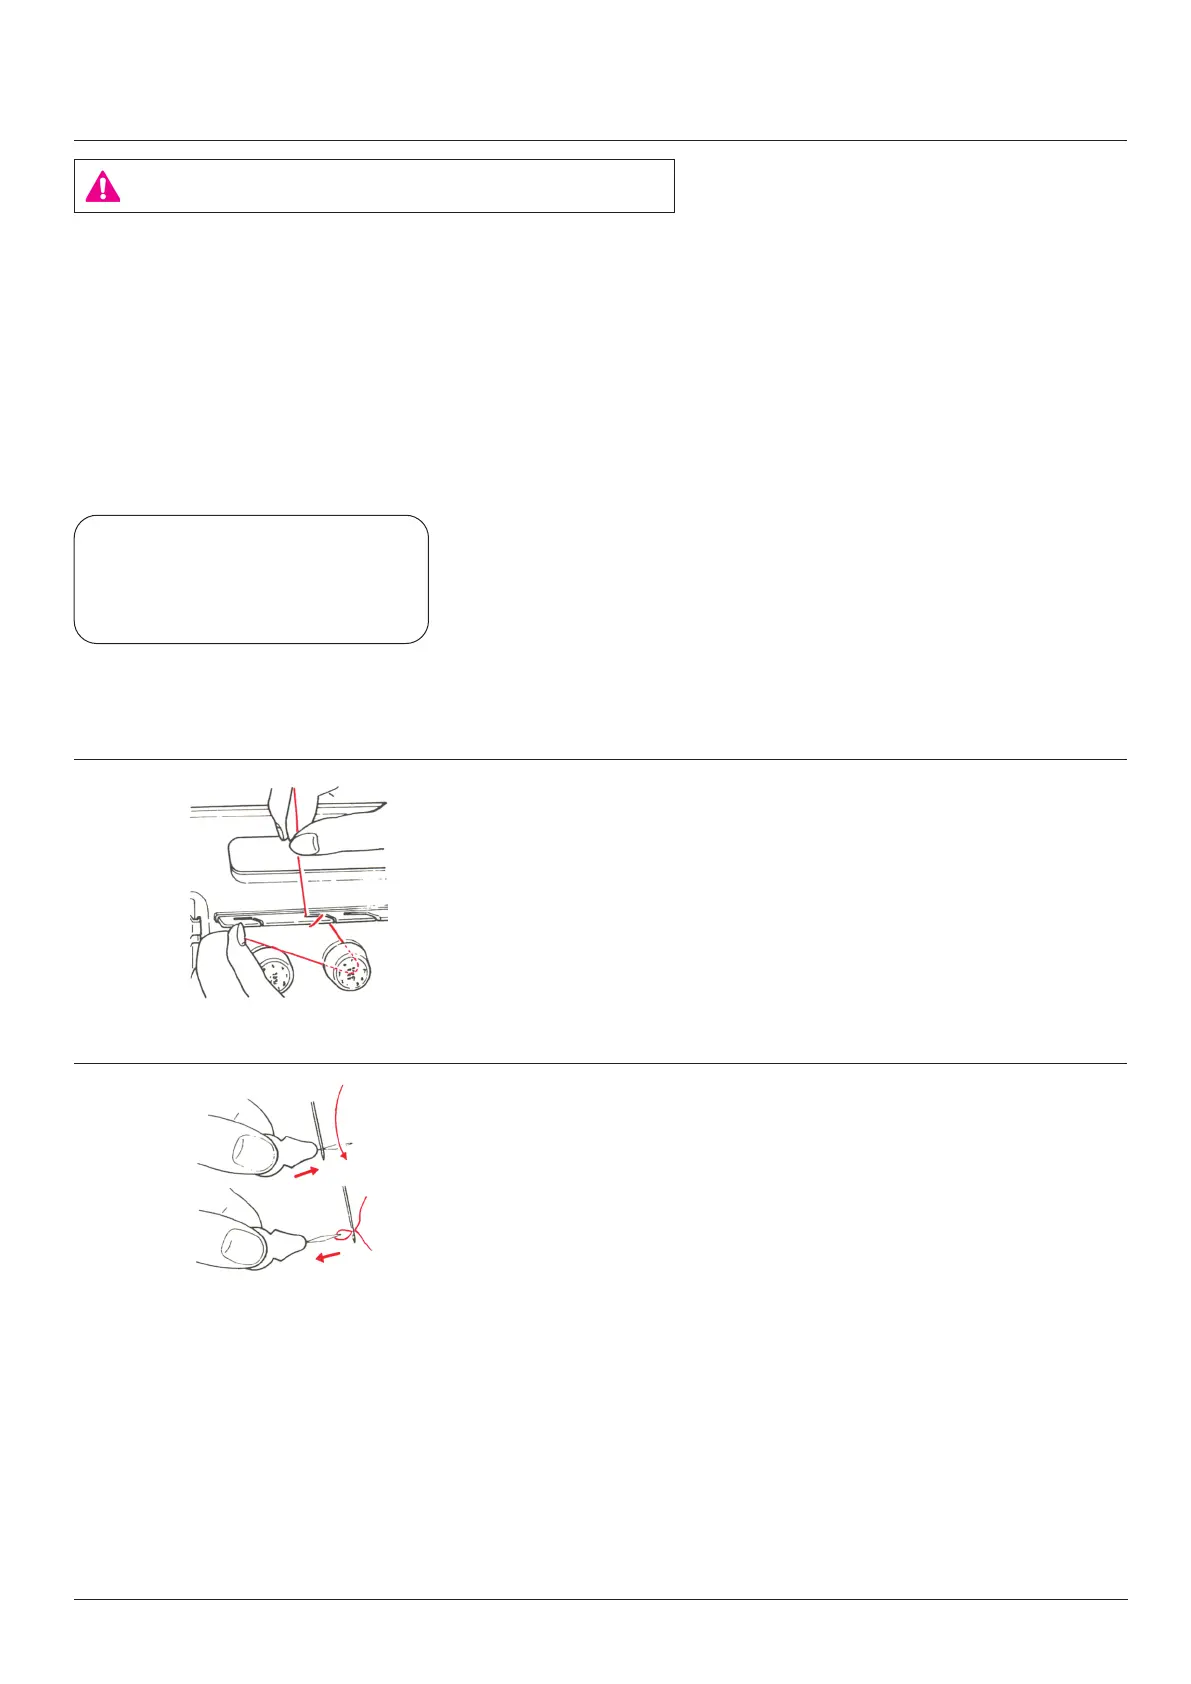
Thread the tension dials
To lay the thread correctly between the tension discs, pull the thread
lightly with both hands.
Needle threader
Insert the needle threader through the needle eyelet or looper eye-
let, then thread the needle threader. Now pull the needle threader
back until it comes of the eyelet.
Be sure to turn the power switch OFF.
16
 Loading...