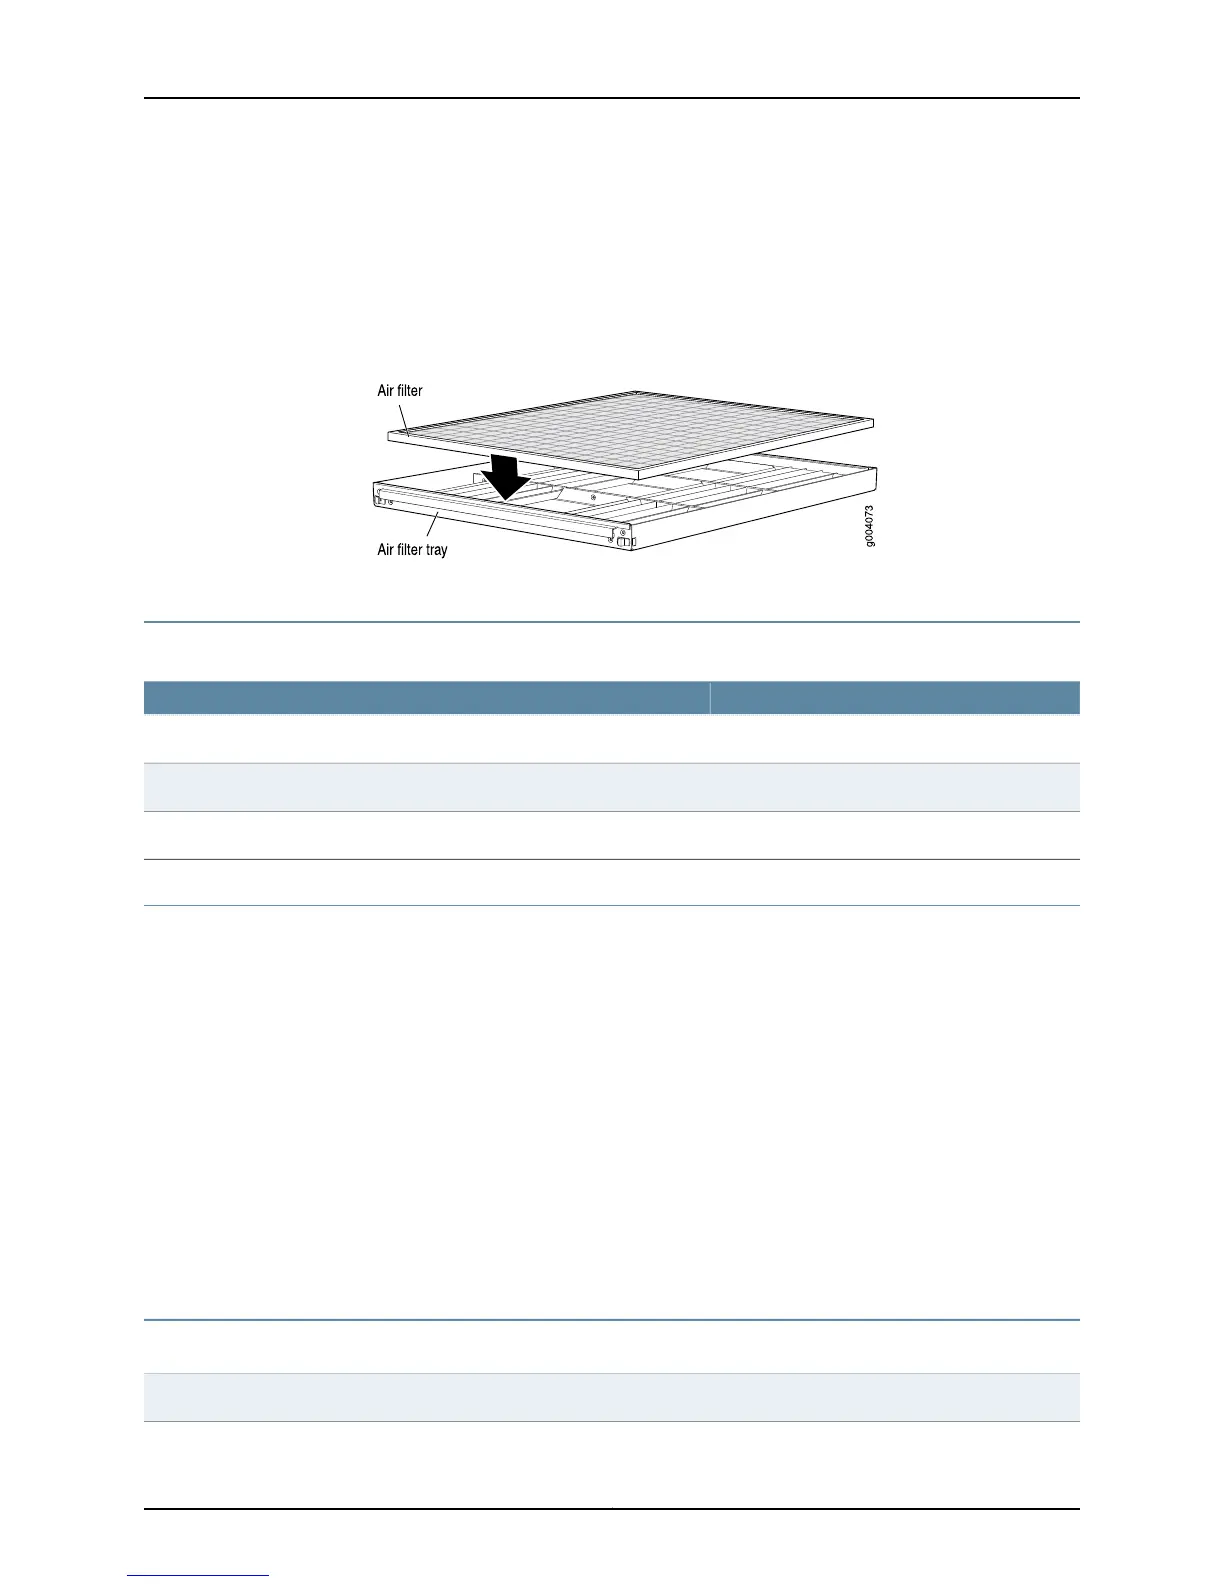
4. Insert the air filter tray into the chassis by sliding it straight into the chassis until it
stops.
5. Lower the cable manager back into position.
6. Rearrange the cables in the cable manager.
Figure 12: Installing the Air Filter
Fan Tray Power Requirements
Table 1: Fan Tray Power Requirements
Power Requirement (Watts)Component
85MX240 high-capacity fan tray
160MX480 high-capacity fan tray
320MX960 high-capacity fan tray
Power Supply Zone Overview
Unlike systems with previous MX960 AC supplies, the systems with MX Series
high-capacity power supplies are zoned. No current sharing between power supplies is
needed with the upgraded system because the redundancy changes from 3+1 per system
to 1+1 per zone. For MX960 AC configurations, two zones are present. Two adjacent
power supplies need to be installed in the chassis with two feeds attached.
To upgrade an MX960 AC router, remove one existing old power supply from either slot
0 or slot 3 (either far left or far right), and replace it with a high-capacity power supply.
Attach power feeds and power up the power supply. Remember to turn on both switches
while upgrading the MX960 AC power supply, that is, the one on the power supply and
the one on the Power Distribution Module (PDU). Continue by removing an adjacent
existing power supply, and replacing it with a high-capacity power supply.
The minimum number of power supplies must be present in the router at all times.
Table 2: Minimum Required Number of Power Supplies
Minimum Required Number of Power
Supplies
ConfigurationRouter Model
1AC – high lineMX240
13Copyright © 2010, Juniper Networks, Inc.
Fan Tray Power Requirements

 Loading...