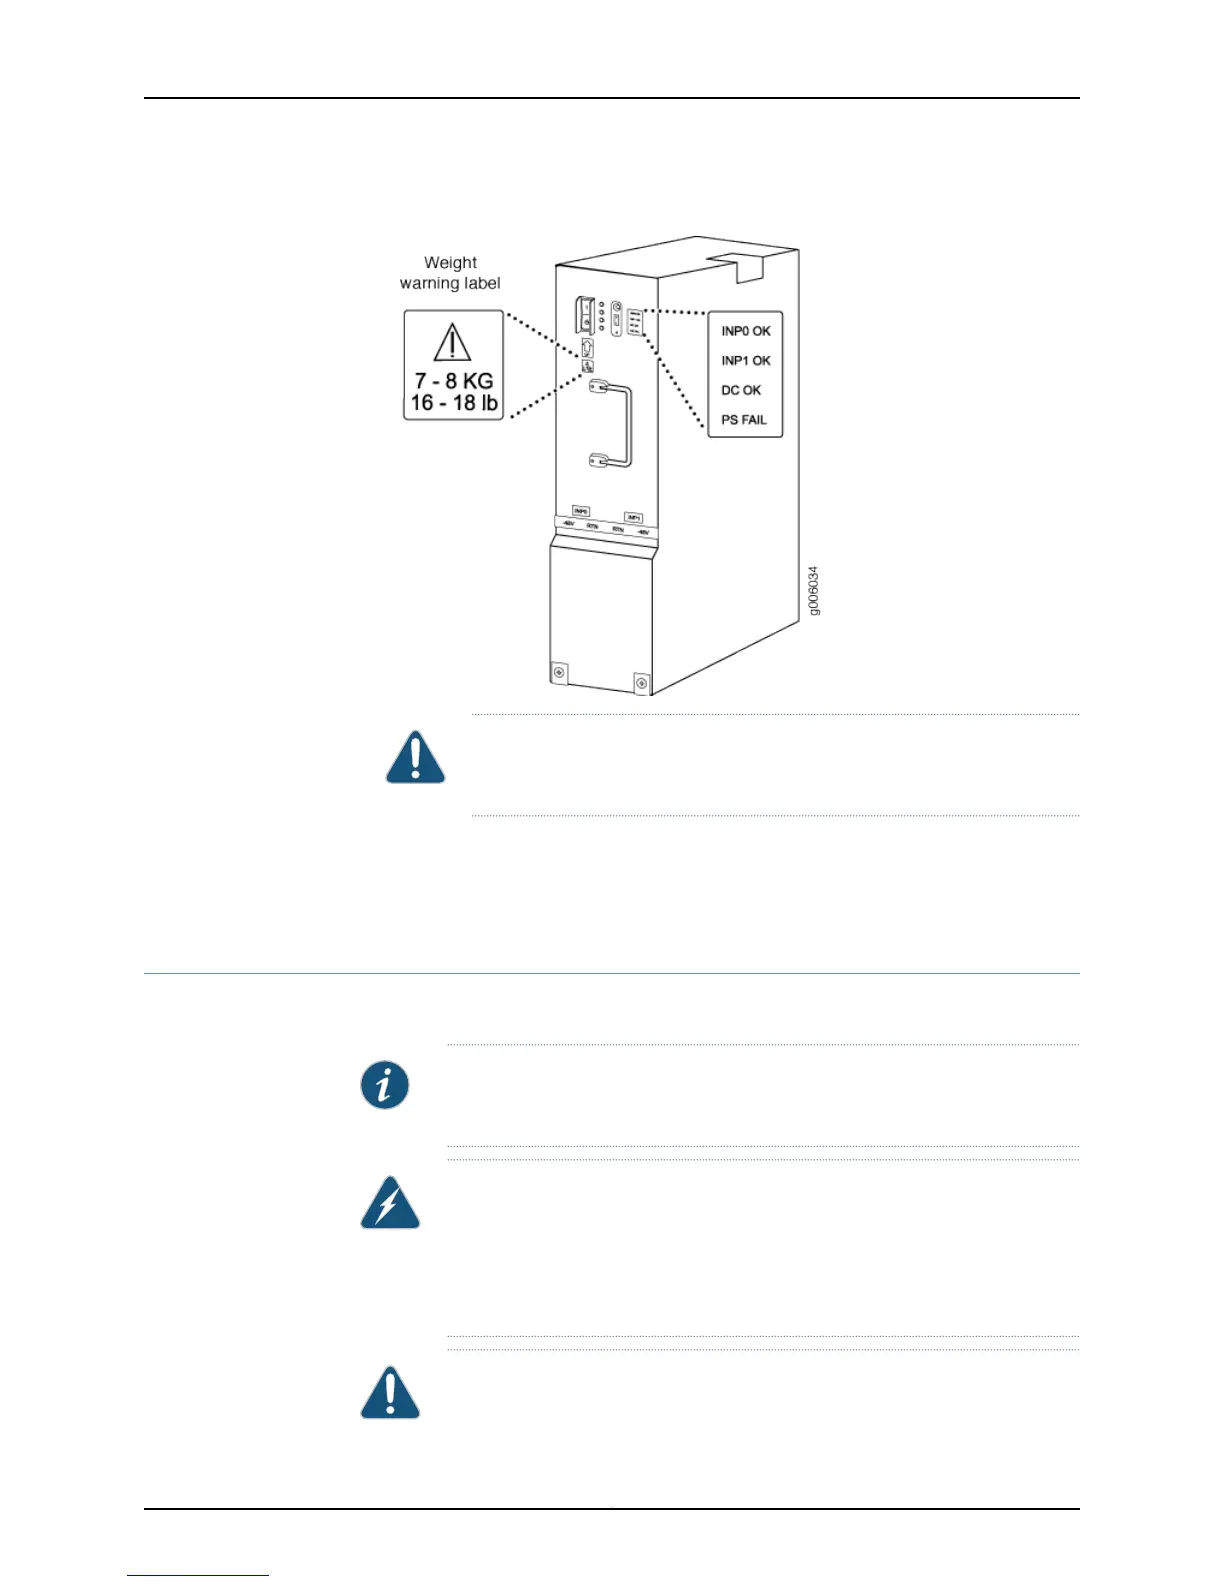
Figure 22: MX960 DC High-Capacity Power Supply Front View
CAUTION: Do not use a pencil, because fragments can break off and cause
damage to the power supply.
4. Attach power feeds and power up the power supply.
5. Continue by removing an adjacent existing power supply and replacing it with a
high-capacity power supply.
Removing an MX960 DC Power Supply
Before you remove a power supply, be aware of the following:
NOTE: The minimum number of power supplies must be present in the router
at all times.
WARNING: Before performing DC power procedures, ensure that power is
removed from the DC circuit. To ensure that all power is off, locate the circuit
breaker on the panel board that services the DC circuit, switch the circuit
breaker to the off position, and tape the switch handle of the circuit breaker
in the off position.
CAUTION: To maintain proper cooling and prevent thermal shutdown of the
operating power supply unit, each power supply slot must contain either a
Copyright © 2010, Juniper Networks, Inc.28
Upgrading MX240, MX480, and MX960 3D Universal Edge Router Power Supplies and Fan Trays

 Loading...