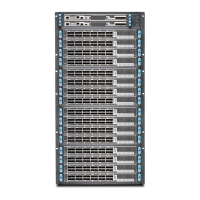
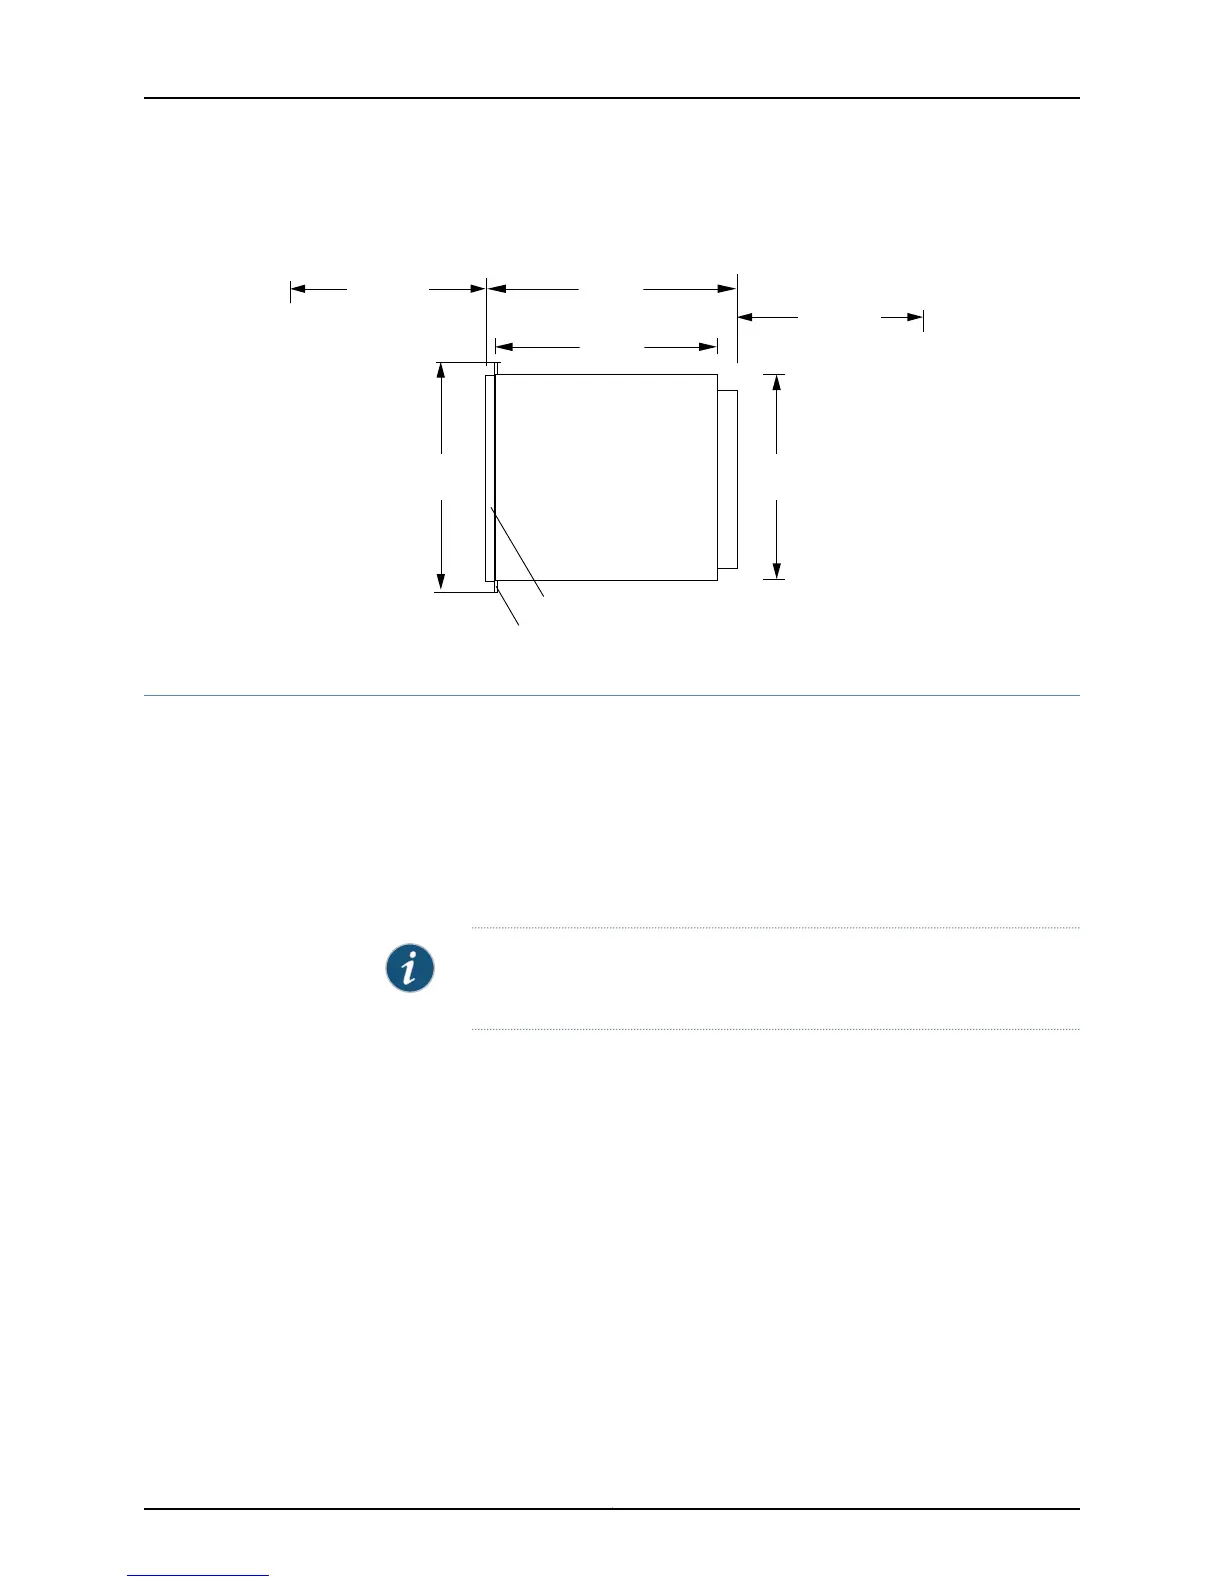
Figure 21: MX960 Chassis Dimension with High-Capacity DC Power
Supplies Installed
Rear of chassis
Front of chassis
17.4"
(44.2 cm)
24.5"
(62.2 cm)
g003496
Front-mounting flange
19.2"
(48.7 cm)
24" (61 cm)
clearance required
30" (76.2 cm)
clearance recommended
Standard cable manager
34.8"
(88.4 cm)
Upgrading the MX960 DC Power Supplies Overview
To upgrade the MX960 DC power supplies:
1. Remove one existing old power supply from either slot 0 or slot 3 (either far left or far
right), and replace it with a high-capacity power supply.
2. On the high-capacity power supply, rotate the metal cover away from the input mode
switch to expose the switch.
3. Move the input mode switch to position 0 for one feed or position 1 for two feeds.
NOTE: For a fully redundant configuration in two-feed mode, 8 feeds are
required. For a non-redundant configuration, 4 feeds are required.
27Copyright © 2010, Juniper Networks, Inc.
Upgrading the MX960 DC Power Supplies Overview

 Loading...