Names of Buttons and Functions on the LCD Monitor
The following screens are displayed during the video and still image modes,
and operate as the touch screens.
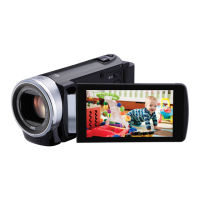
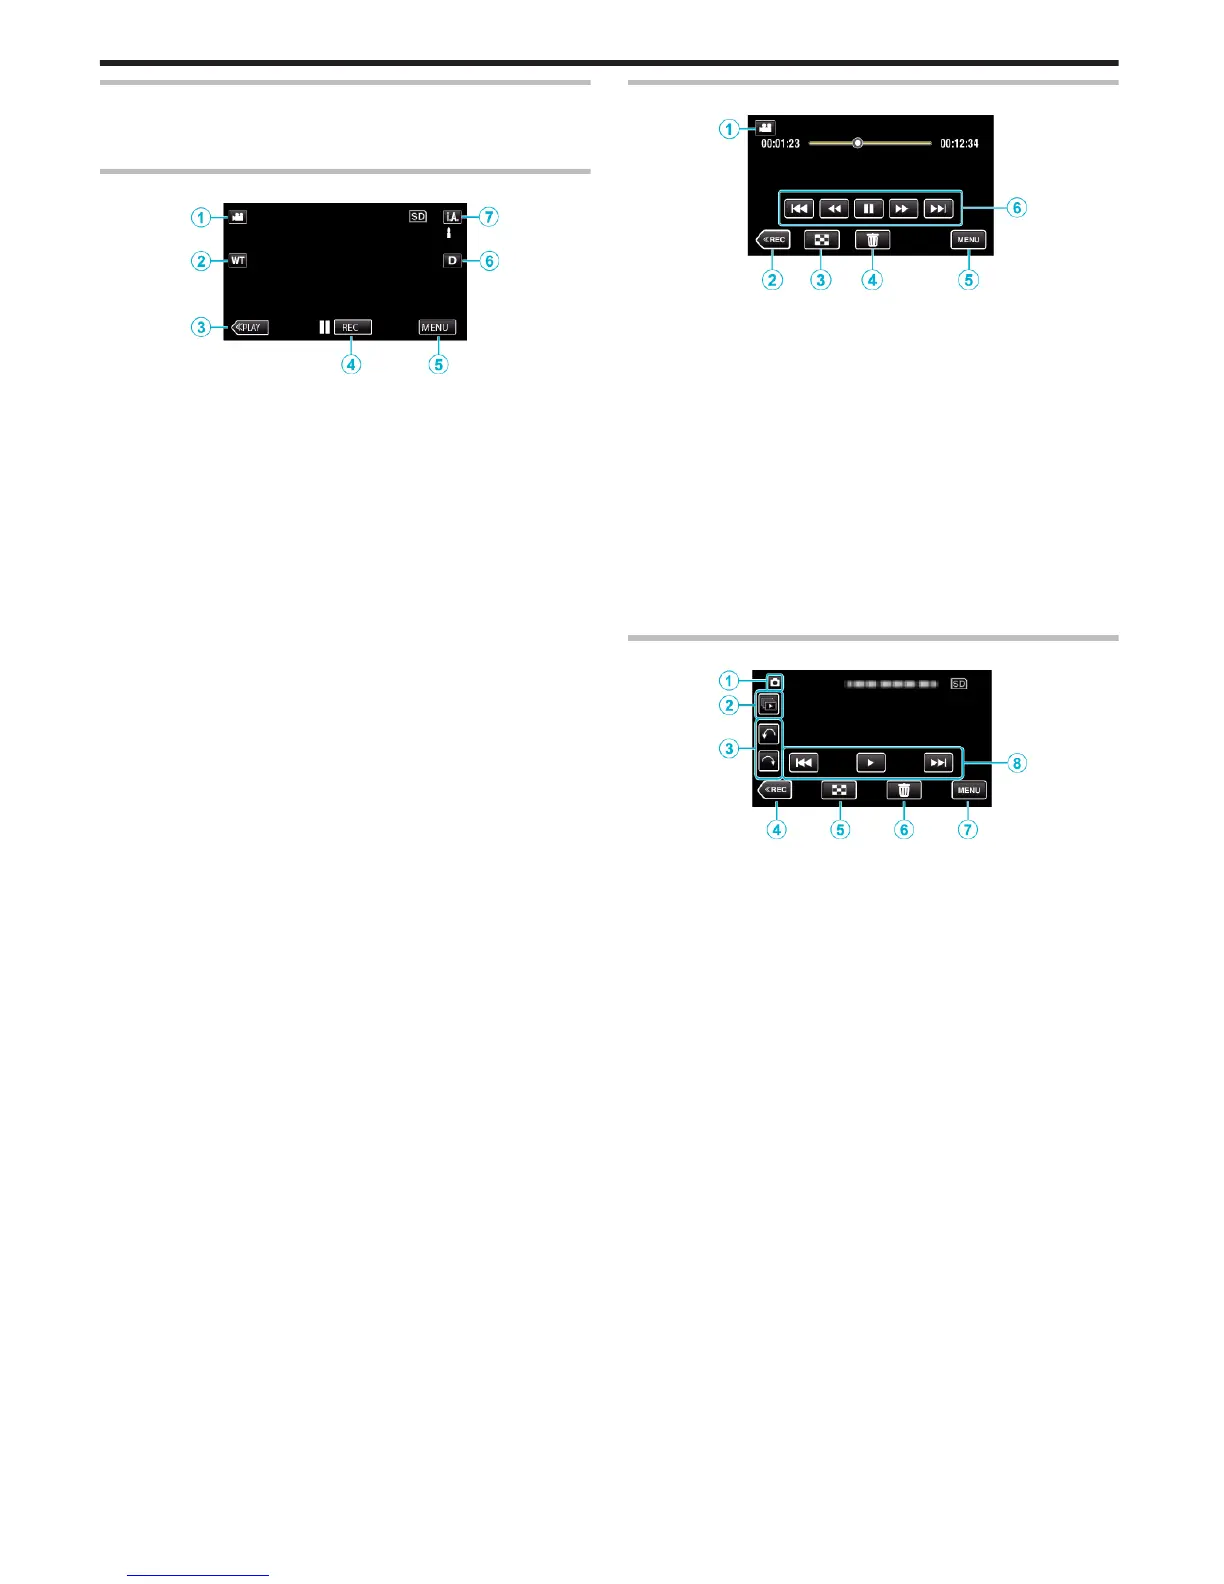
Recording Screen (Video/Still Image)
.
1
Video/Still Image Mode Button
0
Switches between video and still image modes.
2
Zoom Button
“Zooming” (A p. 27)
3
Playback Mode Button
0
Switches to the playback mode.
4
Recording Start/Stop Button
0
6: Video Recording Start Button
0
7: Video Recording Stop Button
0
Q
: Still Image Recording Button
5
Menu Button
“Operating the Menu” (A p. 88)
6
Display Button
Switches the display between full (
m
) and simple (
n
) with every tap of
the button.
0
Simple display: Some displays disappear after approximately 3
seconds.
0
Full display: Displays everything. The display button changes from n
to
m
.
0
When the power is turned off, simple display (n) will be set.
7
Recording Mode Button
Switches the recording mode between P Intelligent Auto and H
Manual.
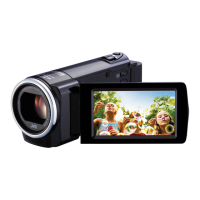
Playback Screen (Video)
.
1
Video/Still Image Mode Button
0
Switches between video and still image modes.
2
Recording Mode Button
0
Switches to the recording mode.
3
Index Screen Button
“Operation Buttons for Video Playback” (A p. 58)
4
Delete Button
“Deleting the Currently Displayed File” (A p. 67)
5
Menu Button
“Operating the Menu” (A p. 88)
6
Operation Buttons
“Operation Buttons for Video Playback” (A p. 58)
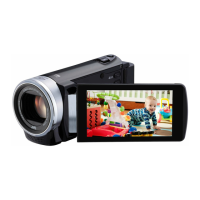
Playback Screen (Still Image)
.
1
Video/Still Image Mode Button
0
Switches between video and still image modes.
2
Group Playback Button
0
Continuous playback of still images that are recorded continuously
within 2 seconds or with the continuous shooting mode.
“Playing Back Still Images” (A p. 62)
3
Rotate Button
Rotates a still image 90°. (Clockwise/Counterclockwise)
4
Recording Mode Button
0
Switches to the recording mode.
5
Index Screen Button
“Operation Buttons for Still Image Playback” (A p. 62)
6
Delete Button
“Deleting the Currently Displayed File” (A p. 67)
7
Menu Button
“Operating the Menu” (A p. 88)
8
Operation Buttons
“Operation Buttons for Still Image Playback” (A p. 62)
Getting Started
18
 Loading...