EN
11
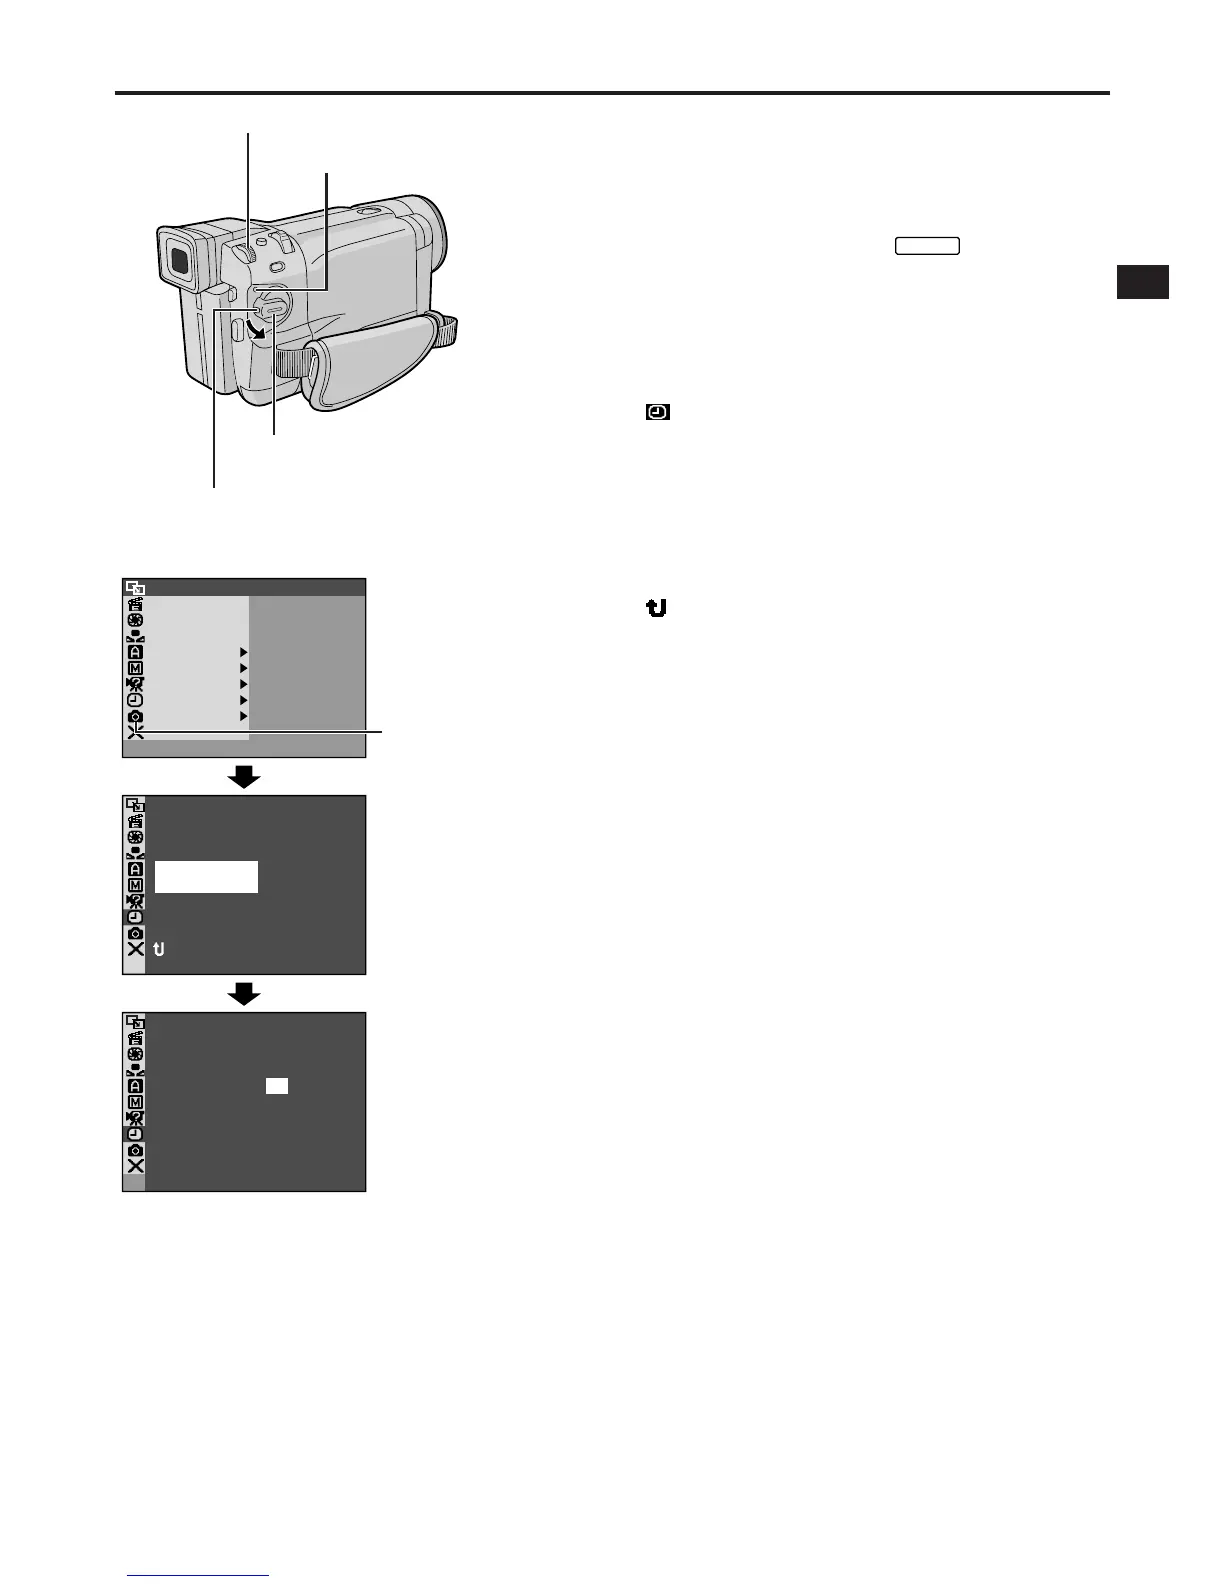
Date/Time Settings
The date/time is recorded onto the tape at all times,
but its display can be turned on or off during playback
(Z pg. 50, 51).
1 Set the Power Switch to “
MANUAL
” while pressing
down the Lock Button located on the switch. The
power lamp lights and the camcorder is turned on.
2 Press the MENU/BRIGHT wheel in to access the
Menu Screen.
3 Rotate the MENU/BRIGHT wheel to select
“ DISPLAY”. Press it and the DISPLAY Menu
appears.
4 Rotate the MENU/BRIGHT wheel to select
“CLOCK ADJ.”. Press it and “day” is highlighted.
Rotate the MENU/BRIGHT wheel to input the day.
Press it. Repeat to input the month, year, hour and
minute.
Rotate the MENU/BRIGHT wheel to select
“ RETURN”, and press it twice. The Menu Screen
closes.
NOTE:
Even if you select “CLOCK ADJ.”, if the parameter is not
highlighted the camcorder’s internal clock continues to
operate. Once you move the highlight bar to the first date/
time parameter (day), the clock stops. When you finish
setting the minute and press the MENU/BRIGHT wheel
in, the date and time begin operation from the date and
time you just set.
OF
F
FADER/ W I P E
AM AEPROGR
ACAMER
LMANUA
MSYSTE
DSC
END
AYDISPL
C
AN E
W. BAL
RE NEON SC LCD / TV
UAOTIMETDATE /
T I ME CODE
CLOCK
ADJ .
–
–
–FFO
12..02
52
17
30
:
NRETUR
CLOCK
ADJ .
EXPOSURE
12..02
52
17
30
:
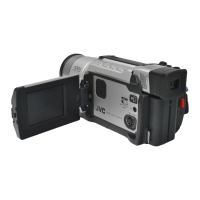
Display
MENU/BRIGHT Wheel
Power Switch
Lock Button
DISPLAY Menu
Power Lamp
GR-DVL1020/DVL820/
DVL520 only
 Loading...