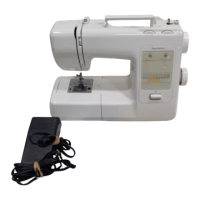
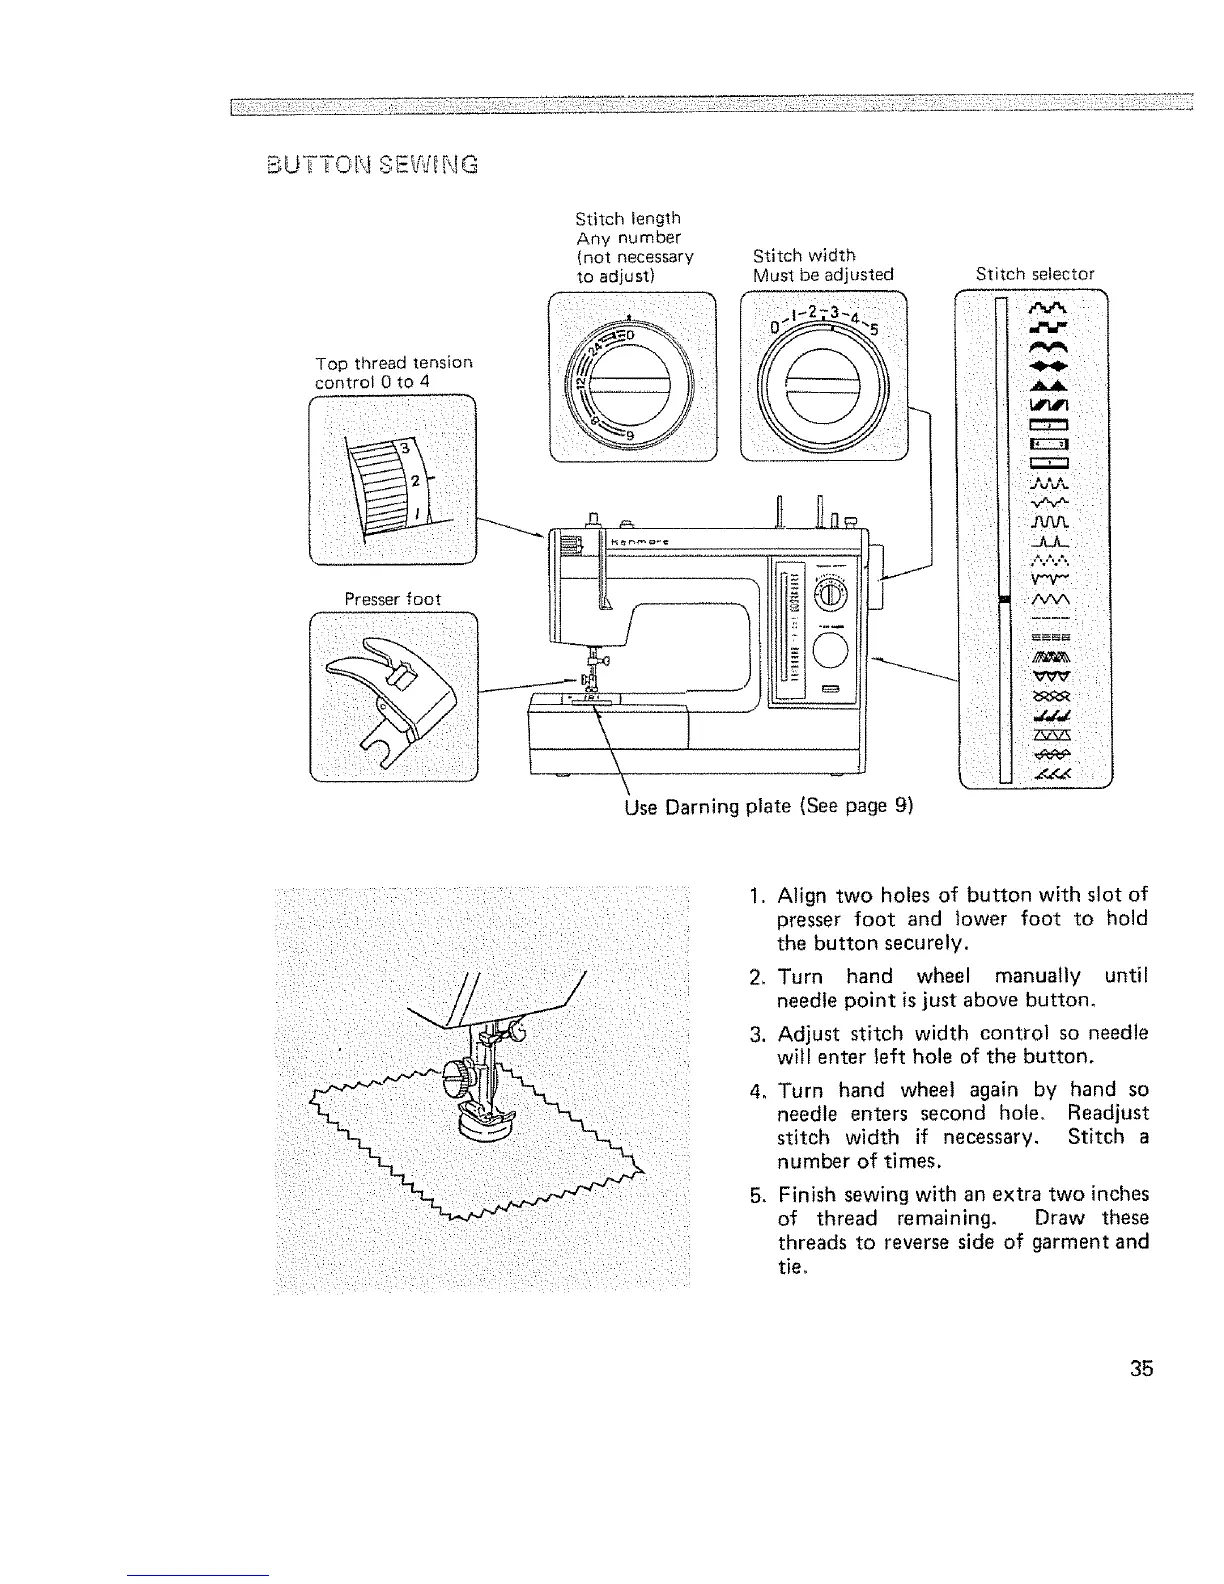
BUTTON oEv,JING
Top thread tension
control 0 to 4
Presser foot
Stitch tength
Any number
(not necessary
to adjust)
Stitch width
Must be adjusted
.... :
Stitch selector
:_,. : :
[
=
:..v:..'. :
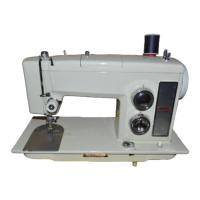
Use Darning plate (See page 9)
,
Align two holes of button with slot of
presser foot and lower foot to hold
the button securely,
2. Turn hand wheel manually until
needle point is just above button,
3. Adjust stitch width control so needle
will enter left hole of the button.
4, Turn hand wheel again by hand so
needle enters second hole. Readjust
stitch width if necessary, Stitch a
number of times.
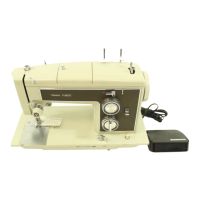
5_
Finish sewing with an extra two inches
of thread remaining. Draw these
threads to reverse side of garment and
tie_
35
 Loading...