8686 87
Return to the Top page
Setting Up
Return to the Top page
Setting Up
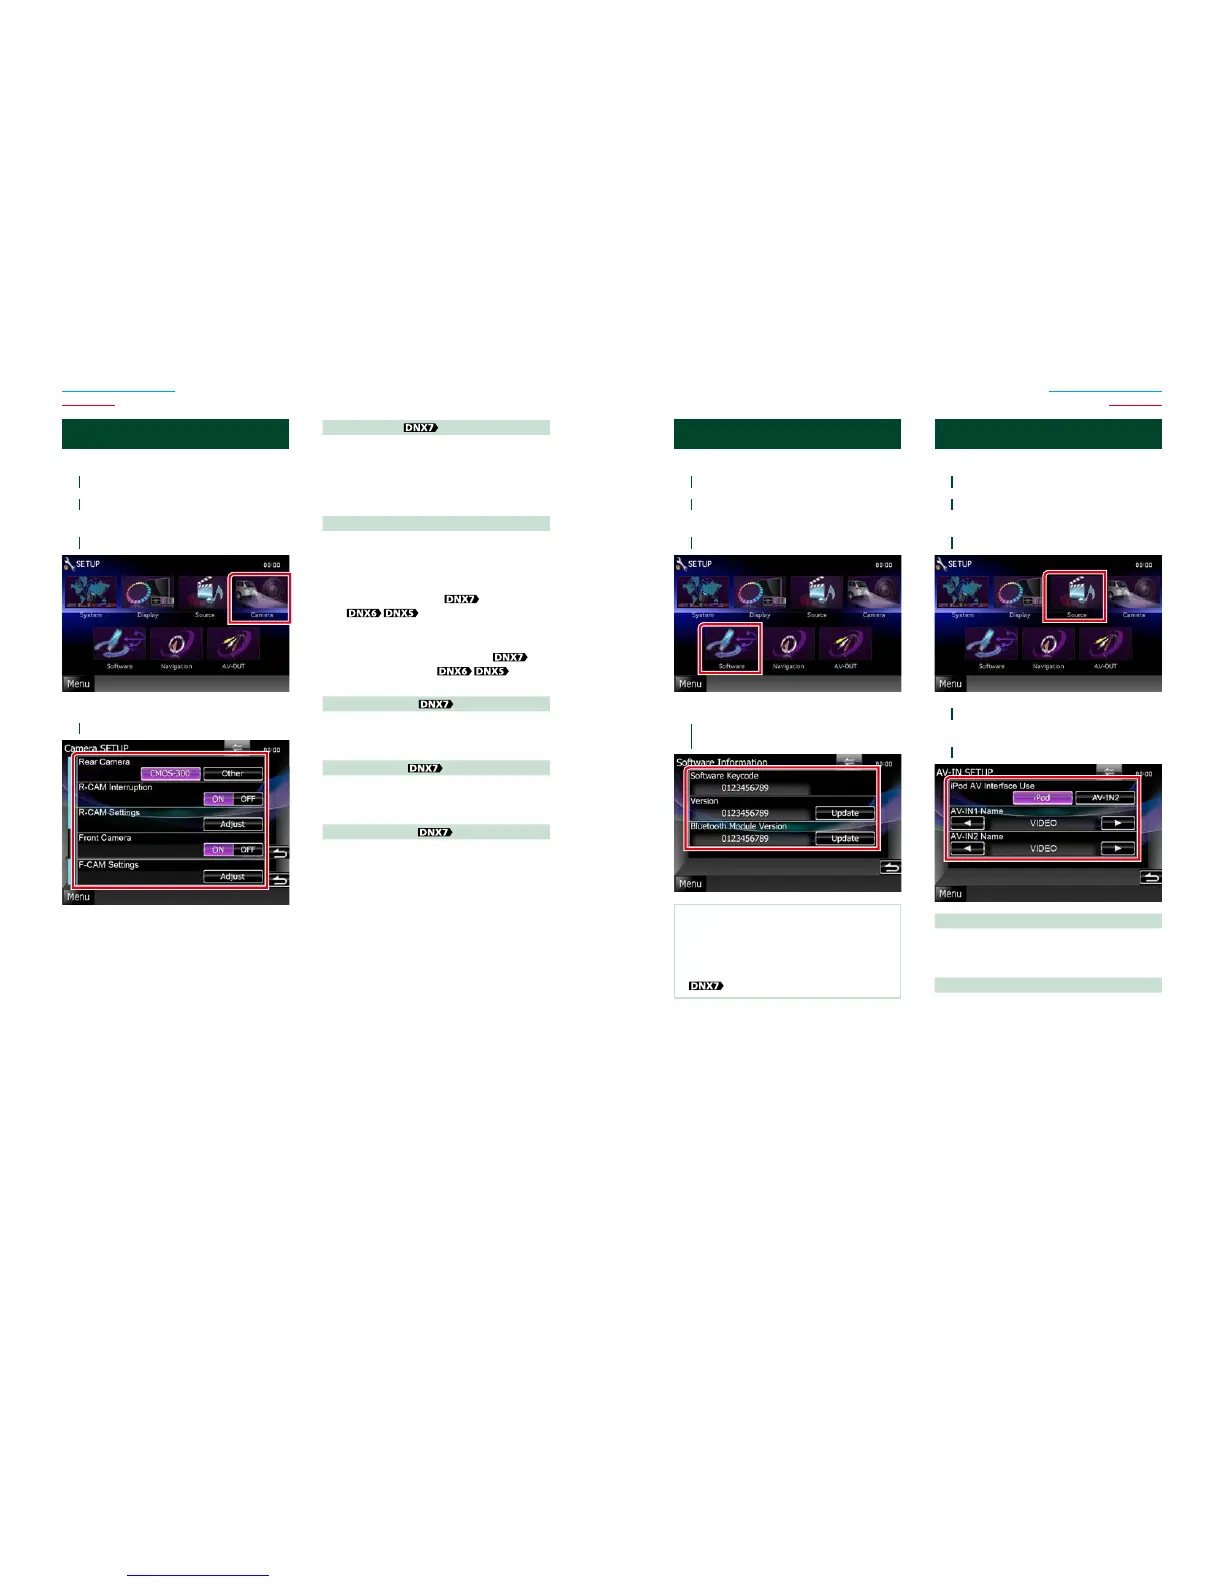
Camera Setup
Youcansetcameraparameters.
1
Touch [Menu] on any screen.
2
Touch [SETUP].
SETUP Menu screen appears.
3
Touch [Camera].
Camera SETUP screen appears.
4
Set each item as follows.
Rear Camera*
1
Selects the type of rear camera to use.
CMOS-3xx: When the CMOS-300 series with ID
1 set is connected.
Other (Default): When the other camera is
connected.
R-CAM Interruption
Sets a method for switching the display.
Setting values are ON and OFF.
ON: Switches to the rear view camera video
display when shifting to reverse or
pressing the <AUD>
or <SCRN>
button for 1 second.
OFF (Default): Switches to the rear view
camera video display when
pressing the <AUD>
or
<SCRN>
button
for 1 second.
R-CAM Settings*
2
Adjusts the CMOS-300 series with ID 1 set.
For details, see the instruction manual of your
camera.
Front Camera*
1
Turn this setting on when the CMOS-300 series
with ID 2 set is connected. Setting values are
ON and OFF. Default is “OFF”.
F-CAM Settings*
3
Adjusts the CMOS-300 series with ID 2 set.
For details, see the instruction manual of your
camera.
*1Thesesettingsbecomesettableonlywhen
theparkingbrakeison.
*2Thissettingbecomessettableonlywhen
theparkingbrakeisonandtheCMOS-300
seriesisselected.
*3Thissettingbecomessettableonly
whentheparkingbrakeisonand“Front
Camera”issetto[ON].
Software Information
Checkthesoftwareversionofthisunit.
1
Touch [Menu] on any screen.
2
Touch [SETUP].
SETUP Menu screen appears.
3
Touch [Software].
Software Information screen appears.
4
Confirm the software version. Touch
[Update] as necessary.
NOTE
• For how to update the software, see the relevant
update procedure manual which comes with the
software.
• [Bluetooth Module Version] is available only
.
AV Input Setup
YoucansetAVinputparameters.
1
Touch [Menu] on any screen.
2
Touch [SETUP].
SETUP Menu screen appears.
3
Touch [Source].
4
Touch [AV-IN SETUP] in the list.
AV-IN SETUP screen appears.
5
Set each item as follows.
iPod AV Interface Use*
1
Sets the terminal which iPod is connected.
Setting values are iPod and AV-IN2. Default is
“iPod”.
AV-IN1 Name/AV-IN2 Name*
2
Sets a name to be displayed when you select
a system that is connected via the AV INPUT
port. Default is “VIDEO”.
*1ThisitemcanbesetwheninSTANDBY
sourceandalsotheiPodisdisconnected.
*2[AV-IN2Name]becomessettablewhen
“AV-IN2”isselectedin[iPodAVInterface
Use].

 Loading...