9
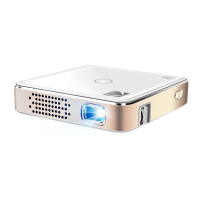
A. Turn on the Projector
Press and hold the power button for 5
seconds to turn on the projector.
B. Adjust Screen Size
The screen size will increase or decrease as
the projector is brought closer or further from
the wall. The chart below details the
correlation between distance and screen size.
C. Adjust the Focus Wheel
Open a still image and carefully rotate the focus wheel until the image is clear.
D. Connect Speakers or Headphones
Connect your speakers or headphones to the projector’s audio output port using a 3.5mm cable.
Adjust the volume as needed.
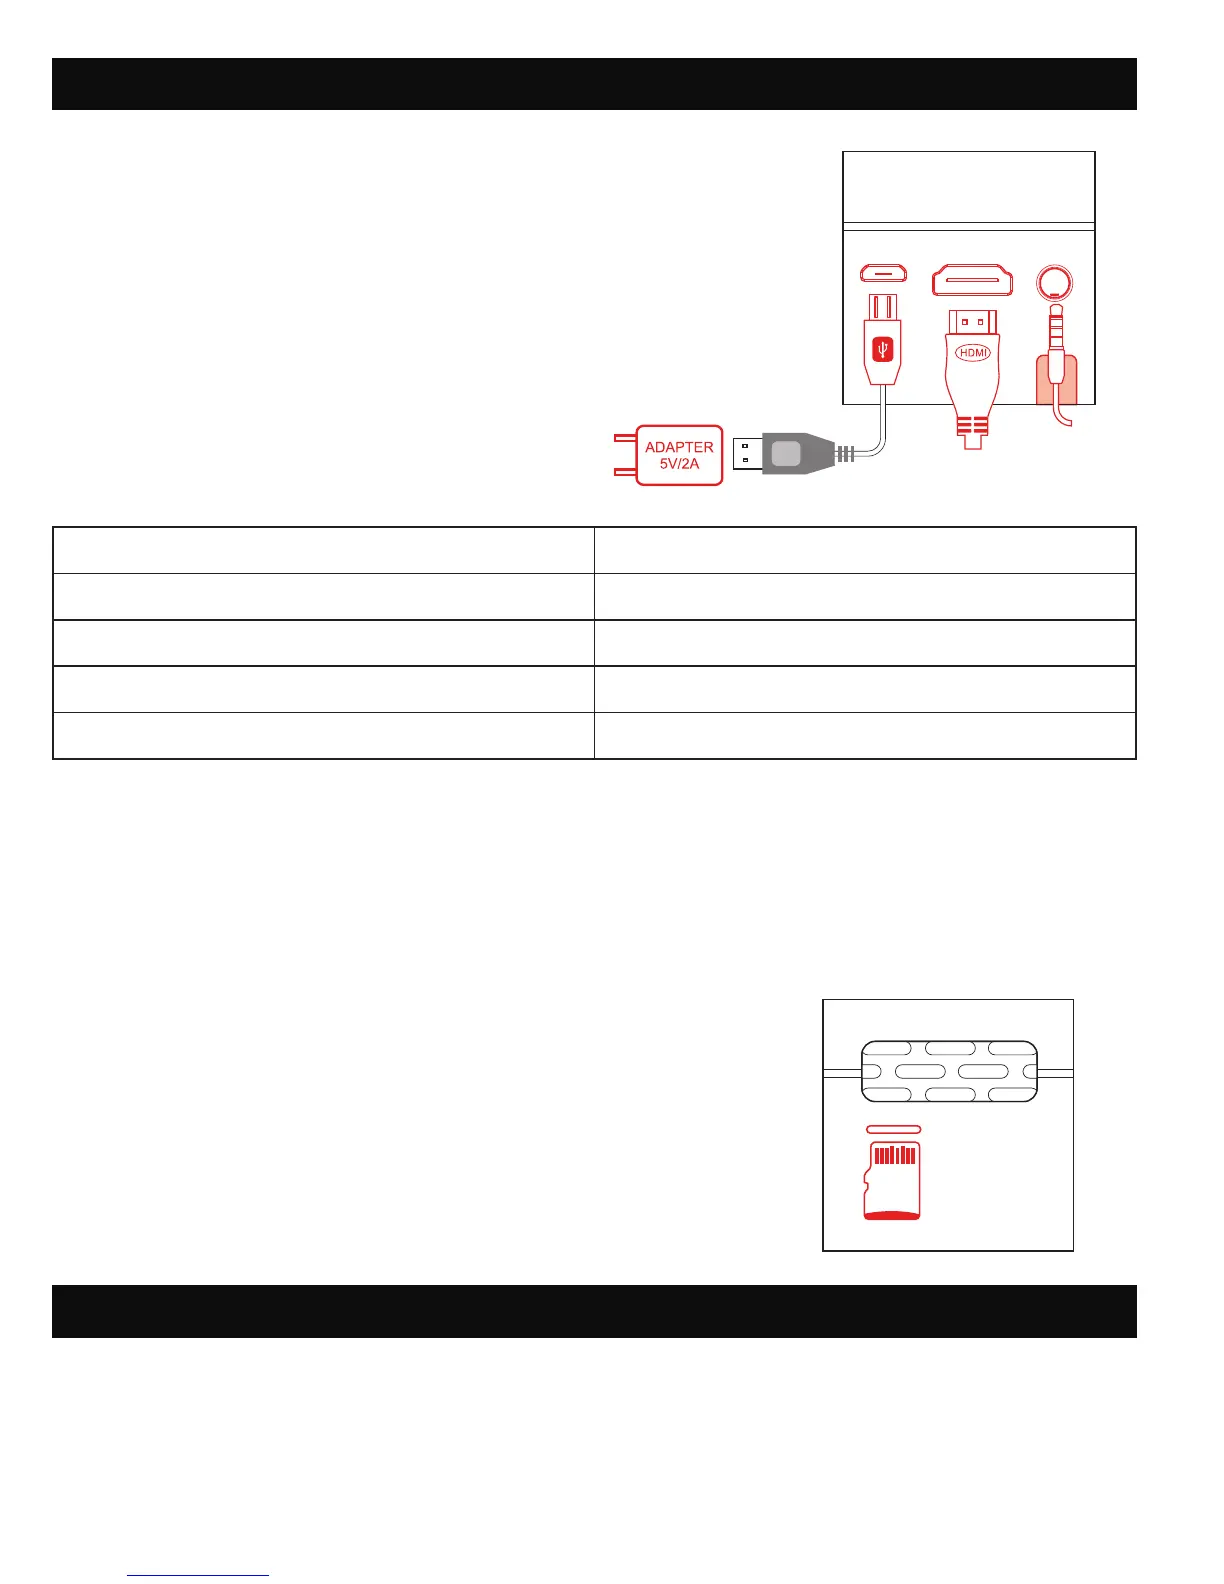
E. Insert MicroSD™ Card
Position the microSD™ card with the chip facing up, and slide
it into the microSD™ card slot until it clicks into place.
NOTE: when the projector recognizes that a microSD™ card has
been inserted, the blue SD card icon will light up on the upper
right corner of the screen.
Your projector can be connected to a variety of external devices using the included HDMI® cable.
Compatible devices include laptops, smartphones, tablets, gaming devices, and more.
• Connect the mini HDMI® end of the cable to the projector.
• Connect the other end of the HDMI® cable to the external device.
5B. GENERAL SETUP
5C. CONNECT TO AN HDMI® DEVICE
SCREEN SIZE (INCHES) PROJECTED DISTANCE (FEET/METERS)
7 0.6 ft. / 0.18 m
38 3 ft. / 1 m
56 5 ft. / 1.5 m
100 8 ft. / 2.5 m
 Loading...