15
Rugby 100-1.5.0en
Calibration
Calibration
)
The Rugby is calibrated to the
defined accuracy specification at the
factory. It is recommended to check
your laser for calibration upon receipt
and periodically before using the laser
to ensure calibration is maintained.
Refer to the warranty card for further
information. If your laser requires
calibration, send it to your nearest
authorized service center, or calibrate
the laser using the following
procedure.
)
Do not enter this mode or
attempt calibration unless you plan to
change the calibration. Calibration
should be performed only by a
qualified individual that understands
basic calibration principles.
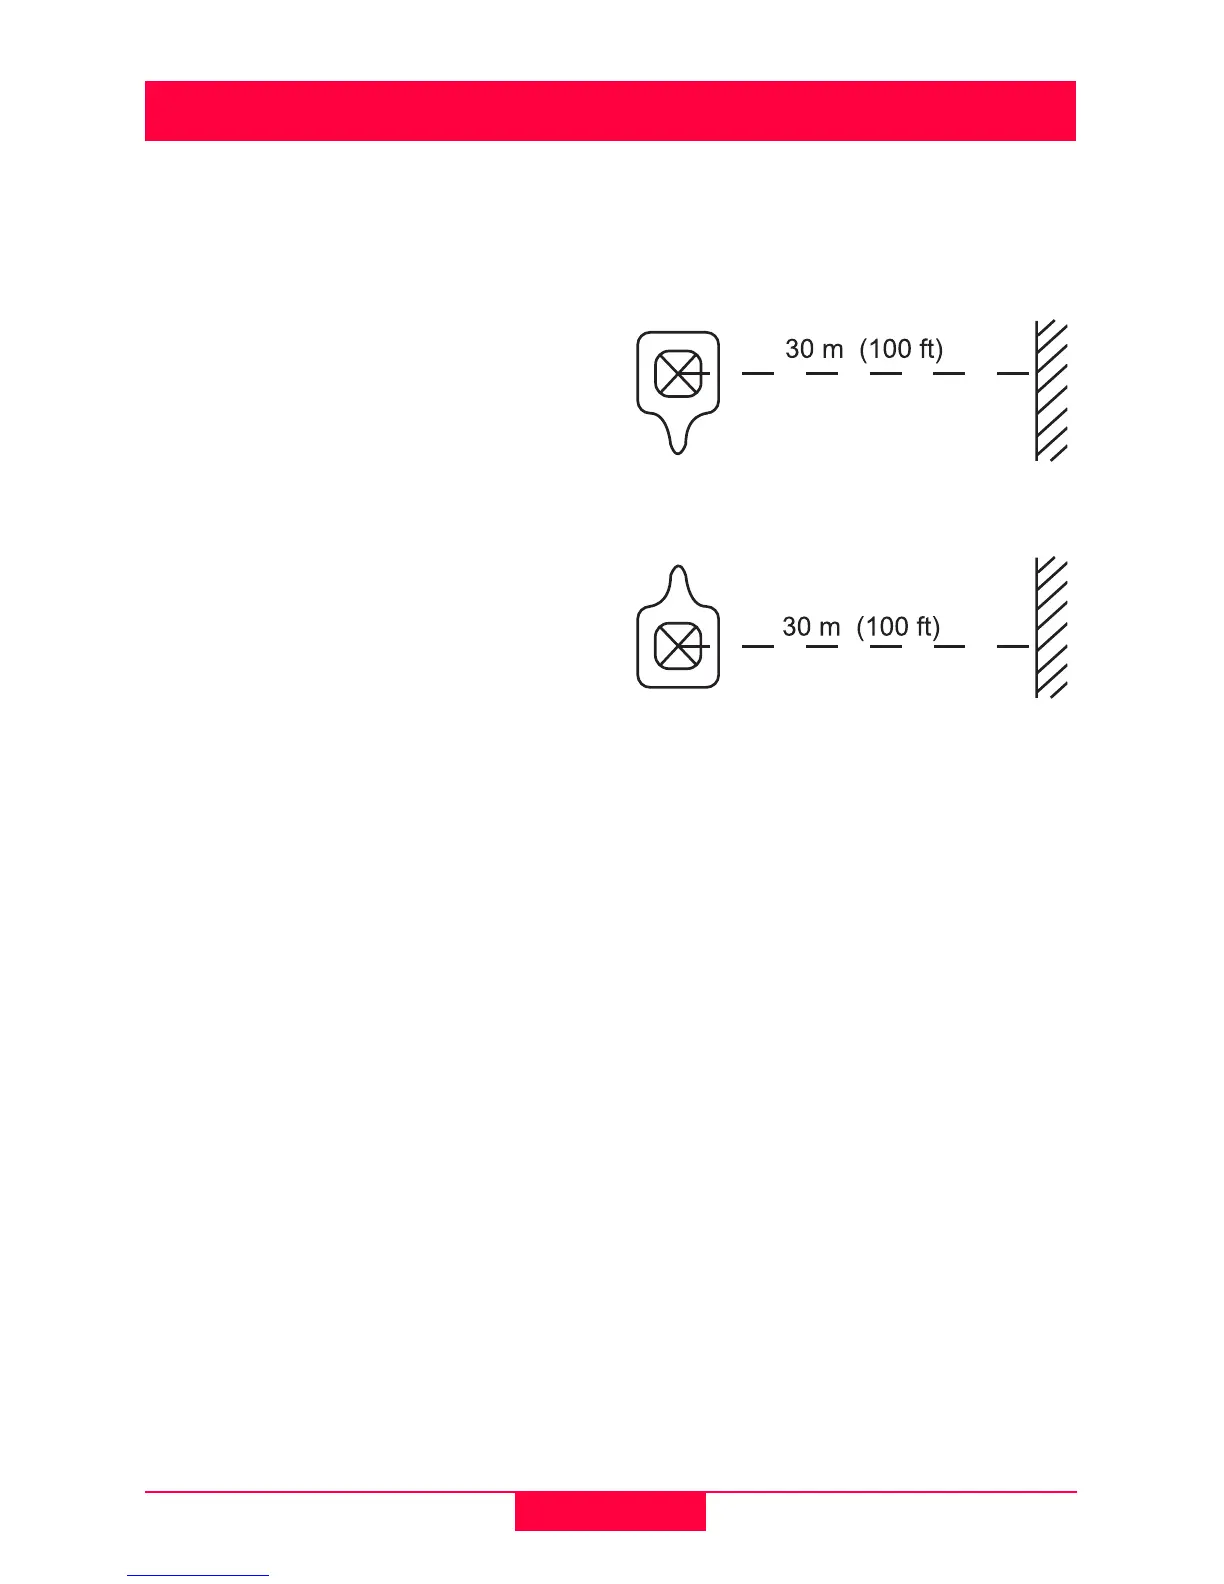
Checking Level Calibration:
To check level calibration of your
Rugby Laser, place the unit on a flat,
level surface or tripod approximately
100 ft (30 m) from a wall.
Align Axis one of the Rugby so that it is
square with the wall. Allow the unit to
self-level completely approximately
one minute after the unit begins to
rotate), and then mark the position of
the beam (position 1).
Rotate the Rugby 180°, allow it to self-
level and mark the opposite side of the
first axis (position 2).
Align the second axis of the Rugby by
rotating it 90° so that this axis is now
square with the wall. Allow the unit to
self-level completely, and then mark
the position of the beam (position 3).
Rotate the Rugby 180°. allow it to self-
level and mark the opposite side of the
second axis (position 4).
Rugby100-7 Axis 1_1.eps
Axis 1 (Position 1)
Rugby100-8 Axis 1_2.eps
Axis 1 (Position 2)
The Rugby is within its calibration
specification if the four marks are
within ±3/32” (2.6 mm) from center.
)
Increased accuracy specified
beginning serial number 100-61500 is
now ± 1/16" (± 1.5 mm).
To Enter Calibration Mode:
1 With the power off, press the Power
Button once to turn on power.
2 Press and hold the Up and Down
Arrow Buttons. While holding these
buttons, press and release the
power button. Then, release the
arrow buttons.
 Loading...