4
Introduction and general operation
Rugby 100-1.5.0en
Introduction and general operation
The Rugby 100 Operating Instructions
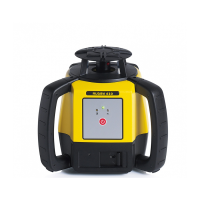
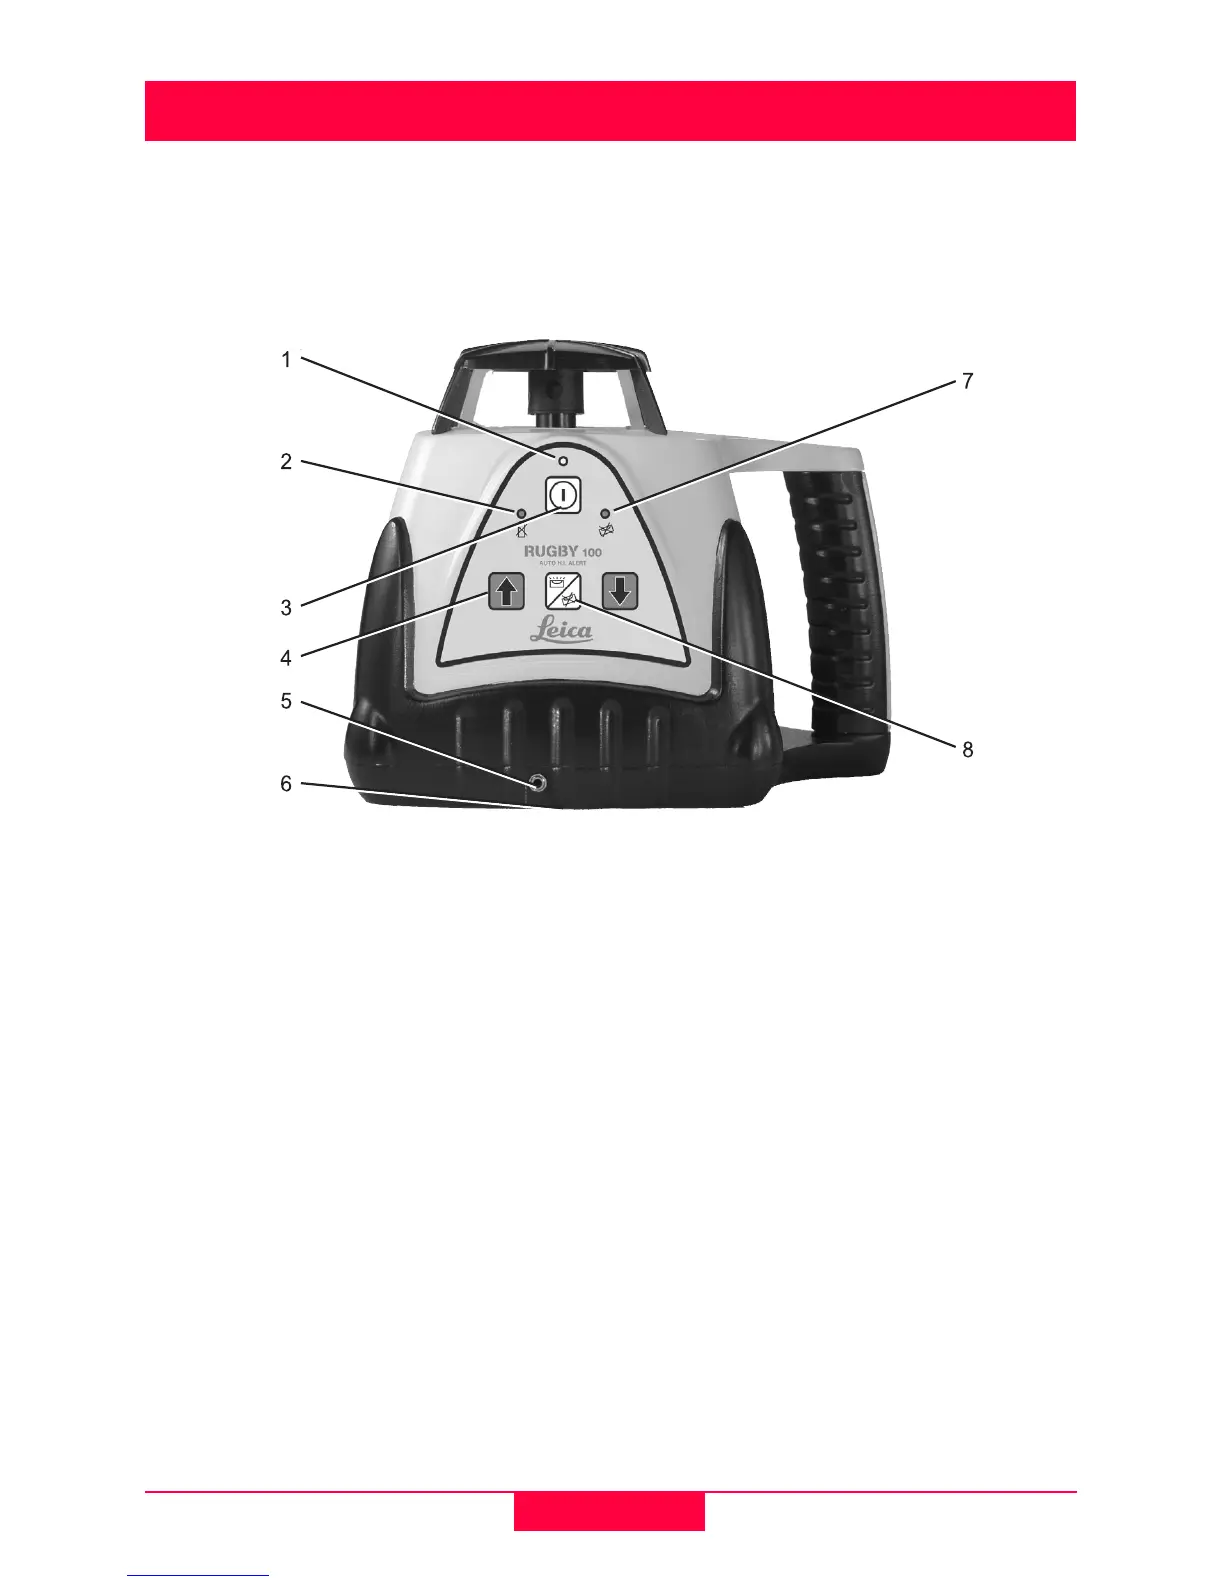
The Rugby 100 is easy to understand and simple to use. The picture below gives
a brief explanation of each of the switch buttons and the LED indicators.
Rugby100-1 Rugby_100_overview.eps
1 Laser Emission Indicator
Indicates when the laser is leveling (flashing) or is level and the beam is on
(solid).
2 Low Battery Indicator
Indicates when the laser’s batteries are becoming low.
3 Off/On Power Button
Press once to turn the Rugby on at 10 rps. Press again to decrease the head
speed to 5 rps. Press a third time to turn the unit off.
)
Units below Serial Number 100-28500 turn on at 5 rps.
4 Manual Grade Buttons (2)
Controls the tilt of the main axis when the Rugby is in Manual mode.
5 Charge Jack
For optional NiMH rechargeable battery pack.
6 Battery Assembly
Located in the base of the laser. Remove the locking ring to replace the
alkaline batteries.
 Loading...