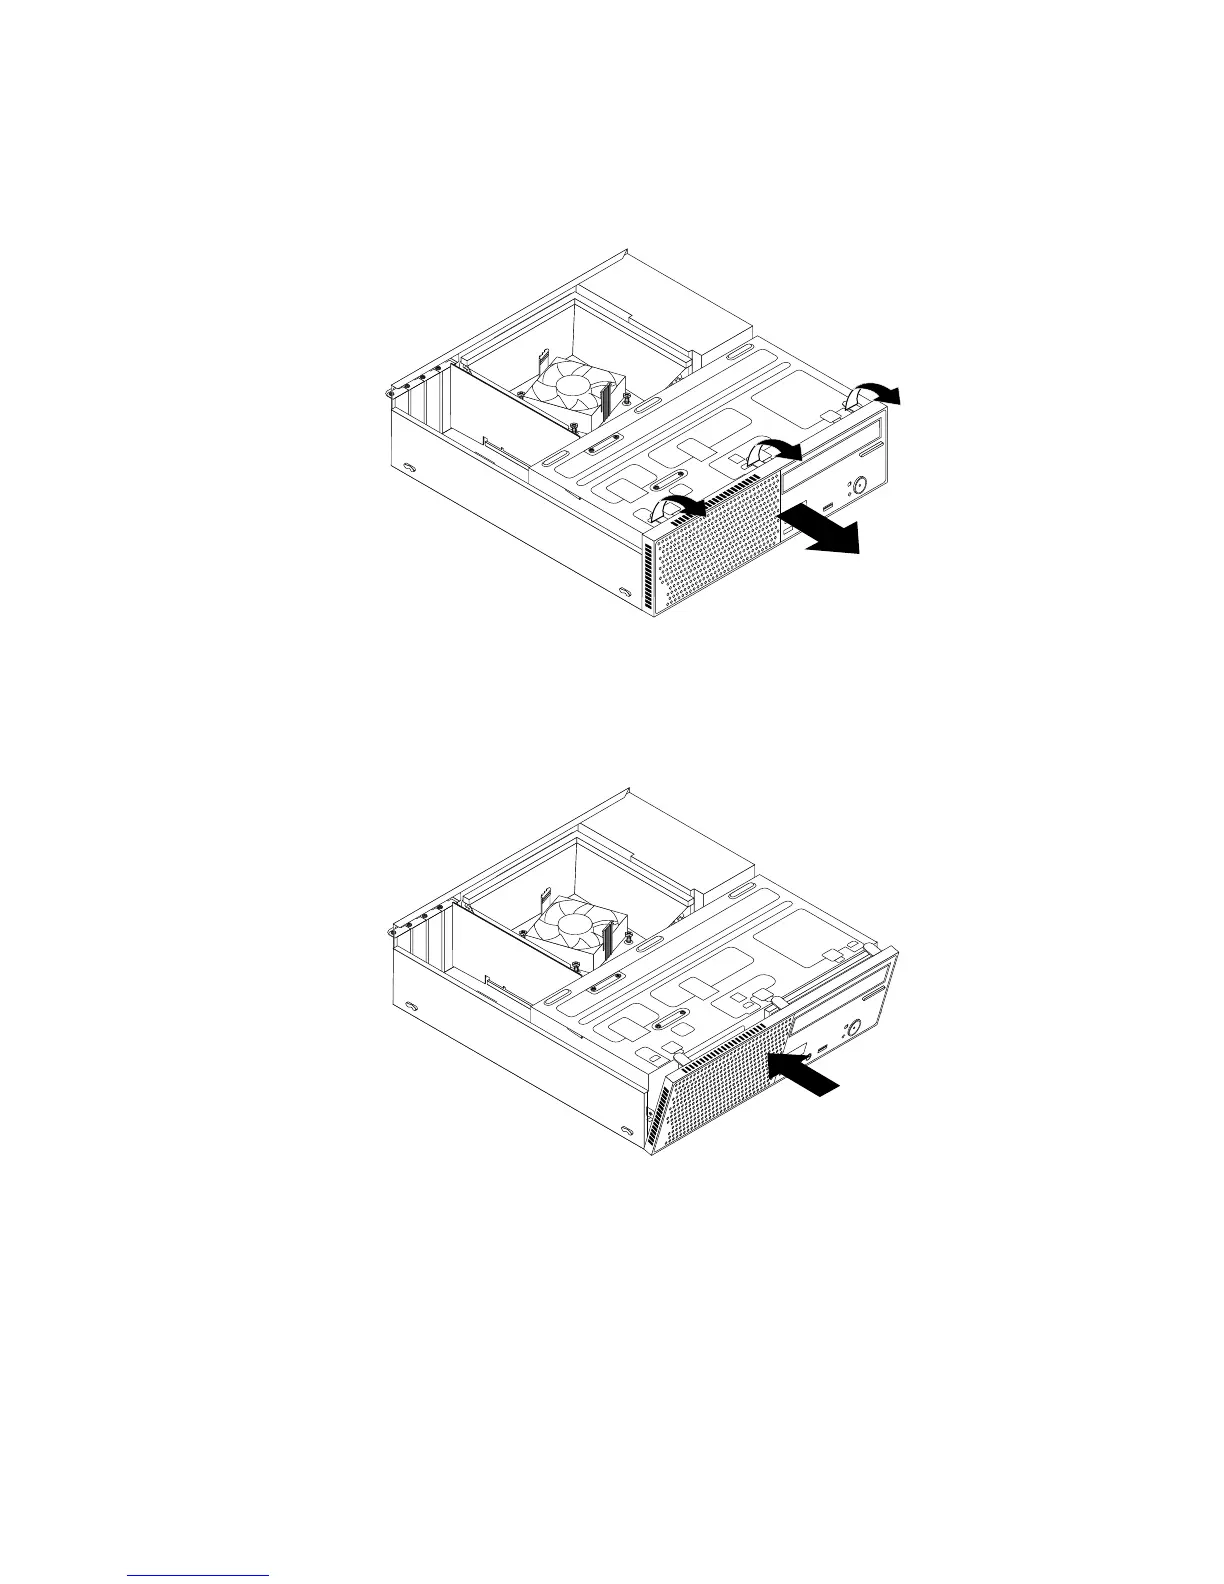
3.Removethefrontbezelbyreleasingthethreeplastictabsonthetopofthefrontbezelandpivoting
thefrontbezeloutwardtoremoveitfromthecomputer.Carefullylaythefrontbezelasidewithout
disconnectingthepowerswitchandlight-emittingdiode(LED)assemblycable.
Figure10.Removingthefrontbezel
4.Toreinstallthefrontbezel,aligntheotherthreeplastictabsonthebottomofthefrontbezelwiththe
correspondingholesinthechassis,thenpivotthefrontbezelinwarduntilitsnapsintoposition.
Figure11.Reinstallingthefrontbezel
Whattodonext:
•Toworkwithanotherpieceofhardware,gototheappropriatesection.
•Tocompletetheinstallationorreplacement,goto“Completingthepartsreplacement”onpage76
.
Accessingthesystemboardcomponentsanddrives
Attention:Donotopenyourcomputerorattemptanyrepairbeforereadingandunderstandingthe
“Importantsafetyinformation”onpagev.
Chapter5.Installingorreplacinghardware37
 Loading...