Loading...
Do you have a question about the Lenovo 14IRP8 and is the answer not in the manual?
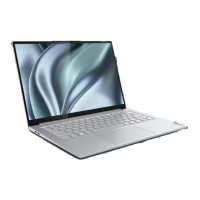
| Display | 14" FHD (1920 x 1080) IPS, Anti-Glare |
|---|---|
| RAM | 16 GB DDR4 |
| Storage | 1 TB SSD |
| Graphics | Intel Iris Xe Graphics |
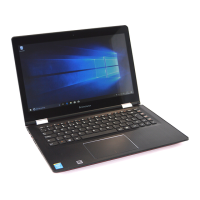
| Operating System | Windows 11 Pro |
| Audio | Dolby Audio, stereo speakers |
| Camera | 720p HD Camera with Privacy Shutter |
| Dimensions | 17.9mm |
| Connectivity | Wi-Fi 6, Bluetooth 5.1 |
| Ports | HDMI 1.4b, Headphone / mic combo |