(cf § 5 - 4).
- Remonter les croissants support de diodes.
- Remonter la varistance (347).
- Rebrancher les diodes.
- Reposer la grille d'entrée d'air (51).
6.5 - Remplacement du roulement arrière
6.5.1- Démontage
- Démonter le flasque arrière (36) cf § 6.3.1.
- Enlever le roulement (70) à l'aide d'un extracteur à vis
centrale
6.5.2- Remontage
- Monter un roulement neuf après avoir chauffé sa bague
intérieure par induction ou en étuve à 80 °C (ne pas utili-
ser de bain d'huile).
- Placer la rondelle de précharge (79) dans le flasque et
installer un joint torique neuf (349).
- Remonter le flasque arrière (36) cf § 6.3.2.
6.6 - Remplacement des roulements sur
machine bipalier
6.6.1 - Démontage
- Désaccoupler l'alternateur du moteur d'entraînement.
- Déposer le capot supérieur (48).
- Déposer les 4 écrous (38).
- Déposer les 2 vis (62) du flasque AV (30) .
- Déposer le flasque AV(30)
- Extraire l'ensemble rotor (4) en faisant attention à ne
pas endommager les bobinages.
- Retirer le circlips (284)
- Enlever les 2 roulements (60) et (70) à l'aide d'un
extracteur à vis centrale.
6.6.2 - Remontage
- Monter le chapeau intérieur (68) sur le rotor.
- Monter des roulements neufs après les avoir chauffés
par induction ou en étuve à 80 °C (ne pas utiliser de bain
d'huile).
- Remonter le circlips (284).
- Vérifier la présence de la rondelle de précharge (79) et
du joint torique (349) dans le flasque AR (36).
- Glisser le rotor (4) dans le stator.
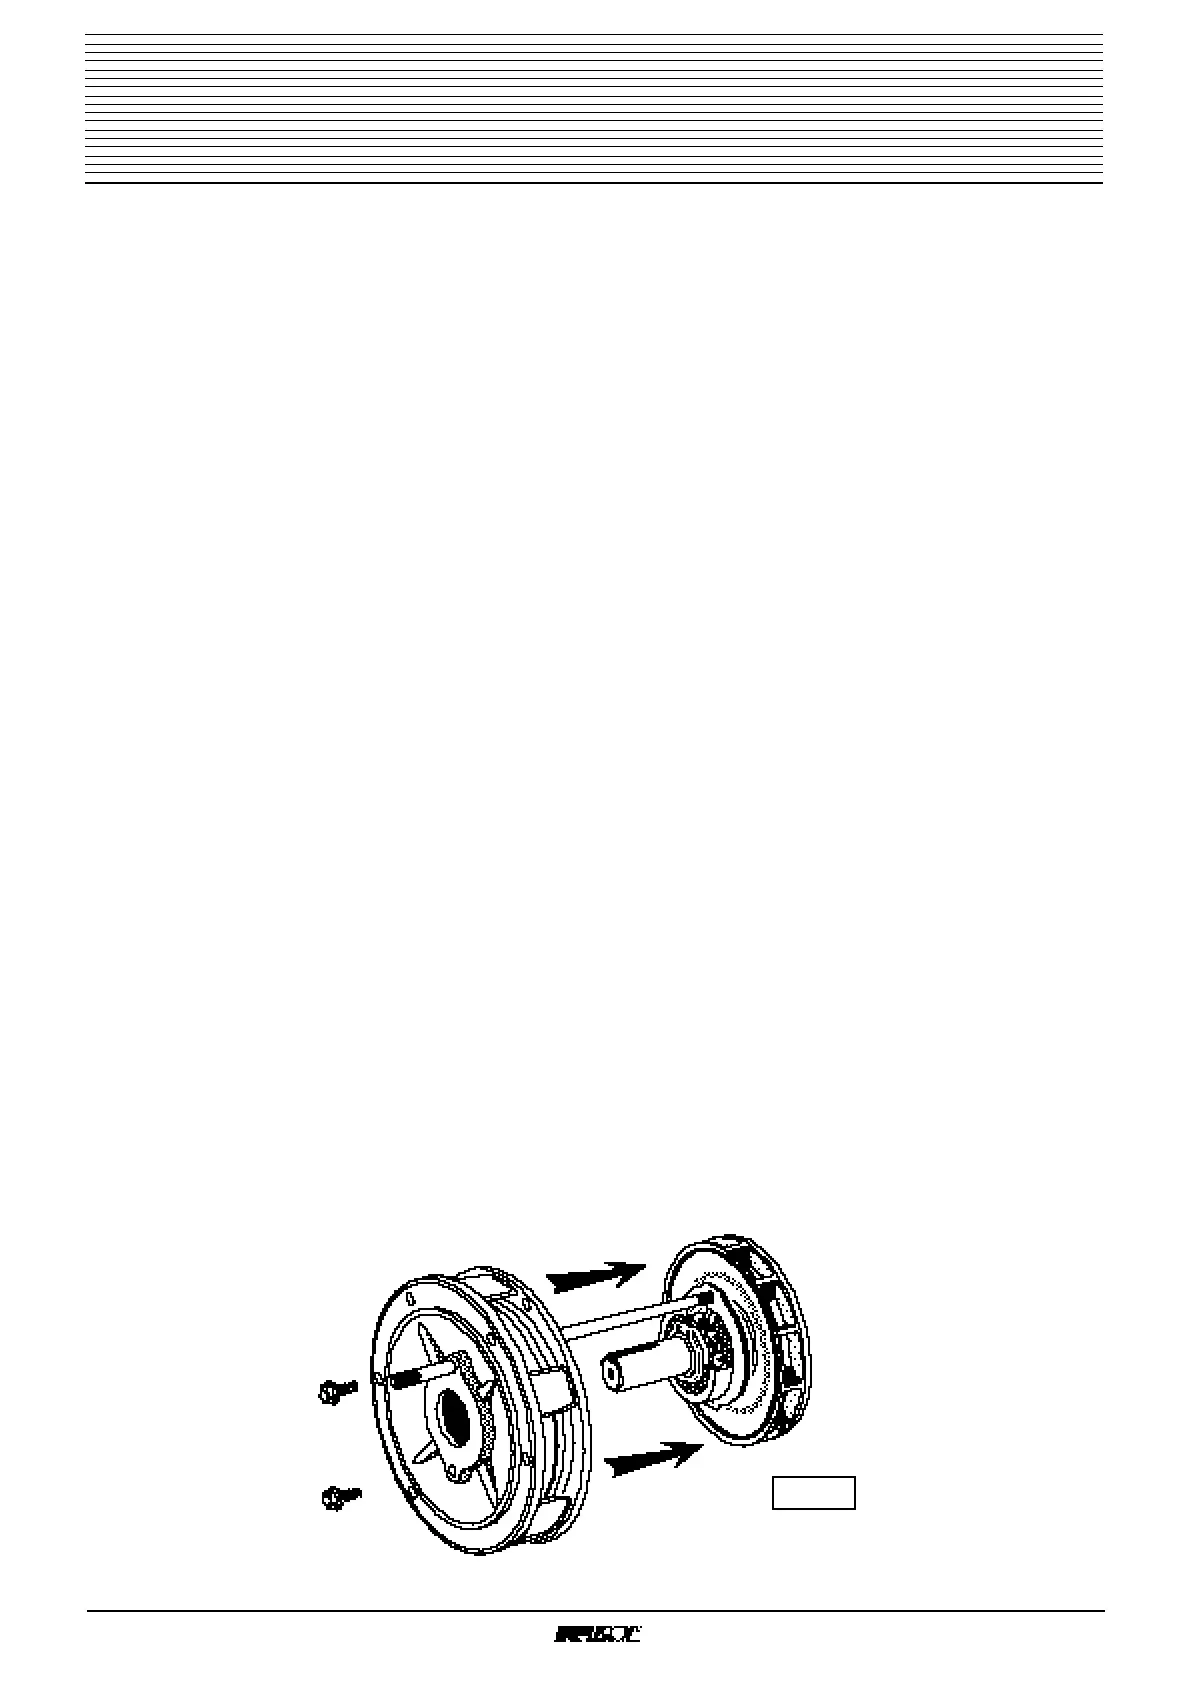
- Visser sur le chapeau (68) une tige filetée M6 x 200 pour
effectuer son montage (fig 3).
- Remonter le flasque avant (30), bloquer les 4 écrous (38) au
couple de 3,8 m.da/N.
- Fixer le chapeau intérieur (68) par la vis inférieur (62) rem-
placer la tige filetée par la seconde vis (62).
- Reposer le capot supérieur (48).
- Vérifier le montage correct de l'ensemble de la machine et le
serrage de toutes les vis.
NOTA: Lors d'un
démontage total
(rebobinage) ne pas
oublier de réequilibrer le
rotor
6.4.2 - Reassembling
- Replace diode damaged to respect polarity (ref § 5 - 4).
- Reassemble M.O. varistor (347).
- Connect the diodes
- Replace the air inlet screen (51)
6.5 - N.D.E. bearing replacing
6.5.1 - Dismantling
- Remove N.D.E. bracket (36) ref § 6.3.1.
- Extract bearing (70) with a bearing puller
6.5.2 - Reassembling
- Position the new ball bearing after heating its internal
ring, by induction system at 80°C or in an oven at 80°C
(do not use hot oil bathing).
- Install in N.D.E bracket the spring washer (79) and a
new rubber "O" ring (349)
- Reassemble N.D.E bracket (36) ref § 6.3.2.
6.6 - Replacing of two bearing
(two bearing units only)
6.6.1 - Dismantling
- Take off the alternator from the engine.
- Remove the terminal box cover (48).
- Remove the 4 nuts (38) fixing the endshield.
- Remove 2 screws (62).
- Remove D.E bracket (30).
- Remove rotor (4) taking care of not damaging windings.
- Remove circlip (284)
- Remove bearings (60) and (70) with a bearing puller.
6.6.2 - Reassembling
- Position the inner bearing cap (68) on the rotor
- Position the new ball bearing after heating it, by
induction system at 80° C or in an oven at 80°C (do not
use hot oil bathing).
- Position circlip (284)
- Place rubber "O" ring (349) the spring washer (79) into
the recess in the non drive end bearing housing (36).
- Replace rotor (4) into the stator.
- Insure the alinement of the bearing cap (68) with the
D.E. bracket (refer to fig 3)
- Replace the drive end bracket (30) on the stator (1) fas-
ten by nuts (38) torqued at 3,8 m.da/N on studs (37).
- Fix the inner bearing cap (68) with lower bolt (62) and
replace the rod by upper bolt (62).
- Fix the terminal box cover (48).
- Check that all nuts and bolts are correctly tightened
Note : If the rotor has been
rewound, it must be
rebalanced.
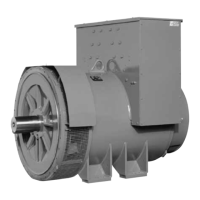
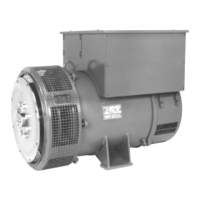
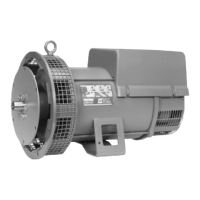
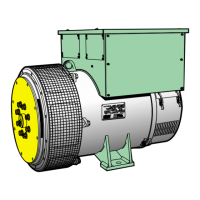
Alternator
LSA 41.1, 41.2, 42.1, 44.1 - 4P
Alternateur
LSA 41.1, 41.2, 42.1, 44.1 - 4P
Fig 3
 Loading...