50
How to add a memory card
How to add a memory card
The system board has one connector for an optional memory card. The printer can support up to 64MB of additional
memory (for a total of 80MB) for the Lexmark E240 and up to 128MB (for a total of 160MB) for the Lexmark E240n.
CAUTION: If you are installing a memory card after setting up the printer, turn the printer off, and unplug the
power cord before continuing.
Note: Memory options designed for other Lexmark printers may not work with your printer.
1 Access the system board (see How to access the system board).
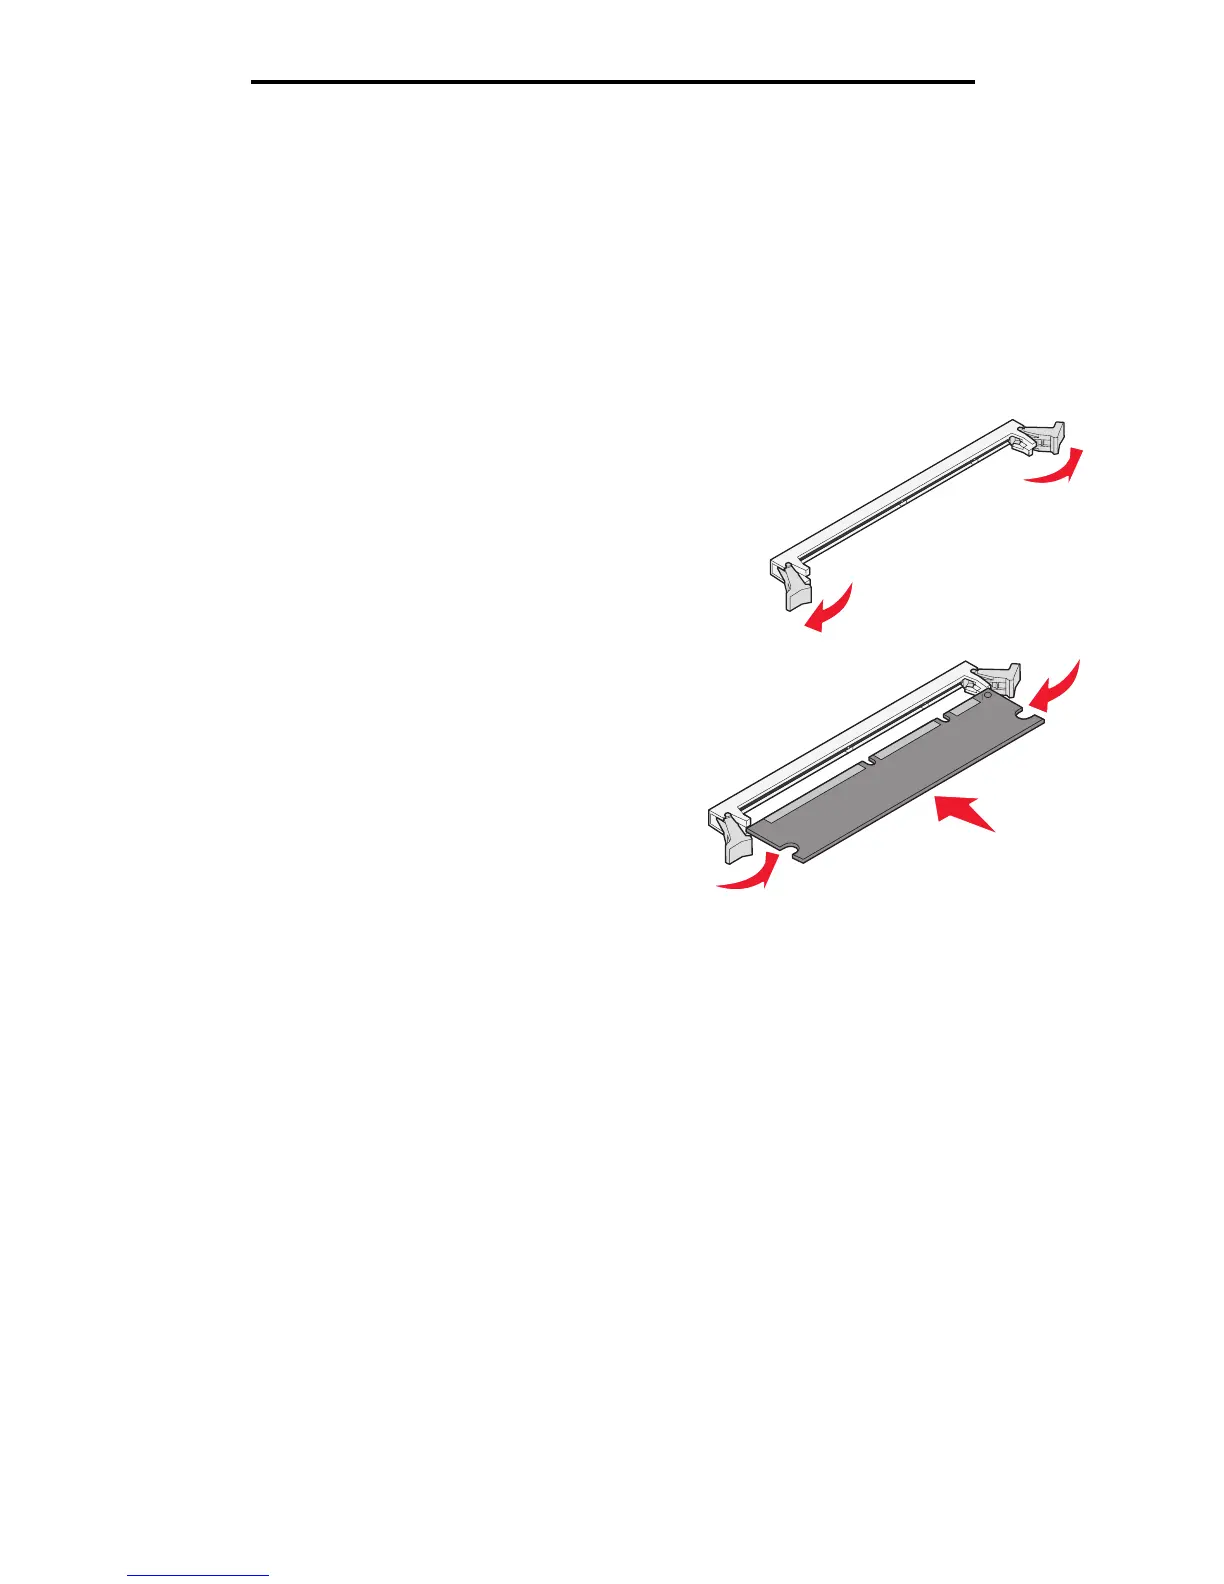
2 Push open the latches on both ends of the memory connector.
3 Unpack the memory card.
Warning: Memory is easily damaged by static electricity. Touch
something metal, such as the printer frame, before you
touch a memory card.
Avoid touching the connection points along the edge of the card.
4 Align the notches on the bottom of the card with the notches
on the connector.
5 Push the memory card firmly into the connector until the
latches on either end of the connector snap into place.
It may require some force to fully seat the card.
6 Make sure each latch fits over the notch on each end of the
card.
7 Close the side cover.
8 Close the rear exit.
9 Close the front cover.
10 See Recognizing installed options.

 Loading...