EasyManuals Logo
Home>Lutron Electronics>Control Unit>QS Timeclock

Lutron Electronics QS Timeclock User Manual

Lutron Electronics QS Timeclock
192 pages
To Next Page IconTo Next Page
To Previous Page IconTo Previous Page
Page #8 background imageLoading...
Page #8 background image
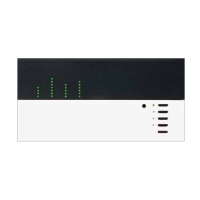
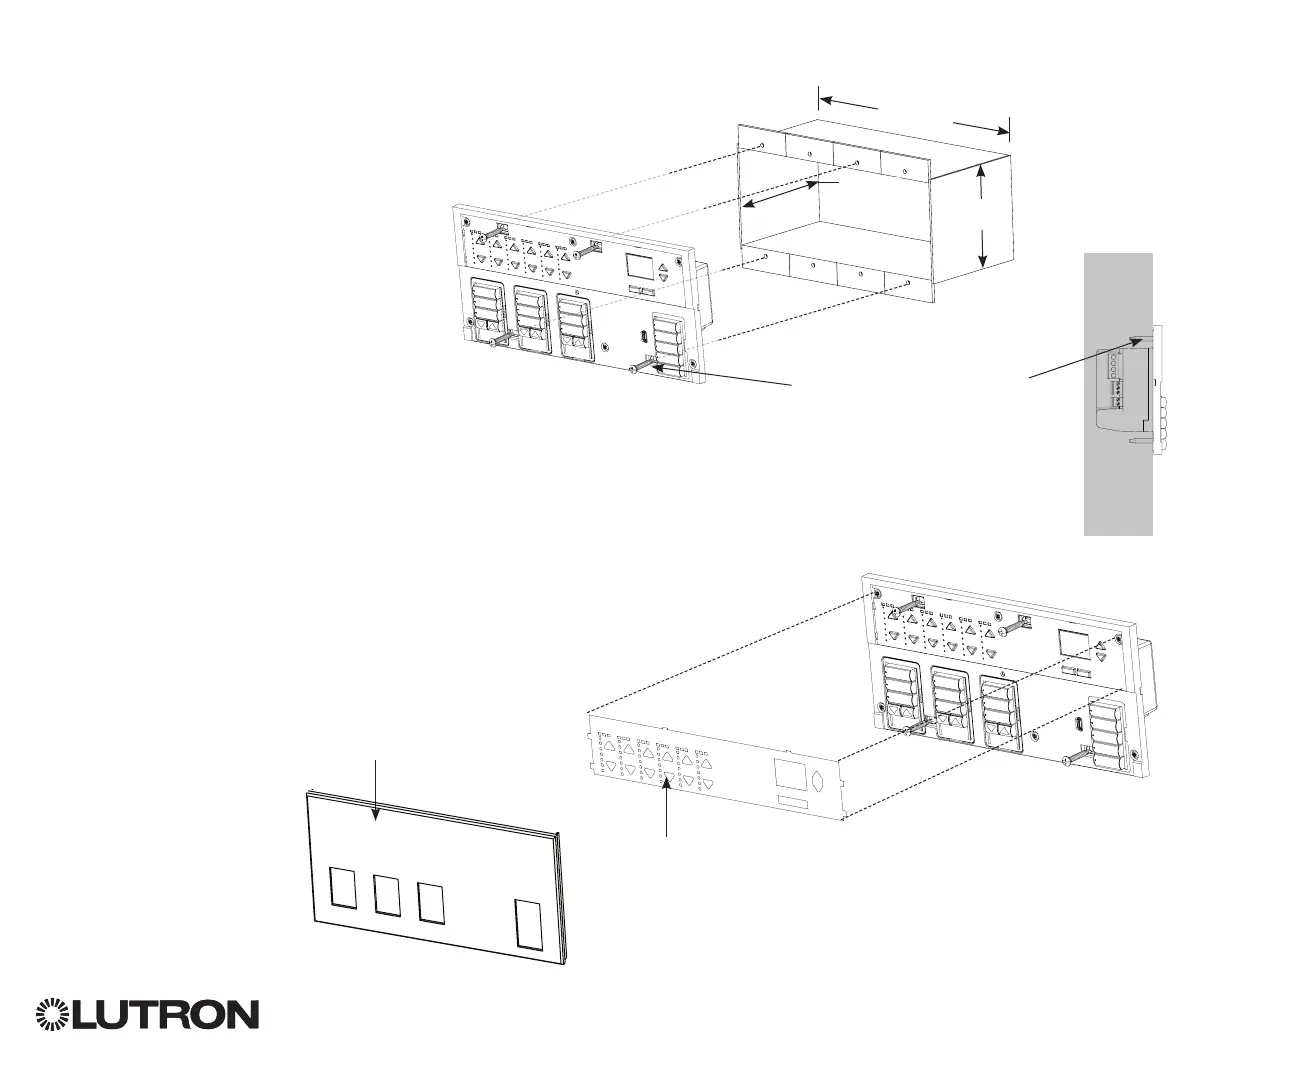
Completing Installation
1. Mount the QS Timeclock in the wallbox
as shown using the four screws pro vid ed.
Note: Follow all local and national
electrical codes when installing IEC PELV/
NEC® Class 2 wiring with line voltage/
mains wiring.
2. Verify installation.
3. Restore power.
4. Apply the protective overlay to the QS
Timeclock.
QS Timeclock Installation and Operation Guide 8
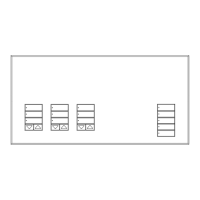
Note: When tightening mounting
screws, make sure that the hinged
cover and faceplate will open fully,
as shown.
Wall
7.9 in
(200 mm)
3.5 in
(87 mm)
3.75 in
(95 mm)
Protective overlay
(apply after installation)
Faceplate
(apply after installation)

Table of Contents

Other manuals for Lutron Electronics QS Timeclock

Questions and Answers:

Question and Answer IconNeed help?

Do you have a question about the Lutron Electronics QS Timeclock and is the answer not in the manual?

Lutron Electronics QS Timeclock Specifications

General IconGeneral
BrandLutron Electronics
ModelQS Timeclock
CategoryControl Unit
LanguageEnglish

Related product manuals