7 ENGLISH
FUNCTIONAL
DESCRIPTION
WARNING:
• Always be sure that the tool is switched
off and battery cartridge is removed before
adjusting or checking function on the tool.
Failuretoswitchoffandremovethebattery
cartridgemayresultinseriouspersonalinjury
from accidental start-up.
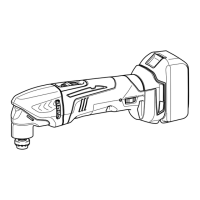
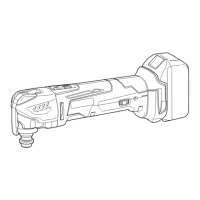
Installing or removing battery cartridge
►Fig.1: 1. Button 2. Red indicator 3.Batterycartridge
CAUTION:
• Alwaysswitchoffthetoolbeforeinstallingor
removingofthebatterycartridge.
• Hold the tool and the battery cartridge rmly
when installing or removing battery car-
tridge.Failuretoholdthetoolandthebattery
cartridgermlymaycausethemtoslipoffyour
hands and result in damage to the tool and
batterycartridgeandapersonalinjury.
Toremovethebatterycartridge,slideitfromthetool
whileslidingthebuttononthefrontofthecartridge.
Toinstallthebatterycartridge,alignthetongueonthe
batterycartridgewiththegrooveinthehousingandslip
itintoplace.Insertitallthewayuntilitlocksinplace
withalittleclick.Ifyoucanseetheredindicatoronthe
uppersideofthebutton,itisnotlockedcompletely.
CAUTION:
• Alwaysinstallthebatterycartridgefullyuntilthe
redindicatorcannotbeseen.Ifnot,itmayacci-
dentallyfalloutofthetool,causinginjurytoyou
orsomeonearoundyou.
• Donotinstallthebatterycartridgeforcibly.Ifthe
cartridgedoesnotslideineasily,itisnotbeing
insertedcorrectly.
Battery protection system (Lithium-
ion battery with star marking)
►Fig.2: 1.Starmarking
Lithium-ionbatterieswithastarmarkingareequipped
withaprotectionsystem.Thissystemautomatically
cutsoffpowertothetooltoextendbatterylife.
Thetoolwillautomaticallystopduringoperationifthetooland/
orbatteryareplacedunderoneofthefollowingconditions:
• Overloaded:
The tool is operated in a manner that causes
ittodrawanabnormallyhighcurrent.
In this situation, slide the slide switch on the
tooltowardthe"O(OFF)"positionandstop
theapplicationthatcausedthetooltobecome
overloaded. Then slide the slide switch toward
the "I (ON)" position again to restart.
Ifthetooldoesnotstart,thebatteryisover-
heated.Inthissituation,letthebatterycool
beforeslidingtheslideswitchtowardthe"I
(ON)" position again.
• Lowbatteryvoltage:
Theremainingbatterycapacityistoolow
and the tool will not operate. In this situation,
removeandrechargethebattery.
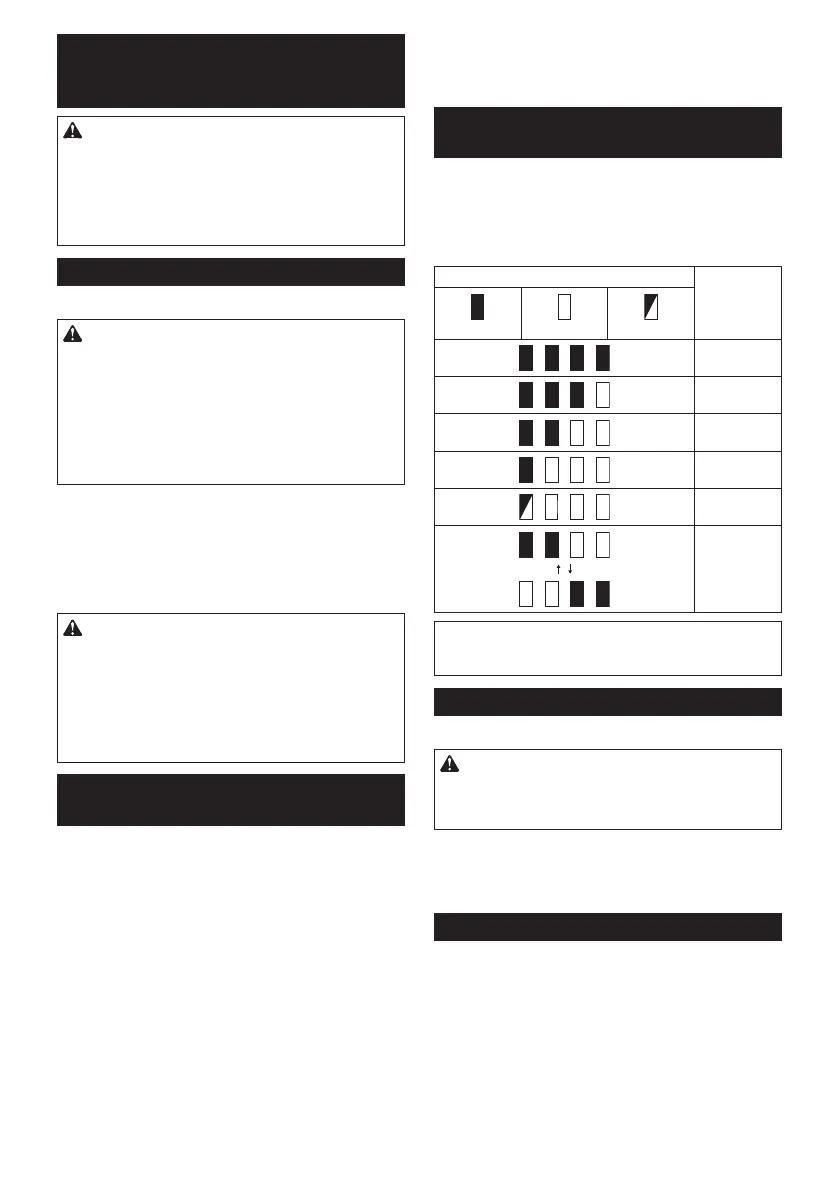
Indicating the remaining battery
capacity
Only for battery cartridges with the indicator
►Fig.3: 1. Indicator lamps 2.Checkbutton
Pressthecheckbuttononthebatterycartridgetoindi-
catetheremainingbatterycapacity.Theindicatorlamps
light up for a few seconds.
Indicator lamps Remaining
capacity
Lighted Off Blinking
75% to 100%
50% to 75%
25% to 50%
0% to 25%
Charge the
battery.
Thebattery
mayhave
malfunctioned.
NOTE: Depending on the conditions of use and the
ambienttemperature,theindicationmaydifferslightly
fromtheactualcapacity.
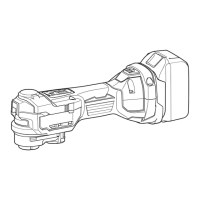
Switch action
►Fig.4: 1.Slideswitch
CAUTION:
• Beforeinstallingthebatterycartridgeinto
thetool,alwayschecktoseethatthetoolis
switched off.
To start the tool, slide the slide switch toward the "I
(ON)" position.
To stop the tool, slide the slide switch toward the "O
(OFF)"position.
Adjusting the orbital stroke rate
►Fig.5: 1. Dial
Theorbitalstrokerateisadjustable.Tochangethe
orbitalstrokerate,turnthedialbetween1and6.The
higherthenumberis,thehighertheorbitalstroke
rateis.Presetthedialtothenumbersuitableforyour
workpiece.

 Loading...