5
More Connecons
AirPlay 2
AirPlay 2 is an Apple technology designed to
control home audio systems and speakers in any
room – with a tap or by simply asking Siri – right
from iPhone, iPad, HomePod or Apple TV.
To control this AirPlay 2-enabled speaker, iOS 11.4
or later is required.
Multiroom Audio
AirPlay 2 technology lets you play a song on every
RS150 in your house at the same time or adjust the
volume in any room – all in sync.
After installing your RS150, add it to the Apple
Home App with a few simple steps using your
iPhone or iPad.
Siri Voice Control
Use Siri on your iPhone, iPad, HomePod, or Apple
TV to control your RS150 with just your voice.
Wi-Fi connecon using an iOS Device
Setting up the RS150 as a AirPlay Speaker will
connect the RS150 to your Wi-Fi network:
• Make sure your iOS device is on the Wi-Fi
network you wish to connect the RS150 to
• With the RS150 powered on, the LED
below the Left Knob should not be solidly
illuminated green (if it were lit, it would
indicate the RS150 is currently connected to a
network)
• Open up Settings on the iOS device
• Open up the Wi-Fi submenu
• Look at the Wi-Fi network list and nd “Set
Up New AirPlay Speaker”
• Select the RS150
• The RS150 will be added to your network
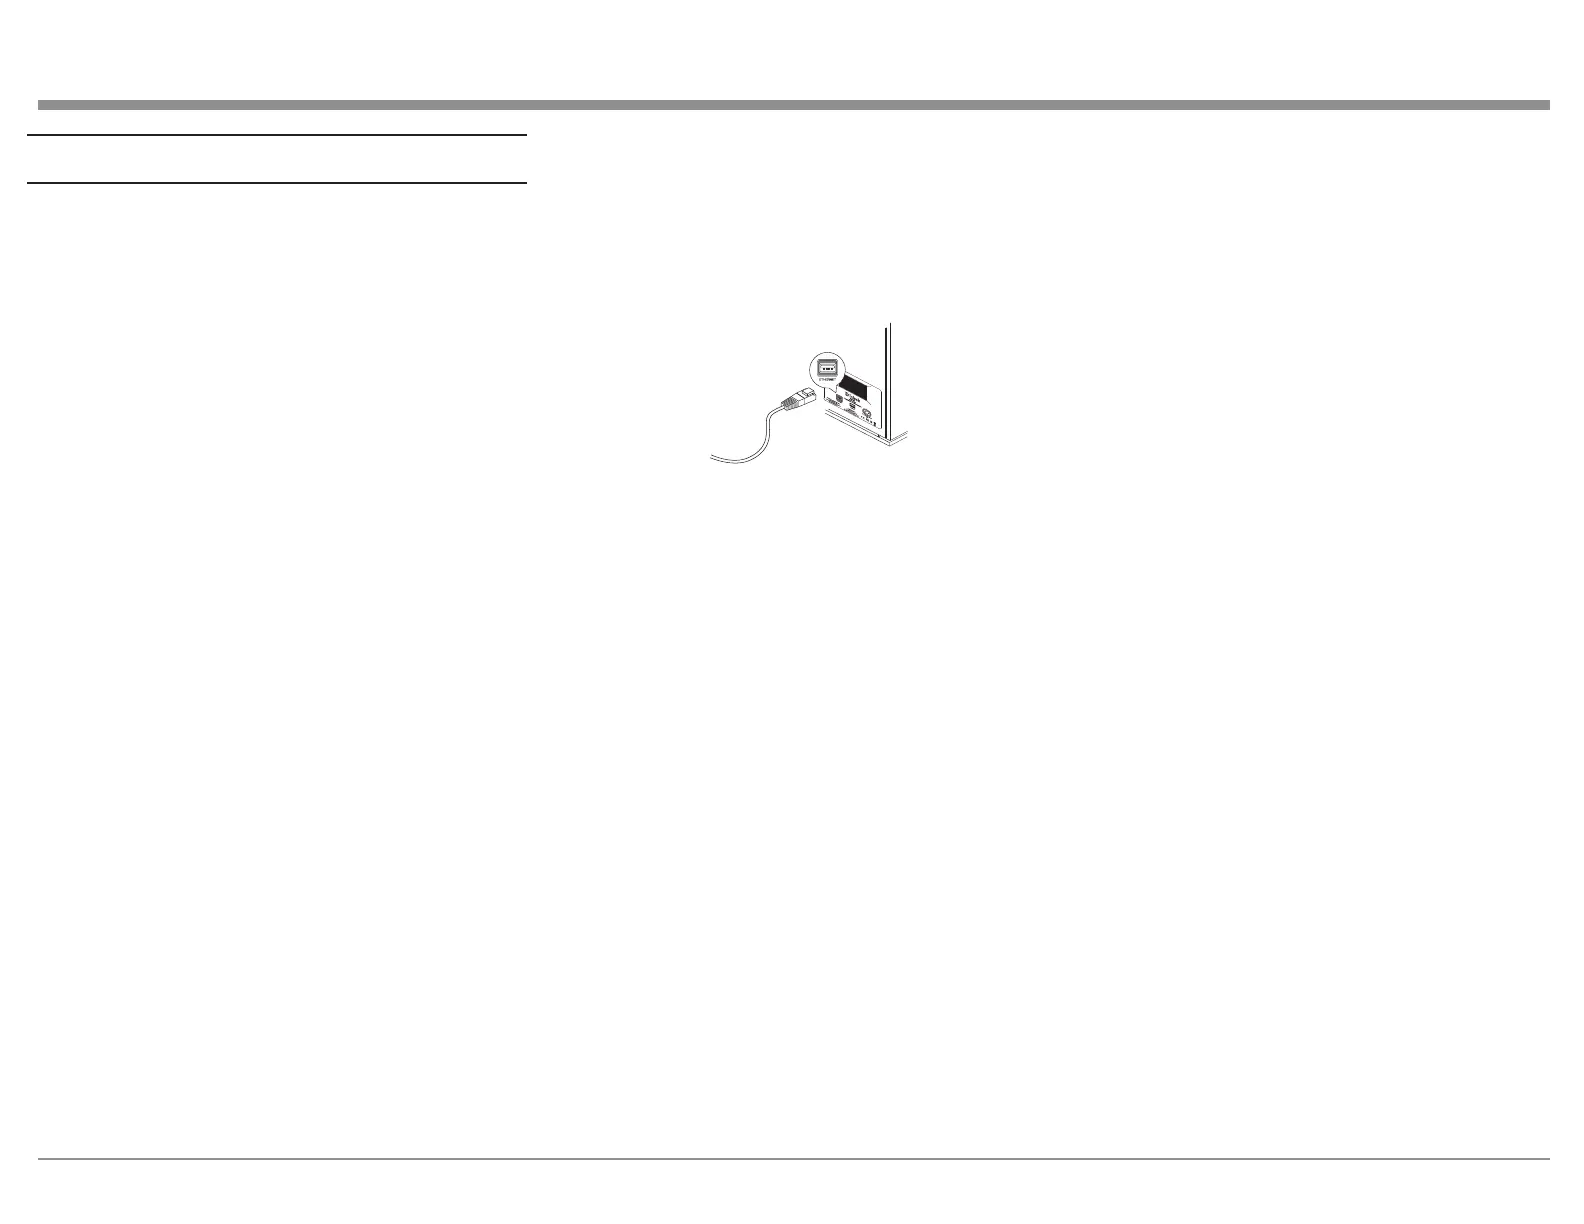
Ethernet
For a wired connection to your network, use an
Ethernet cable to connect the RS150 to your router.
See Figure 3.
Note: a solid red Network/Wi-Fi LED indicates that
a network error has occured. See “Network/Wi-Fi
Indicator LED” on page 8.
Note that plugging in an ethernet cable will disable
the Wi-Fi radio of the RS150. The RS150 will use
the ethernet connection for all network activity. To
enable Wi-Fi, the ethernet cable must be removed.
With an ethernet connection, you can use the RS150
browser interface to provide the RS150 with your
Wi-Fi settings. For more information, see “The
Browser Interface” on page 10.
Seng up Wi-Fi Without Ethernet
To initially connect your RS150 to a Wi-Fi network
without using an ethernet connection or iOS
connection (as described above) follow these steps:
• Power the RS150 O and then On
• When the green LED below the Left Knob
is blinking, open your PC or phone’s Wi-Fi
Connection Settings
• Locate the RS150 in the list of available
networks and connect to it.
• Open a web browser (Chrome or Firefox)
• Type 192.168.255.249 in the browser’s
address bar and open that page
• Select SETTINGS from the RS150 interface
(see Figure 8 on page 11)
• Select Wireless in Network Type
• Select Start Scan
• Select your network
• Provide your password and press Connect
• Your RS150 will connect to your network
Chromecast
To Cast to your RS150, you will need:
• The latest version of Google Home App
• Wireless network and access password
With your mobile device/tablet connected to the
same Wi-Fi network as your RS150 and the RS150
powered on:
• Open the Google Home App
• Follow the steps for the RS150 if they
automatically appear
To manually add the RS150
• Tap the + at the top of the screen
• Select “Set up device”
• Select “Setup new devices”
• Follow the set up steps for a “Speaker”
Once the RS150 is setup, you can choose to Cast to
it. To Cast:
• Choose the Cast button in the top right corner
of a Chromecast-enabled app
• Choose the RS150
• When connected the Cast button will change
colors
• Cast music, etc. to your RS150
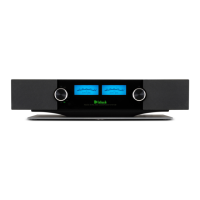
Figure 3– Ethernet connection
 Loading...