7. Using the Wizard
Start
In the Start menu select Create new setup. After you receive
conrmation you are automatically led to the next step, Receiver.
Receiver
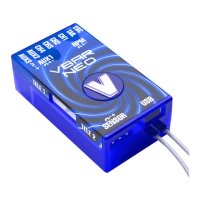
Here you select the receiver type for use with VBar. Connect
bus receivers to AUX1, Spektrum satellites to Tele 1 and 2.
Select VBar Control to use an external VLink receiver (special
adapter wire required).
Tail Rotor Gain
Note that with VBar NEO, the tail gain adjustment is done exclu-
sively in the PC software in the ight menu, for each bank se-
parately. Gain can only be adjusted in ight using VBar Control.
ESC
The ESC will be connected to the ESC connector on the VBar.
Adjusting the Transmitter
It is necessary to set the TX signals to the correct direc-
tions, center, and end positions. This is done by using the
transmitter’s sub trim menu and the ATV menu. It is mandatory
to assign a free channel to the motor function in a way so you
can safely switch between Stop, Idle (bailout for autorotation)
and Run. It is also mandatory to assign a channel (e.g.
the gyro channel) to bank switch in a way so you can switch
safely between banks (= ight modes) 1 to 3. With the gyro
channel, you can switch banks together with the ight modes
in your radio (like Dual Rate, Expo etc.). Once this is done,
you need power cycle your VBar so it will perform a cold start
and reinitialize.

 Loading...