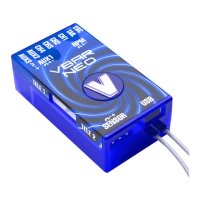
Sensor Mounting
Choose the mounting orientation of the sensor in your model.
Use the doctor‘s hat to set up the optional external sensor.
Direction of Main Rotor
Select whether the main rotor turns clockwise or anti-clockwise.
Swash Plate Type
Click on the type of swash plate used. Other types require Pro
rmware (free swash plate conguration).
Collective Direction
VBar needs to know the direction which way the swash plate
moves for positive collective. Please check this on your heli
and set it accordingly. Helis where levers between the swash
plate and the blade grips reverse the output might require an
opposite setup.
Servo Directions
Now install the VBar into your helicopter and connect the swash
plate servos. It is very important that the servos are connected
to the proper slots of your VBar (CH 1/2/3). VBar will not work
if you have misconnected the servos.
Swash plate adjustment
In this menu, the swash plate is set to center position of its
collective travel (zero pitch), and also leveled at 90° to the main
shaft in both aileron and elevator axis using the controls per
servo or per function. For this, it is necessary that the helicopter
has been built with correct geometry (servos, swash plate, and
linkages). A Pitch Gauge (swash plate leveling tool) is best to
accomplish this task.

 Loading...