(Refer to “Function setup mode” on page
5-16.)
NOTE
l
Although
“PHONE” appears on the display,
the PHONE function is inoperative.
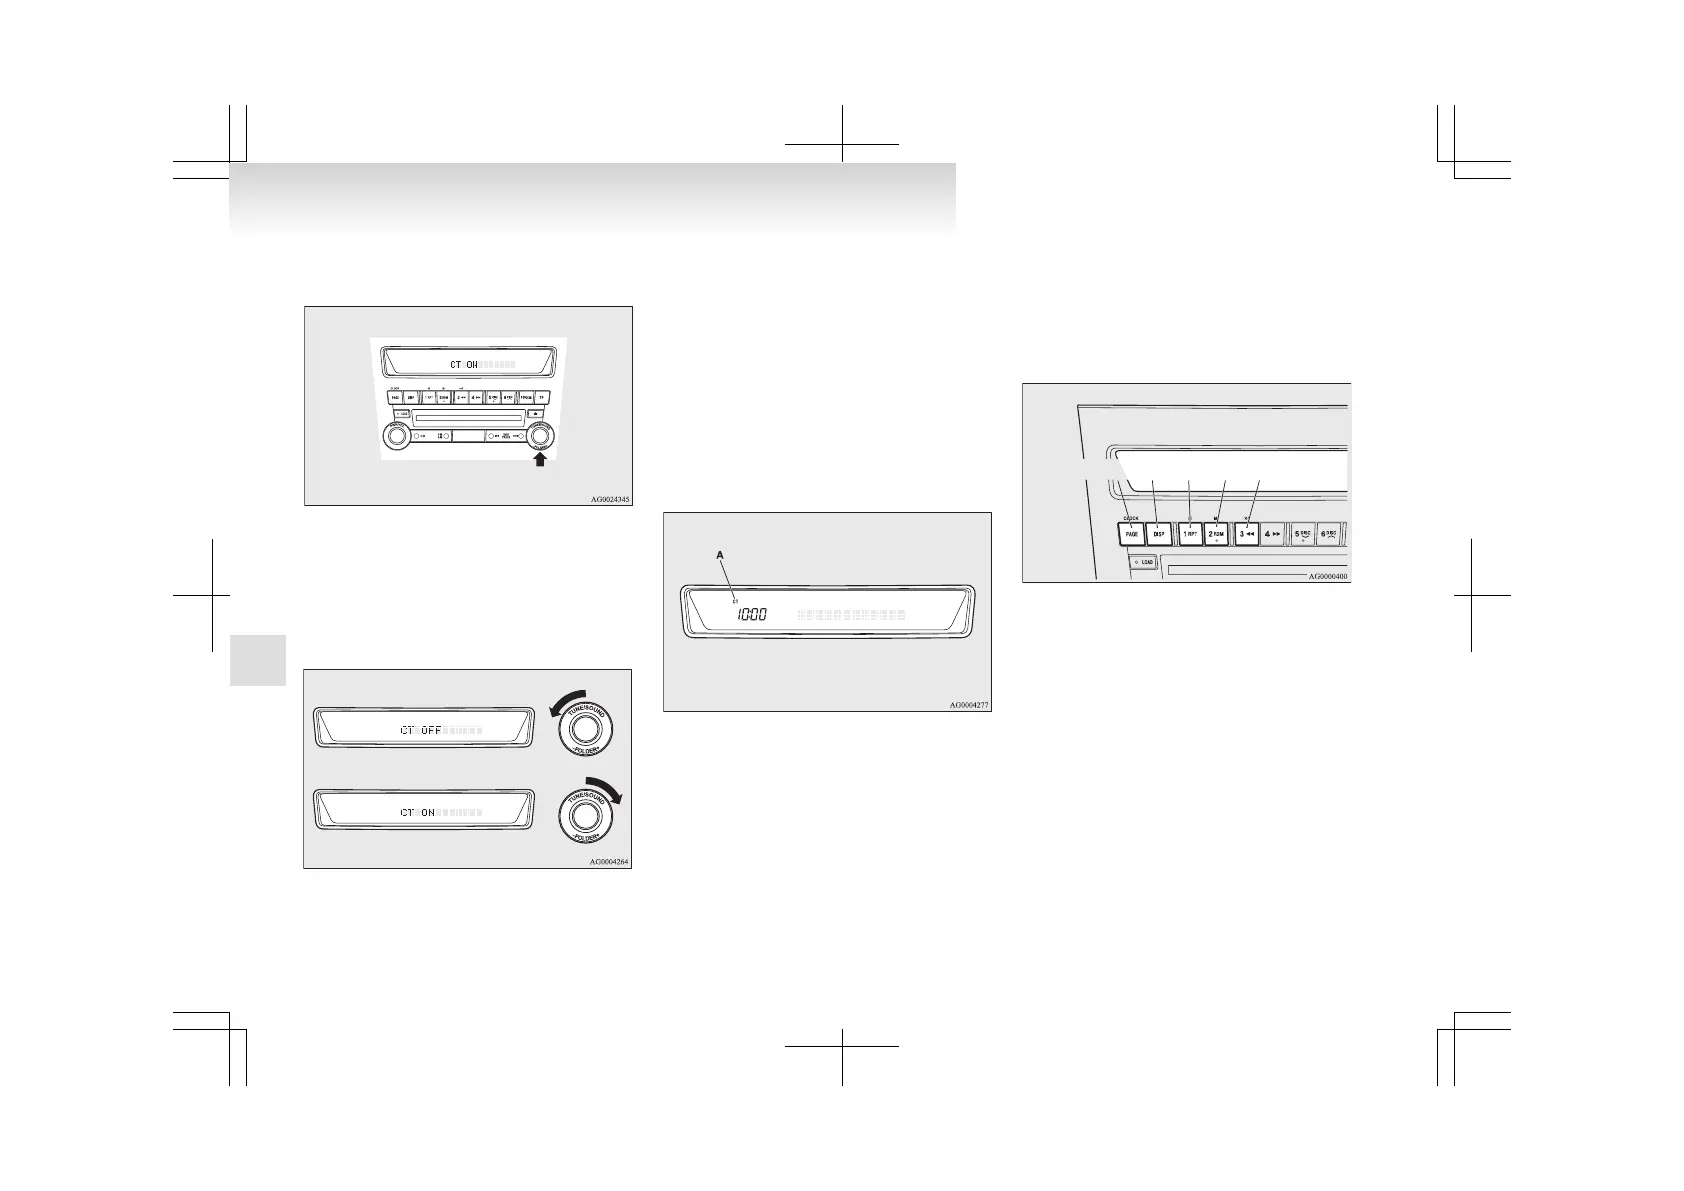
4. Turn the TUNE switch (B) left and right and
select either ON or OFF.
CT ON- Automatic mode
CT OFF- Manual mode
NOTE
l
After
selecting a mode, you can leave the func-
tion setup mode by taking either of the fol-
lowing steps:
• Press the TUNE switch (B) for at least 2
seconds.
• Make no entry for 10 seconds.
Automatic mode
The automatic adjustment mode can set the local
time automatically by using the signal from local
RDS stations. Refer to “Radio data system (RDS)”
on page 5-13.
Manual mode
The
manual mode is also available in case the auto-
matic mode shows the incorrect time when the ad-
jacent local RDS stations are located in a different
time zone. Refer to “Radio data system (RDS)” on
page 5-13.
Set the time by pressing the various buttons as de-
scribed below.
1. Keep
the CLOCK button pressed until the
time display flashes.
2. Press the appropriate buttons to adjust the
time.
“H” button - To adjust the hour
“M” button - To adjust the minutes
“:00” button - To reset the minutes to zero
10:00 - 10:29...... Changes to 10:00
10:30 - 10:59...... Changes to 11:00
3. Once the time is set, press the “DISP” but-
ton, and the time display will stop flashing.
When a time adjustment has been made, the
flashing stops automatically.
For pleasant driving
5-40
5

 Loading...