9Getting started
Note that new batteries do not reach their full capacity until they have been put to normal
use for several days.
To keep your batteries in the best condition, leave the handset o the base for a few hours
at a time.
Running the batteries down at least once a week will help them last as long as possible.
1
All talk and standby times are approximate and depend on features selected and usage
pattern.
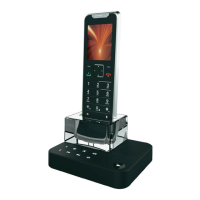
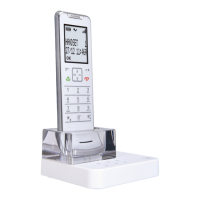
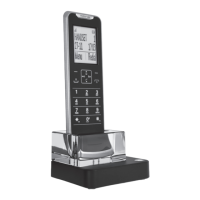
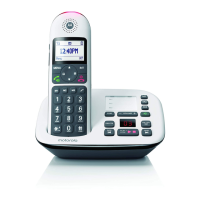
Setting up your IT6
Date and time
If you have subscribed to a Caller ID Service and the Auto Clock is set to ON (see page
27), the date and time will set automatically for all handsets when you receive your rst call.
If Auto Clock is set to OFF, the time and date will not set automatically.
If you do not have a Caller ID service, you can set the date and time manually.
1. Press
M, scroll d to
Clock/Alarm
and press M.
2.
Date & Time
is displayed. Press M.
3. Enter the date using the format MM/DD e.g. 08/04 for August 4th and press
M.
4. Enter the time using the 12 hour format
HH:MM
, e.g. 02:45.
5. Press
u or d to change from
A
(am) to
P
(pm) and press M.
6. Press
e to return to standby.
Your IT6 is now ready for use.
 Loading...