2-9
Hardware Setup
MS-7666
Chapter 2
To enable successful system boot-up, always insert the memory modules into the
DIMM_1 (DIMM_A0 in PCB v1.0) rst.
Due to the chipset resource deployment, the system density will only be detected up
to 23+GB (not full 24GB) when each DIMM is installed with a 4GB memory module.
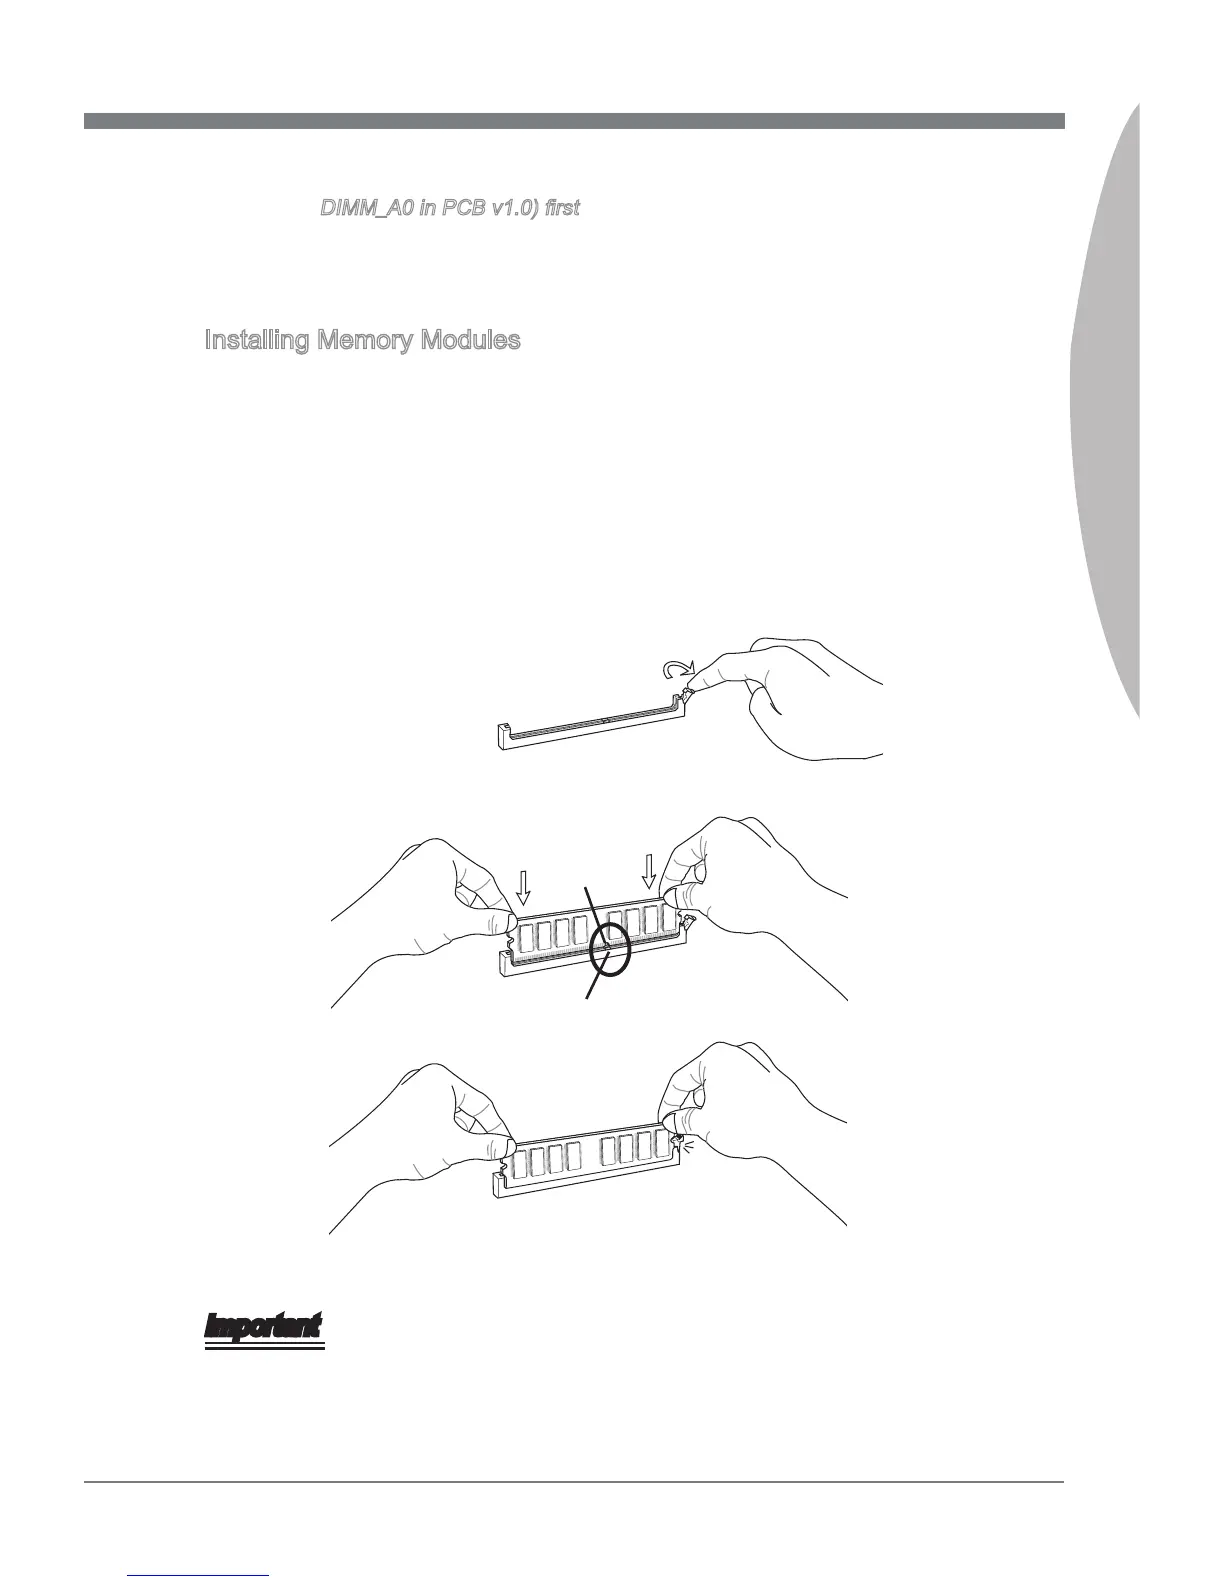
Installing Memory Modules
The memory module has only one notch on the center and will only t in the right
orientation.
Insert the memory module vertically into the DIMM slot. Then push it in until the
golden nger on the memory module is deeply inserted in the DIMM slot. The plastic
clip at each side of the DIMM slot will automatically close when the memory module
is properly seated.
Manually check if the memory module has been locked in place by the DIMM slot
clips at the sides.
Notch
Volt
Important
You can barely see the golden nger if the memory module is properly inserted in the
DIMM slot.
•
•
1.
2.
3.