2202MYJE-MY-C8-N_2018.02.
Chapter 5 Maintenance and Inspection
Compound 2-stage Screw Compressor 3225**C 5.5 Reassembly
5-38
5.5 Reassembly
During the reassembly work, be very careful in selecting the correct replacement
O-rings of the specified standard, not to make a mistake regarding the size, material, for
fixed use, for sliding use, etc. Using a wrong O-ring can lead to oil leak or other
problems.
Some gaskets are not symmetrically shaped. In such a case, be careful not to misplace
the gasket. If the gasket is misplaced, it can lead to a significant problem such as
blocking any oil supply route on the casing.
After completing the disassembly and inspection procedures, start the assembly process.
First, read again Section 5.1 "Precautions for Maintenance and Inspection" in this Chapter 5.
Before starting the assembly, check the replacement parts once again.
Like gaskets, all O-rings that have been removed during the compressor disassembly must be replaced
with new ones.
The reassembly sequence is mostly the reverse of the disassembly sequence. First of all, clean the
work bench and the tools to be used.
Immediately prior to the assembly, use washing agent (e.g., kerosene, parts cleaner) oil to clean the
parts to be assembled, dry them with compressed air, and sufficiently apply lubricating oil, etc. For this,
prepare a sufficient amount of clean lubricating oil for the reassembly. Also, apply oil on both sides of
the gasket.
Because the assembly procedure is mostly similar between the high-stage and low-stage sides, the
following sections provide explanations that are commonly used for both stages. For this purpose, the
part number given in the common explanations will omit the distinction between high-stage and
low-stage by means of a hyphenated suffix (the suffix of [**-1] for low-stage and [**-2] for high-stage
part number will be omitted).
Please fully understand the details in this Section 5.5 for correct assembly work.
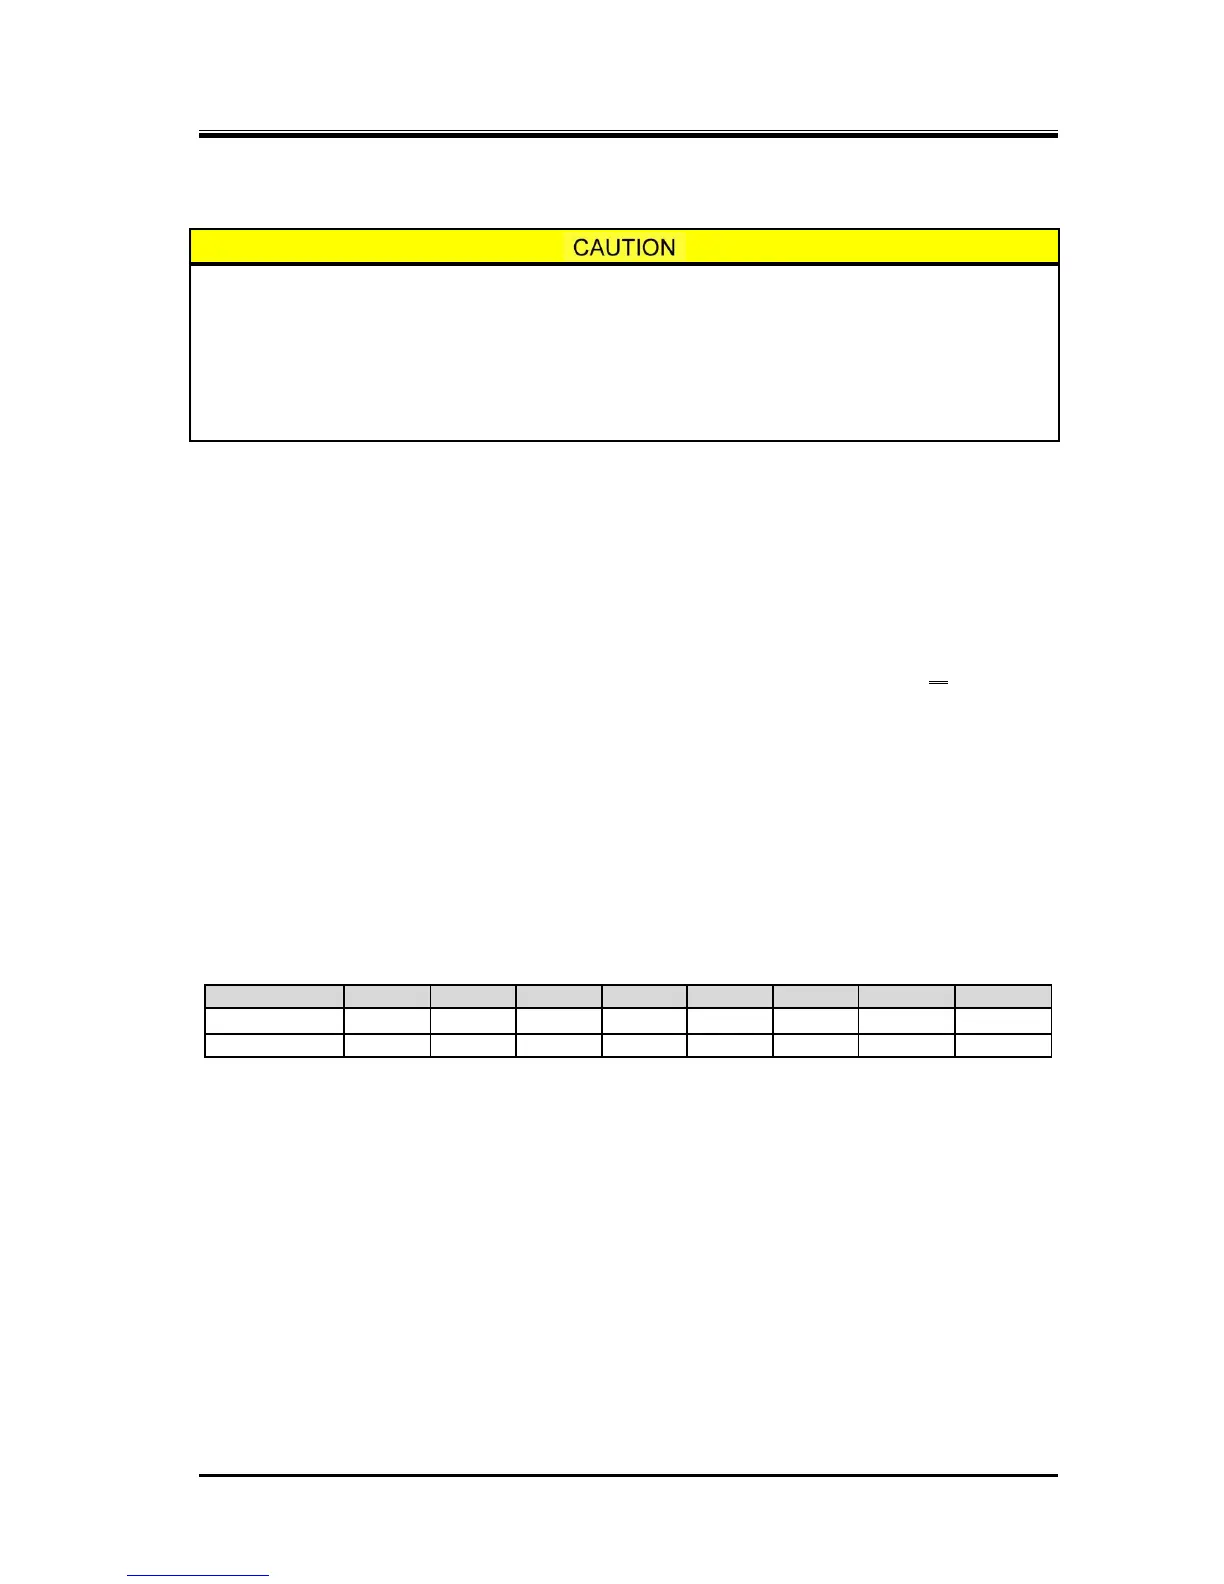
Table 5-7 Tightening Torques for Hexagon Socket Head Cap Screws
 Loading...