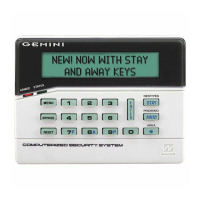
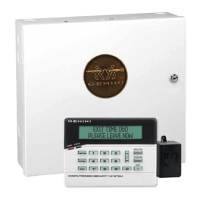
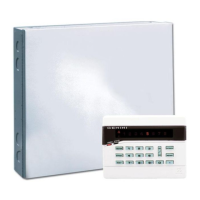
NAPCO Gemini C-Series Control Panel Installation Instructions--Volume 2
Page 14 Installation Instructions, Volume 2
zone. The zones can overlap existing EZM zones, if the zone is satisfied on the EZM with a 2.2K EOLR.
The system supports up to two GEMC-BSLC Burg SLC Modules. Each module uses one of the four Receiver/SLC
addresses, reducing the maximum two GEMC-BSLC and maximum four GEMC-RECV wireless receivers by one.
Each SLC point must be mapped to a dedicated zone. The zones can overlap existing EZM zones, if the zone has
no devices wired to it and is satisfied on the EZM with a 2.2K EOLR.
Up to 126 Burg SLC points may be wired to each of the maximum two GEMC-BSLC modules, for a total maximum of
252 Burg SLC points on the system. This number is reduced by the number of SLC output devices and/or lack of suf-
ficient standby battery power.
There are many ways to wire zones into the Gemini C-Series Panels. Careful planning will allow the panel to support
virtually any desired combination of devices and wiring methods required by a particular installation.
ZONE IDENTIFICATION WITH SLC POINT TROUBLES
If an SLC point generates a trouble, a printed hardcopy chart can be printed from PCD-Windows Quickloader to help
determine which SLC device(s) and associated zone(s) are responsible. We recommend that all dealers using Sig-
naling Line Circuit devices print a hardcopy of this chart after the installation process is complete. Print the charts us-
ing PCD-Windows Quickloader as follows:
1. Run the PCD-Windows Quickloader download software and click File, Open Account.
2. Click File, Print Area, and the Print Area dialog opens.
4. Click Zone Assignment, then click the View button to display a sample preview of the chart.
5. Click Print.
6. Click OK to close the Print Area dialog.

 Loading...


