10 | ni.com | GPIB Hardware Installation Guide and Specifications
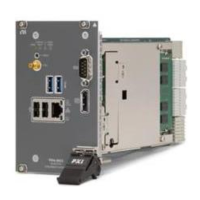
PXI-GPIB and PXI-8232
Caution Electrostatic discharge can damage several components on your GPIB
board. To avoid electrostatic damage when you handle the board, touch the antistatic
plastic package to a metal part of your system chassis before removing the board from
the package.
Complete the following steps to install your PXI card:
1. Make sure that your PXI or CompactPCI chassis is powered off. Keep the PXI or
CompactPCI chassis plugged in so that it remains grounded while you install your
PXI card.
2. Choose an unused PXI or CompactPCI 5 V peripheral slot. For maximum performance,
your PXI card has an onboard DMA controller that can only be used if the board is installed
in a slot that supports bus arbitration, or bus master cards. National Instruments
recommends installing your PXI card in such a slot. If you install the board in a non-master
slot, you must disable your PXI card’s onboard DMA controller using the board-level call
ibdma. Refer to the NI-488.2 Help for a complete description of ibdma.
3. Remove the filler panel for the peripheral slot you have chosen.
4. Touch a metal part on your chassis to discharge any static electricity that might be on your
clothes or body.
 Loading...