8 | ni.com | GPIB Hardware Installation Guide and Specifications
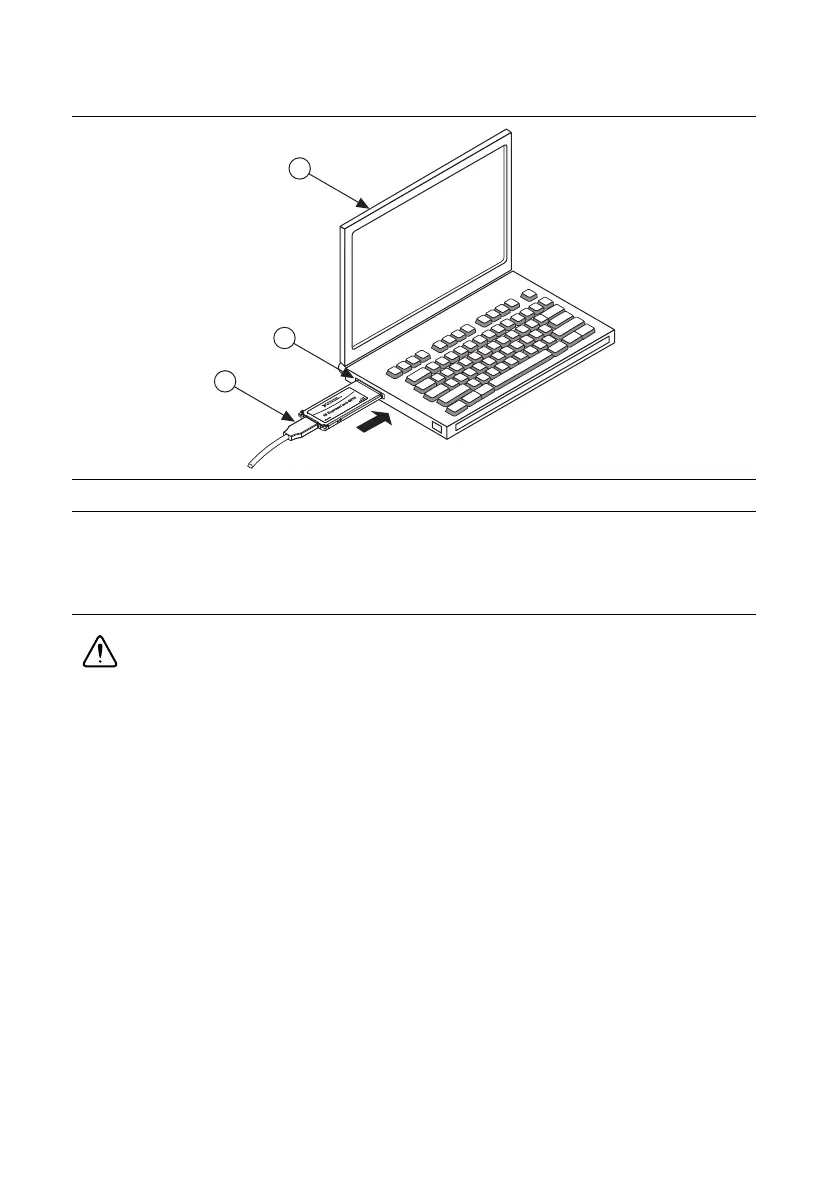
Figure 3 shows how to insert the ExpressCard-GPIB and connect the cable.
Figure 3. Inserting the ExpressCard-GPIB
The GPIB hardware installation is now complete.
PMC-GPIB
Caution Electrostatic discharge can damage several components on your GPIB
board. To avoid electrostatic damage when you handle the board, touch the antistatic
plastic package to a metal part of your system chassis before removing the board from
the package.
Complete the following steps to install your PMC-GPIB:
1. Power off your system.
2. Find an unused PMC slot in your system. You may need to remove the host from the system
to access the PMC slot.
3. Remove the corresponding slot filler panel from the host.
1 Notebook Computer 2 ExpressCard Slot 3 ExpressCard-GPIB Cable
 Loading...